Showing posts with label The One by the Creek. Show all posts

Sunday, November 2, 2014

What are our Paint Colors?


To me, one of the hardest parts about moving is paint. Picking new paint, trying to match the previous owner's paint, purchasing paint, painting paint...you get the picture. One of the most helpful tricks I discovered is creating a paint schedule. This is a room by room guide to which paint is used where. Not only is this helpful to you as the home owner, but it is an added bonus for the buyer when you go to sell. No more trying to match paints or figure out what sheen you used where. It is all perfectly spelled out for you on your paint schedule.


All that to say, here is a quick break down of our paint colors for ya. 


Door: Benjamin Moore's Stratton Blue in Sherwin Williams Super Paint Satin Finish. Shutters: Sherwin Williams' Midnight Oil in Super Paint Satin Finish. If I had to do it again, I would use their highest gloss finish for both the shutters and the doors. It hides imperfections and looks fabulous from the road. Brick: Sherwin Williams Exterior Acrylic Latex Satin Finish in Dover White. Exterior Trim: Sherwin Williams Exterior Acrylic Latex Gloss Finish in Dover White.


 Entryway walls: Sherwin William's Cashmere paint in Mindful Grey, Low Lustre finish. Entryway Trim & Interior part of Front Door: Behr Premium Plus Interior/Exterior paint in Eggshell Cream, High Gloss Finish.


Living Room Walls: Sherwin William's Cashmere paint in Mindful Grey, Low Lustre finish. Living Room Trim: Behr Premium Plus Interior/Exterior paint in Eggshell Cream, High Gloss Finish. 


Dining Room WallsSherwin William's Cashmere paint in Mindful Grey, Low Lustre finish. Dining Room Trim: Behr Premium Plus Interior/Exterior paint in Eggshell Cream, High Gloss Finish.


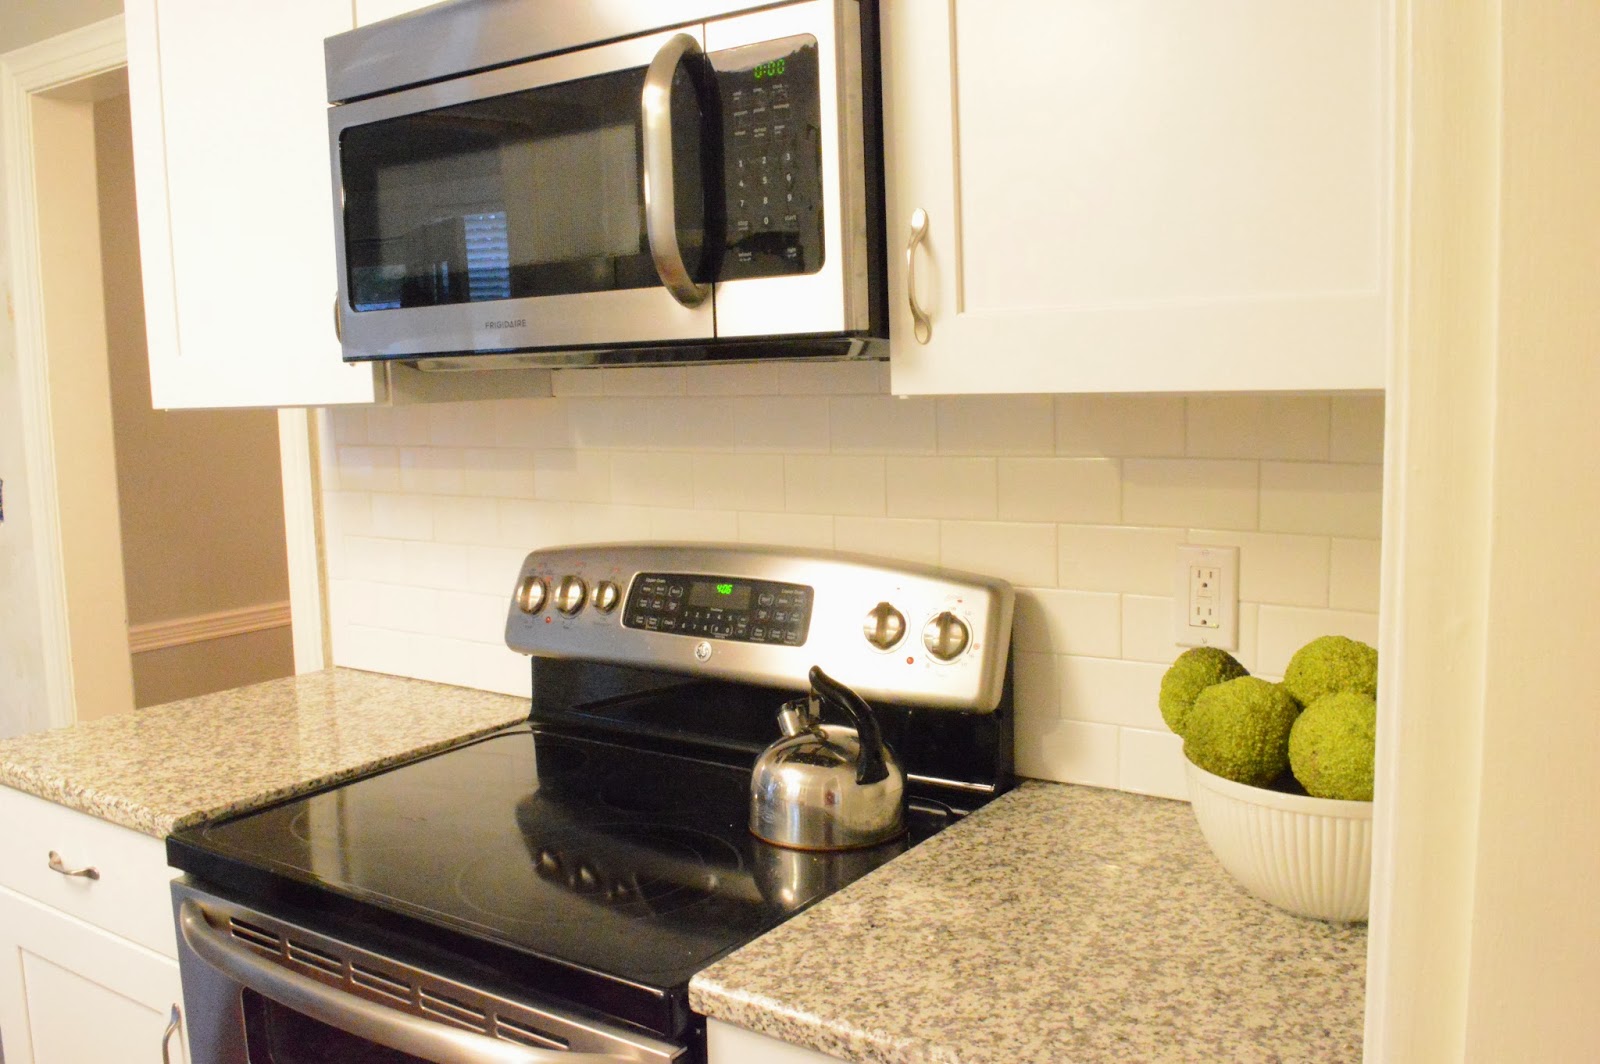
Kitchen Walls: Sherwin William's Cashmere paint in Mindful Grey, Low Lustre finish Kitchen Trim: Sherwin Williams ProClassic SemiGloss Interior Oil Base Paint in "Match Cabinets" (we literally took one of our cabinet doors to Sherwin Williams and had them match the color so that the trim and the cabinets were exactly the same). This is my favorite trim paint thus far because it is the perfect white. Kitchen Ceiling: Behr Pure White in Matte Finish


Den: Sherwin William's Cashmere paint in Mindful Grey, Low Lustre finish Den Trim: Sherwin Williams ProClassic SemiGloss Interior Oil Base Paint in "Match Cabinets" 


Office/Bedroom #3 wallsSherwin William's Cashmere paint in Mindful Grey, Low Lustre finish 


White Bathroom walls: Sherwin William's Cashmere paint in Mindful Grey, Low Lustre finish White Bathroom Trim: Sherwin Williams ProClassic SemiGloss Interior Oil Base Paint in "Match Cabinets" 


 Blue Bathroom Walls: Porter Paints Garlic Clove in Eggshell Finish Blue Bathroom Trim: Behr Premium Plus Interior/Exterior paint in Eggshell Cream, High Gloss Finish.


Bedroom #1 Walls: Benjamin Moore's Sea Salt in Sherwin Williams Cashmere in Low Lustre Paint


Bedroom #2 Walls: Benjamin Moore's Stratton Blue in Sherwin Williams Super Paint Exterior Paint in a Satin Finish. (I would not recommend using exterior pain on your interior walls, but I painted on a whim and was too lazy to go get more paint!)


Check out our Sloan Road Condo Tour here. Check out our home by the creek tour here

Monday, July 14, 2014

Best & Worst Moments of Year One

We have learned a lot in one year. Home ownership is fun, but not without its highs and lows. For example, the time we tried to  paint our entire brick exterior in one weekend with a paint brush. Or the time we decided it would be a good idea to purchase furniture online. Or the time we only had two days to tile and grout our entire kitchen. Its been the best of times, and the worst of times, and we want to share it all with you! We hope you will enjoy our BEST & WORST list of Year One in our Home by the Creek. 

WORST Moment in the Kitchen Remodel: Too funny not to share: An emotional breakdown while painting the Kitchen Ceiling. This moment is tied with our 3am realization that we were shy just TWO tiles and would not be able finishing tiling whole kitchen after a marathon battle.


BEST Moment in the Kitchen Remodel: After three straight days of tiling, grouting, and hardi-backering, Ty came home after 12 hours at work and saw that the kitchen cabinets were installed. It was a euphoric and victorious moment that could only be expressed by doing snow angels on the kitchen floor.


BEST Indoor Project: Patching the Light Holes was one of our first projects in our new home. It was a huge instant grat, big bang for your buck type of project. We were able to patch over a total of 9 old radiator plugs and our home looked instantly updated.


WORST Indoor Project: If you haven't heard our complaints about Tiling the Kitchen Floor, you can read about them here: 1,2,3. Would we do the project again? Yes. In fact, we are going to tile both our bathrooms at some point. If we did this project again, we would leave more time and choose days when both of us were not working for 12 hours (duh!)


BEST Outdoor Project: Planting the Trees was Ty's favorite project. We are really looking forward to having some privacy from our neighbors and the road. This was also our first big step in committing to stay in this home for the next few years. We are excited to watch these puppies (er, trees) grow and to keep y'all updated on their progress. 


WORST Outdoor Project: As previously mentioned, we tried Painting the Brick Exterior over one weekend with just a paint brush. After that attempt failed, we brought Ty's parents into the mix only to be unsuccessful yet again. Lesson Learned: It is money well spent to pay someone to paint the exterior of your home. At a minimum if you are die-hard DIYer, rent a paint sprayer and save yourself some angst. 


BEST New Appliance: We love our GE Double Oven. What we like about it: The top oven is smaller, so naturally it cooks quicker and heats up faster. We have the added benefit of two ovens without the downsize of loosing valuable cabinet space.


WORST New Appliance: The microwave beeps at least 4 times to let you know when something is done and if you don't retrieve it quickly, it repeats the beeping. Not to mention, we thought we got a "deal" on this appliance by purchasing it on craigslist but it didn't come with the glass tray.  By the time we purchased a new tray, we could have just bought a new microwave off the shelf.


BEST Tool: I do not know what we would do without our Cordless Drill. Ours is made by Makita and we love it. Whatever brand you choose, we highly recommend investing in a cordless drill. With the variety of attachments, it is our go-to tool for most projects. We have used it for everything from mixing mortar to sharpening lawnmower blades.  


WORST Tool: Ryobi Jigsaw. We purchased this as part of the tools we needed for our kitchen remodel. It broke the first time we used it and was promptly returned to the store. Turns out, we did just fine without it. Our favorite saw is our miter saw...seen just last week making Lifesize Jenga.


BEST Thrifty Find: The Craigslist Sofa we purchased for our Living Room was custom made for the original owners. It ended up being too big in their space, but just right for ours! We love its down seating and durable scotch-guarded fabric. Its super comfy for movie night but still looks high end.


WORST Thrifty Find: I purchased a Faux Leather Chair for the Office. It was advertised on craigslist as a "real leather" chair. I just took their word for it. When I got it home, Ty mentioned it was faux....much to my dismay! We re-listed and sold it on craigslist promptly. (Nothing against faux leather/pleather, but cats just eat this stuff up with their sharp nails)


BEST $$$$$ Spent: Although attempting to paint the exterior of the house ourselves was one of the worst decisions we have made this year, paying painters to Paint the Exterior was not. It took two professional painters with a sprayer two 8-hour days to paint our house. (not to mention, it was February and freezing!) Some things are just worth paying for. This was the case for the Install of Insulation in the crawlspace and attic as well. Lesson learned.


WORST $$$$$ Spent: This will probably be my first and last adventure ordering furniture online. I was desperate to find two chairs to fit in our living room (read more about the Great Chair Debacle of 2014 here). I found these chairs on Wayfair and of course, thought they were THE ONES! When we got them they looked nice enough, but were not as comfortable as I'd hoped. My main reason for not ordering online: quality. They were not worth the price I paid, and when I went to sell them on Clist I took a big hit. 


We are excited to share YEAR TWO with y'all! 
Thank you for following us along our first journey in home renovation.
If you haven't had a chance to watch our home video tour of the house, check it out here.

Tuesday, July 8, 2014

Video House Tour: Summer 2014

We are approaching one year in our home by the creek. 
We want to celebrate by giving you a live tour of our home.
Enjoy this first ever video house tour on Sylvan Park Life!


Friday, January 31, 2014

Kitchen Renovation: How To Repair Plaster Walls


We have referred to "that wall" for quite some time. 
"That wall" has been that wall since demo day in late October of last year.
 In fact, that wall has been around for SO LONG its become a household name. 
"When are we going to fix that wall?"
"The Kitchen is almost entirely done - except for that wall."
"You hardly notice that wall "(and so another week goes by without repairing it!)
"I'm going to hang a picture on that wall so its less noticeable "
(this in fact, makes the undone state of that wall even more obvious)
Which wall? THAT WALL! You know, the one in the kitchen that is hardly noticeable until it is and then you are like "WHOA! what is up with that wall?!"


What's up with that wall is that during demo day, I thought painting over the wallpaper and plaster would be a good time saver - I just really couldn't take anymore wallpaper removal at that point. WRONG-O!
This short cut turned into a long cut. We began the tedious process of removing the wallpaper, which now was sealed to the wall by my grand painting idea. This revealed disastrous chipping plaster walls, faux wood paneling, and just a plain ugly peachy tan and white splattered wall. So began the weeks of neglecting that wall, and the looming question of how DO we fix that wall?

1. Gather Supplies.
Face Mask
Palm Sander (or heavy grit sand paper if you are really brave!)
Joint Compound
Flat Trowel
Patience & Time
Shop Vac or other form of vaccuum (lots of dust)
Drop cloths
Kilz Latex Primer


2. Apply joint compound in a thin layer. filling holes and uneven surfaces.
Allow to dry (every compound is different , read your bucket for exact drying times!).


3. SAND. Make sure the first layer of joint compound is dry. Sand the uneven surface until smooth.
4. Repeat Steps 2 & 3 until the wall is completely even and smooth. (Ty sanded the surface twice)


5. PRIME. Once the sanding is complete, wipe down the wall with a dry cloth and vaccuum the area to remove any dust. Prime the wall using Kilz Latex Primer(our favorite primer, not our favorite cost... a small quart is $15 a pop!)...but man it gets the job done. Allow to dry. Repeat step 5 if necessary (Ty did!)


6. PAINT. Mindful Grey, for us of course.


This finished product had us saying...
Take a  look at that wall!


Credits to Ty for this project. I was basking in the warm sunshine of Miami, Florida while he was at home in the first snow showers of the season while battling that wall. 


Missed our kitchen reveal from start to finish?
Click here, here and here!
Can't Wait: The Kitchen Final Reveal

Monday, December 23, 2013

Moving Our Master Bedroom

We have lived in our home by the creek for a total of  175 days. In that time we have completed a lot of small [but necessary] tasks like dismantling the loft and making a window screen; as well as the ONE BIG task of renovating our entire kitchen. To say the least, a LOT has changed. One thing I have come to find is that our house is always in flux. Moving furniture from one room to the next, thinking of new ideas and ways to improve our space, and learning how we use each room has this place constantly changing to meet our needs. The Master Bedroom has fluctuated the most of all the rooms in the house. 


We first settled on the front bedroom, which originally was a peachy color. 


We thought we would reside in the peachy bedroom and expand into this green room to make a en-suite bathroom. Upon further evaluation, this idea was not practical.


Then, on move in day (more on that here) we decided to make this room our office. 


We continued to expand on the "office" idea for this room for awhile...

Until we painted the room off the kitchen....

Without the purple paint, this room became MUCH more appealing. 


This satisfied us for a mere 30 days before we were on the move again...this time, to our final location!


 And here we have landed, in the potential bathroom, turned office, turned bedroom. Ironically, this is the ONLY room we have not painted or done any type of updating. BUT, it is the coziest room in the house. It has a gorgeous view of the creek and two beautiful windows with lots of natural light. Because it is in the far corner of the house, it provides quiet and privacy too! We have loved being tucked away in our "new" master suite.


I am MOST excited about the blank slate to decorate in this room. We are in the midst of choosing a wall color and fabrics. When we were residing in the room off the kitchen, I created this mood board which is still in the running for our design scheme.  The jury is still out on what the final look will be, but we are excited to reveal it to y'all when we decide!

Have you guys ever changed a room what felt like a bazillion times before you got it right? 
We'd LOVE to hear about your experience. 


Related Posts Plugin for WordPress, Blogger...

Blog Archive