
Welcome to Condo Living!
Where storage, organization, and DIYing are of utmost importance.
We currently live in OUR FIRST HOME which we commonly call the Sloan Road house - you can tell by our lingo that we very much anticipate moving into another space someday. Ty bought this 2 bedroom, 2 bathroom condo when he moved to Nashville, Tennessee in 2011. We were married just a short year later in July of 2012....more about that amazing day here!
In the last 8 months, we have taken the opportunity to re-do every room in the condo. Here is a quick BEFORE & AFTER condo tour so you can get to know us and our space!
I started with the living room....
 |
| Before |
We are big advocates for the "use what you got" mentality so we have rearranged our
furniture a dozen times until we found what works best for us. Initially we had TWO MORE chairs in here, but it was just too crowded. LESS IS MORE sometimes. Now the space feels open and comfy.
 |
| After |

 |
| Beautiful Cedar Chest as our TV console area |
Now, I am sure you are all noticing the giant 14 point deer in the center of our living room. When we got married there was one non-negotiable for Ty - keeping his Alabama State Record Holding deer as the spotlight of our living room. I didn't argue, but instead befriended the deer by naming him Leon and got use to being stared at from every angle of the room.

Next up, the dining room...
 |
| Before |
We raised the fixture to the appropriate 36" height above the table
as well as turned the table horizontally to open up the space.

I long to change the chandelier into a focal point, but for now this beautiful and funky vase will do!

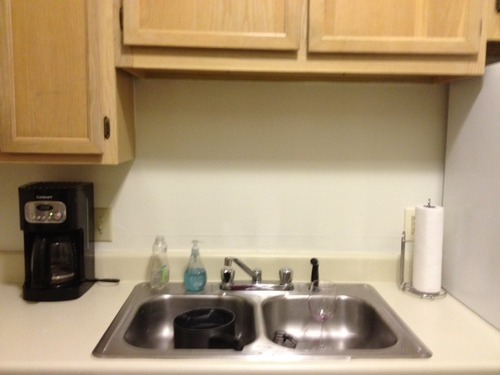
. Next up is my pride and joy. Four long days in this tiny galley kitchen and my biggest DIY project to date transformed this kitchen from drab to light, open, and stylish!
 Before  Old appliances, contractor grade cabinets and a fuse box focal point were quite an eye sore in the Sloan Road house 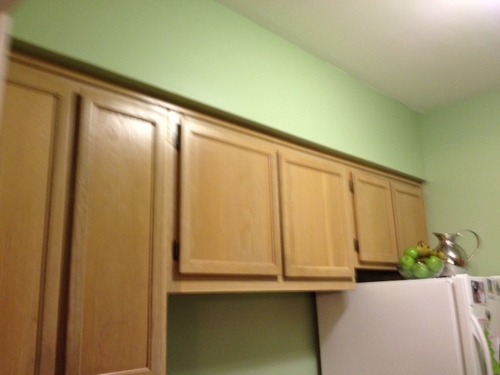 Before
 | ||
| .First steps: painting the walls GARLIC CLOVE: A bright white with a mild green under tone. |
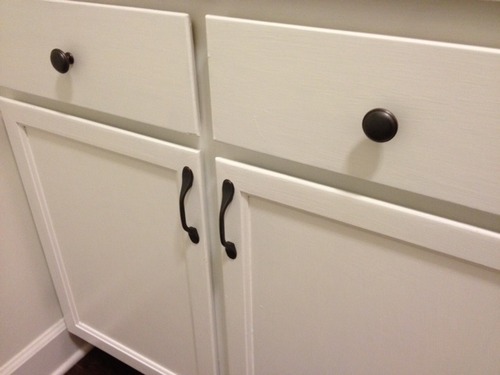 |
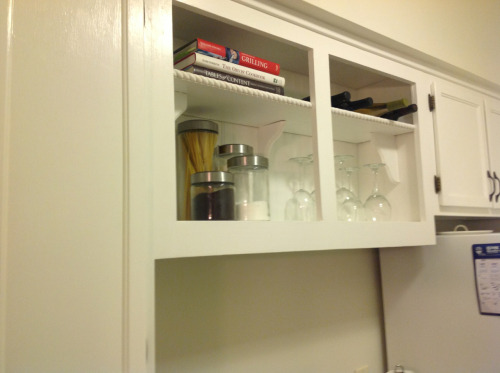
| There was no value in ripping out the existing cabinets and replacing them with new ones since the layout would remain the same, so we opted to repaint the existing cabinetry and add hardware. and voila! The finished product: Lighter, Brighter, Bigger.    
The Spare Bedroom.
We quickly decided that we wanted our home to be ready to host guests at a moments notice. With that said, it was a priority for us to create a space where our guests would feel comfortable and welcome. For this reason, we made sure this room was up to par by month 2 of our marriage.
Here is the before:
 Although the space is open, the bed is too small for couples and it lacks warmth.  favorite pieces - an antique chest Ty got from his dad. 
Wedding gifts!

Since I overtook the Closet, we wanted to provide guests with a place for their hanging clothes.
 The other piece to the puzzle of living in a two-bedroom condo is making spaces like spare bedrooms usable when guests are not staying with us. Our solution: THE CLOFFICE.  Please excuse these terrible IPHONE pix. We started the project and realized we had forgotten BEFORE pix! Here is the guest room closet, realllly basic: one shelf and a clothing rack. We put in a bookshelf for storage and cleared out half of the closet for the incoming desk space. 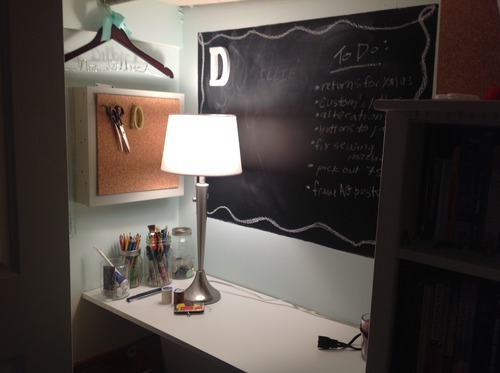 Here it is! My adorable cloffice. Complete with pinboard, chalkboard, and a light source. PERFECT FOR SEWING, CRAFTING & DIYING! 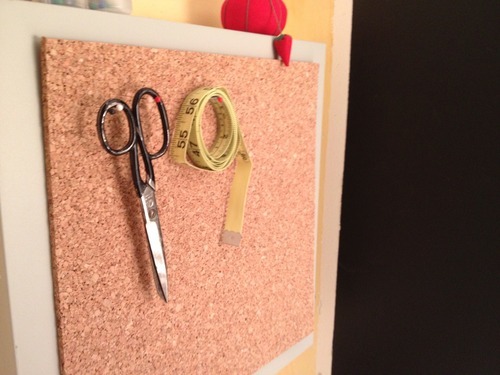 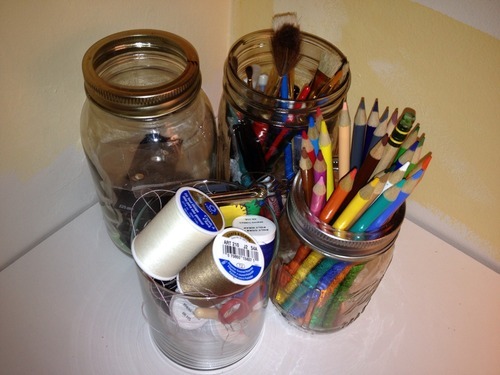 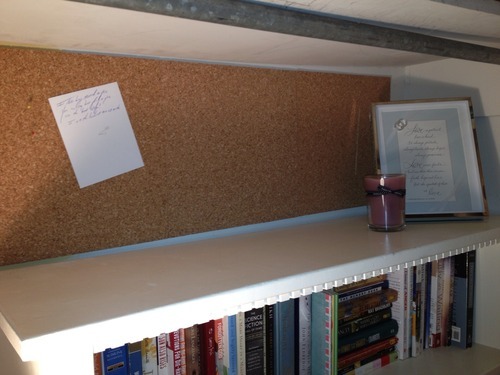 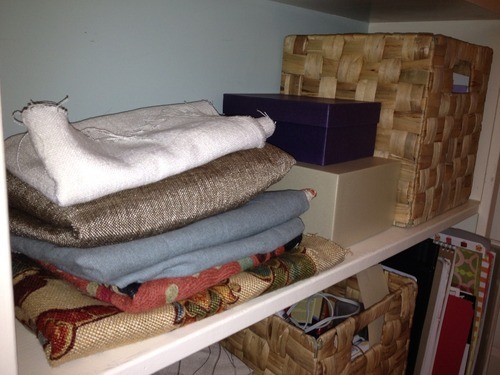 Only a few more rooms to go on the HOUSE TOUR! Guest Bath:  Before: Bright red that did not match the rest of the home decor! NOW! 
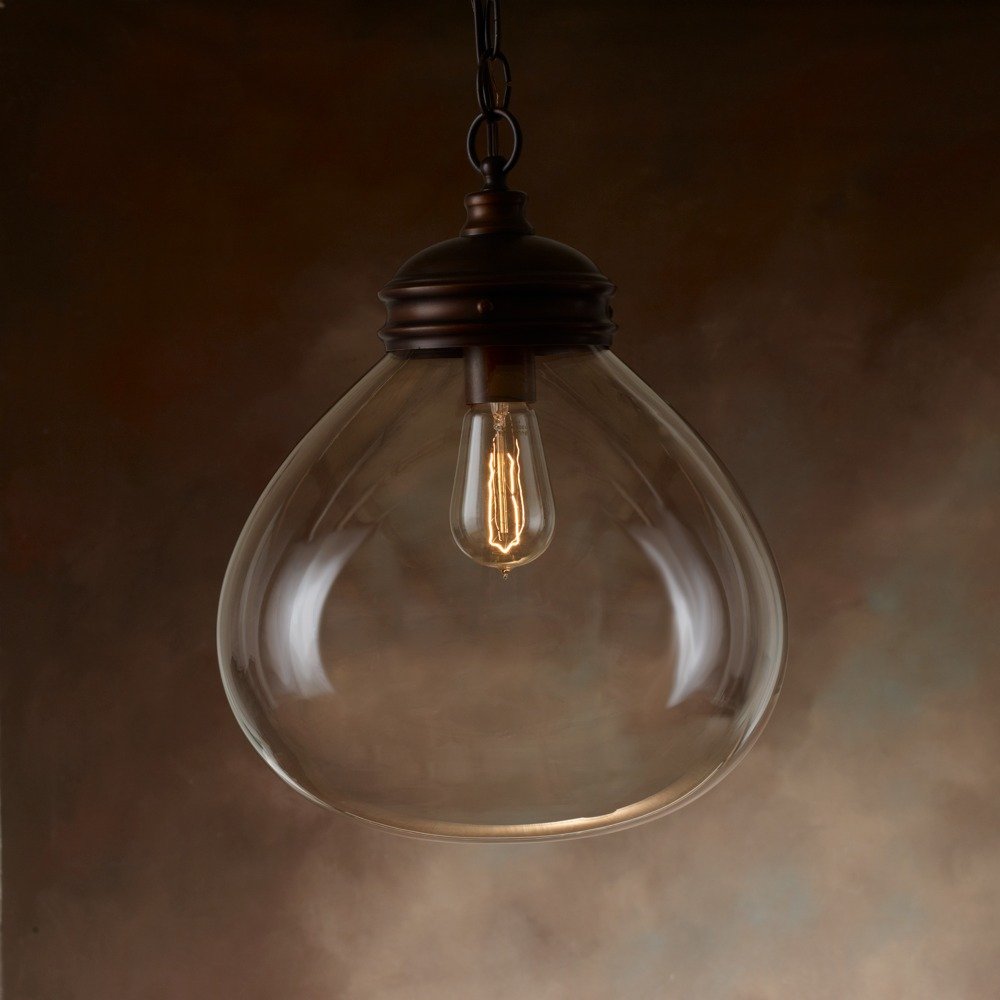
We made the guest bath warmer by using a rust orange color. We updated the contractor grade mirror with a gorgeous
framed mirror we found at a garage sale for a steal. We also added a beautiful light fixture with an edison bulb.... which is my favorite addition!
Last but not least, our amazing Master Suite!
 
After
 Hope you enjoyed the home tour of our first house! More details to come on the projects that got us here, and I am SURE there will be more changes too! |
No comments :
Post a Comment
Join the conversation! We love hearing your ideas, seeing your DIY projects, and answering your questions.