
If you have or do live in an older home, you may be familiar with this lovely wall decor... Seriously, I can't even begin to figure out what does what in the morning without at least a cup of coffee.

It is a little overwhelming, confusing, and just plain ugly to look at. Well, this wall decor is in EVERY ROOM - Yes, there are 9 walls with the old heat box and switch! Before we moved in, we asked that the former owners have a licensed electrician make sure that these were disconnected and non-functioning. This made it easy for us to dismantle both switches.

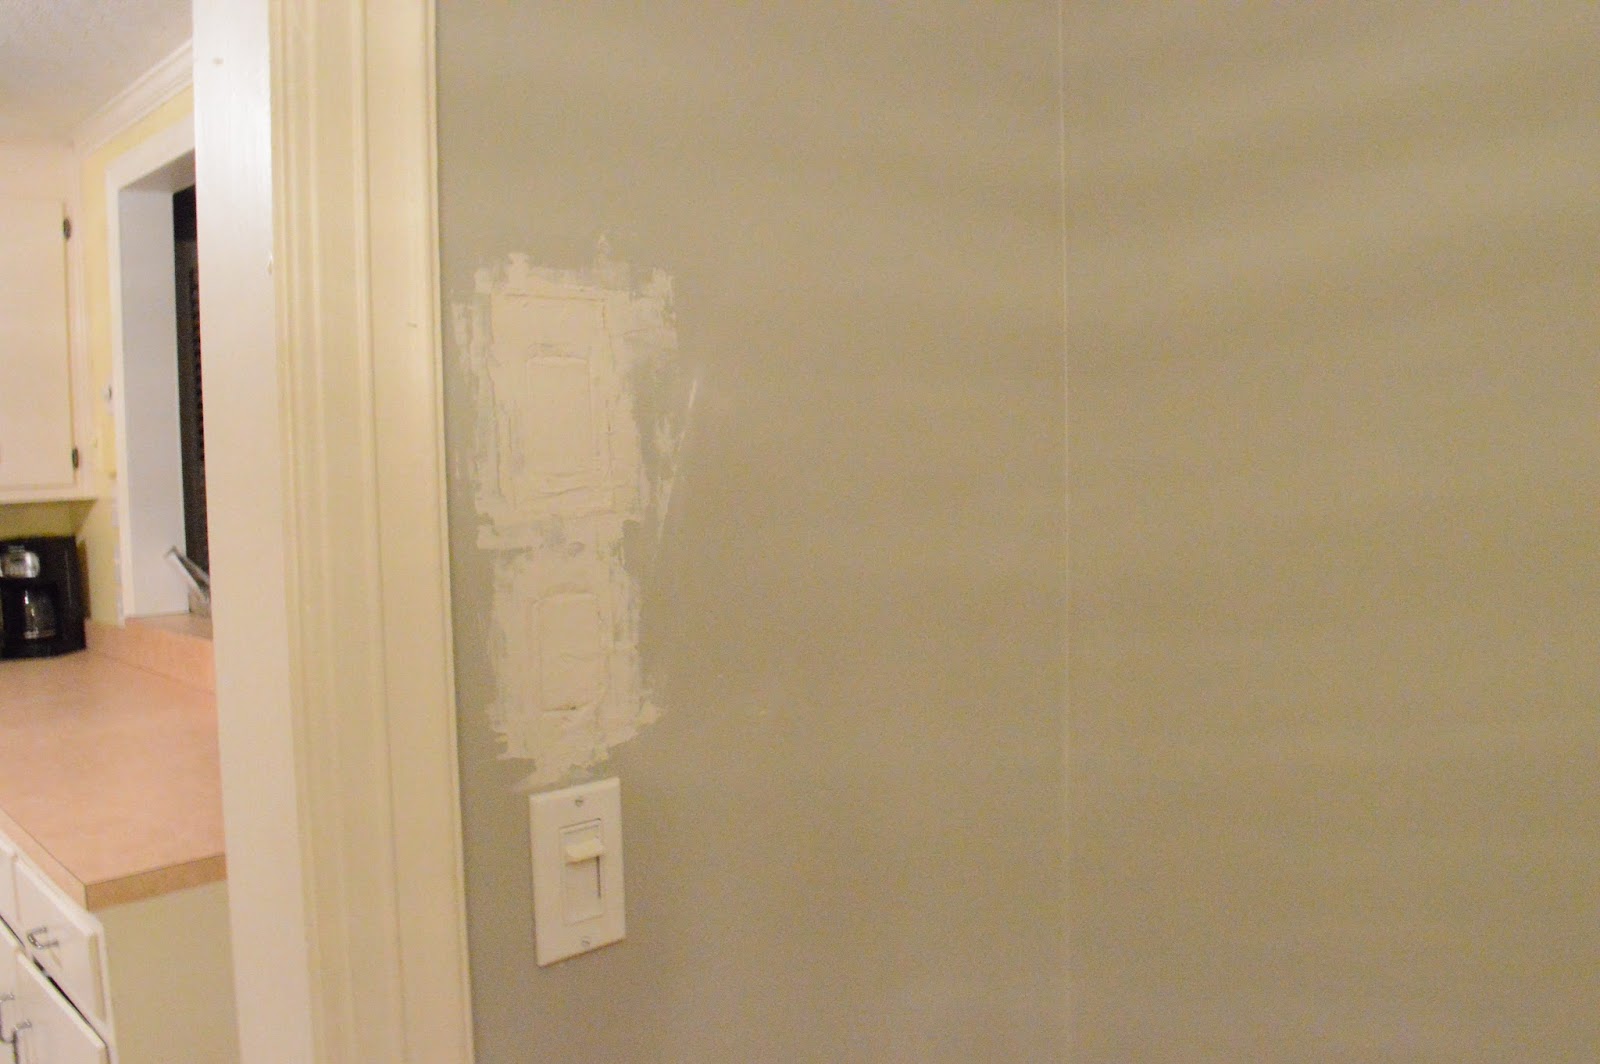
After taking down the hardware, we covered the wires with electrical tape or those plastic twist-connectors. The plan is for the electrician to pull all of the excess wiring up through the attic, but this will keep them safely behind the wall for now. Our first step in covering these eye sores was cut TINY pieces of sheet-rock and to place in the existing opening. Then we put joint compound over the sheet-rock to hold it in place.


We let that dry for over 24 hours before sanding each spot and then spackling over the areas to make them smooth.
After the Spackle dried, we sanded one last time. Then we painted over the spackled areas to reveal a perfectly new wall without an eye sore. All in all, this project took about 30 minutes a switch for a total of 5 hours. But, we had to wait for dry-time, etc so we did it slowly over two weeks, one switch at a time.
TA-DAH!


No comments :
Post a Comment
Join the conversation! We love hearing your ideas, seeing your DIY projects, and answering your questions.