Showing posts with label bathroom. Show all posts

Monday, January 5, 2015

Gallery Wall Love


I love a good gallery wall. I think they are eye-catching, warm and they just about make me swoon. I love how no two gallery walls are alike, and somehow even the order of the pictures says something about the person who lives in the home they dwell. The great thing about a gallery wall is that it is created over time. You don't have to have a ton of frames to start, and if the space allows, you can continually add to your collection - an ever growing art piece.


We have a collection of frames we melded together in our last house and I have been dying to hang them in our new house. I love reworking old things to fit into a new space. Originally, I had thought of designing a gallery wall around a TV, but as I stared at the blank black canvas of our guest bathroom, I just couldn't resist. Here is how we created an eye catching gallery wall in our guest bathroom (swoon.)


So where do you start? I asked a gal at West Elm who styles the store how she created their amazing gallery walls. Her take: Pick the biggest piece of art and hang it. Grow everything around that one piece. She doesn't measure, she just feels out the wall, the look and the space. And the results are amazing. I think this is great advice for you free-spirited individuals but for my type A self, this was a recipe for disaster (or at least a lot of extra holes in the wall). I compromised with kraft paper and some painter's tape.  


I traced each piece of art on the kraft paper and then cut out the tracing. I also penciled in which piece of art was which on the paper because many of the frames were similar sizes. Then, using painter's tape so that I wouldn't damage the fresh paint (FYI this black paint is SW's Tricorn Black and it is uh-mazing) I placed the largest art first and started placing and rearranging each piece of art until I found the perfect spot for each one. BOOM! Gallery wall magic.


The kraft paper also makes the hanging portion a breeze. Just measure the location of the hanging device on your picture frame and mark it on the kraft paper. Nail through that spot on the kraft paper and then tear the paper off the wall from around the nail. Fool Proof Gallery Wall Hanging in Minutes!


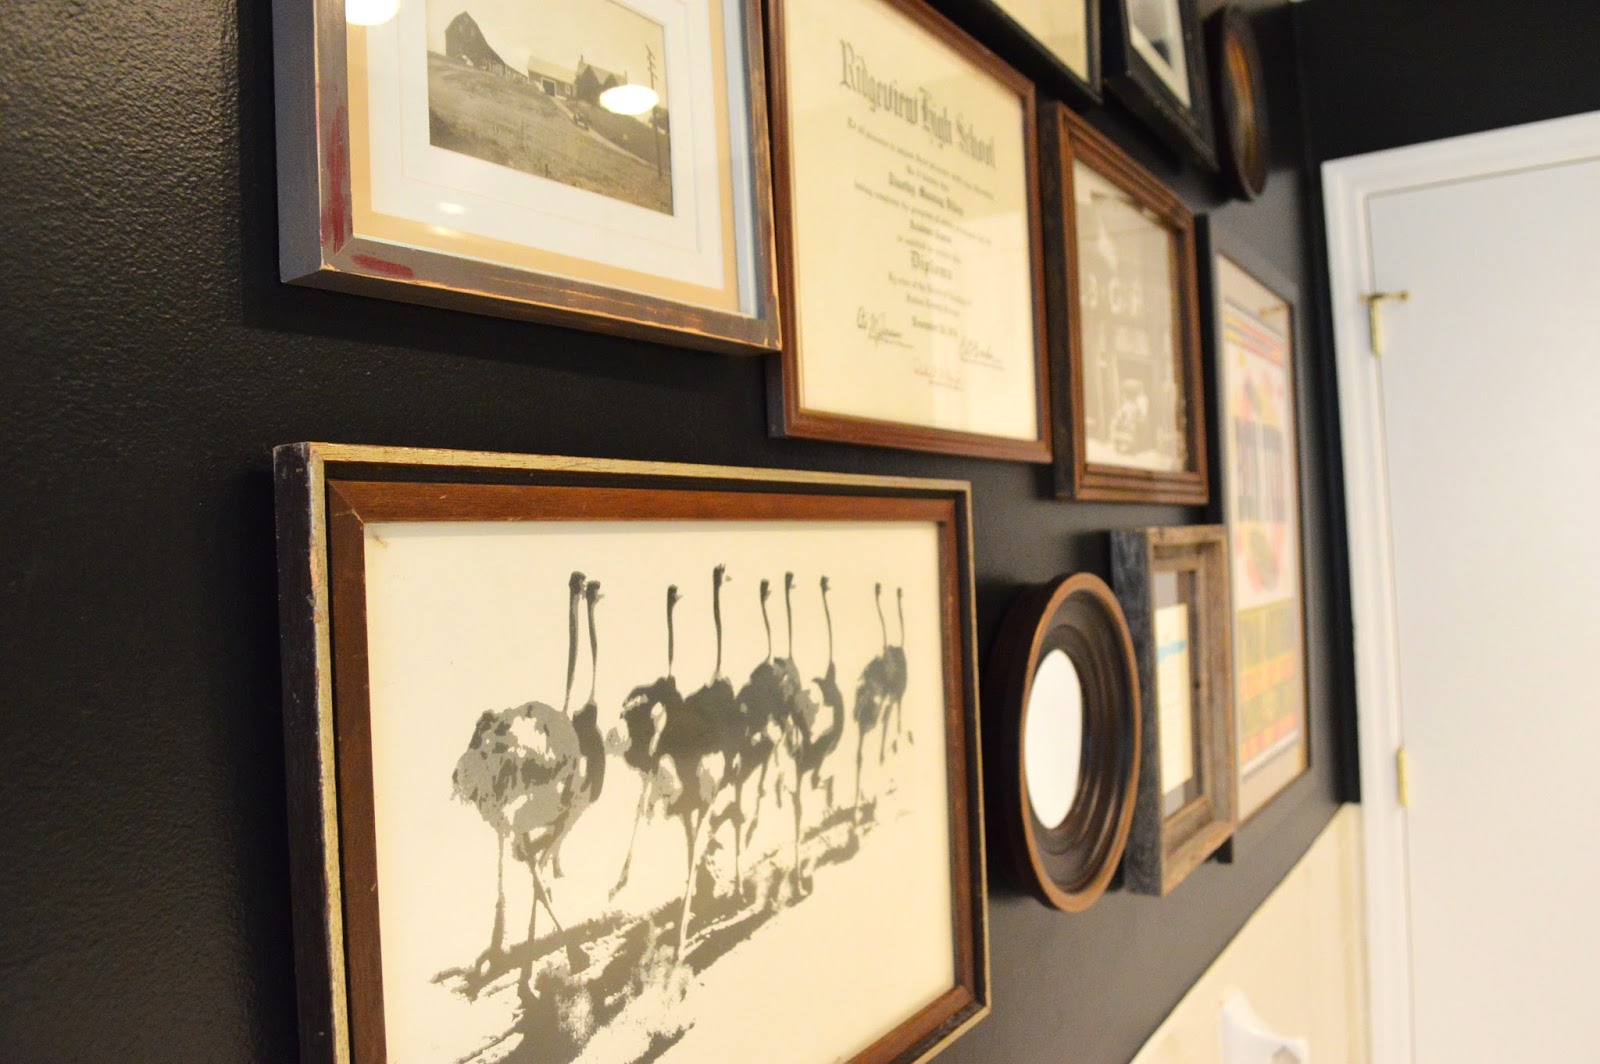


I love how the gallery wall turned out. It has been a great addition to turning the brown grout white and painting the walls black. I keep wandering back to the bathroom just to stare at it. This bathroom has come a long way and I am so amazed by the impact this easy-peesy gallery wall had on the space. Can you believe this is the same room?


If you are looking for a unique way to display your art collection, this is it! There is no right or wrong way to do a gallery wall - its all up to what you like. Share your gallery wall love in the comments section below!


Monday, December 15, 2014

How to Make Old Grout Look New

Brown Bear Grout, Brown Grout What do you See? I see ugly brown grout looking at me. So was the story of our second bathroom.. until the other day!


If you remember from our house tour, this is what the bathroom looked like before we moved in, ugly brown grout and all.


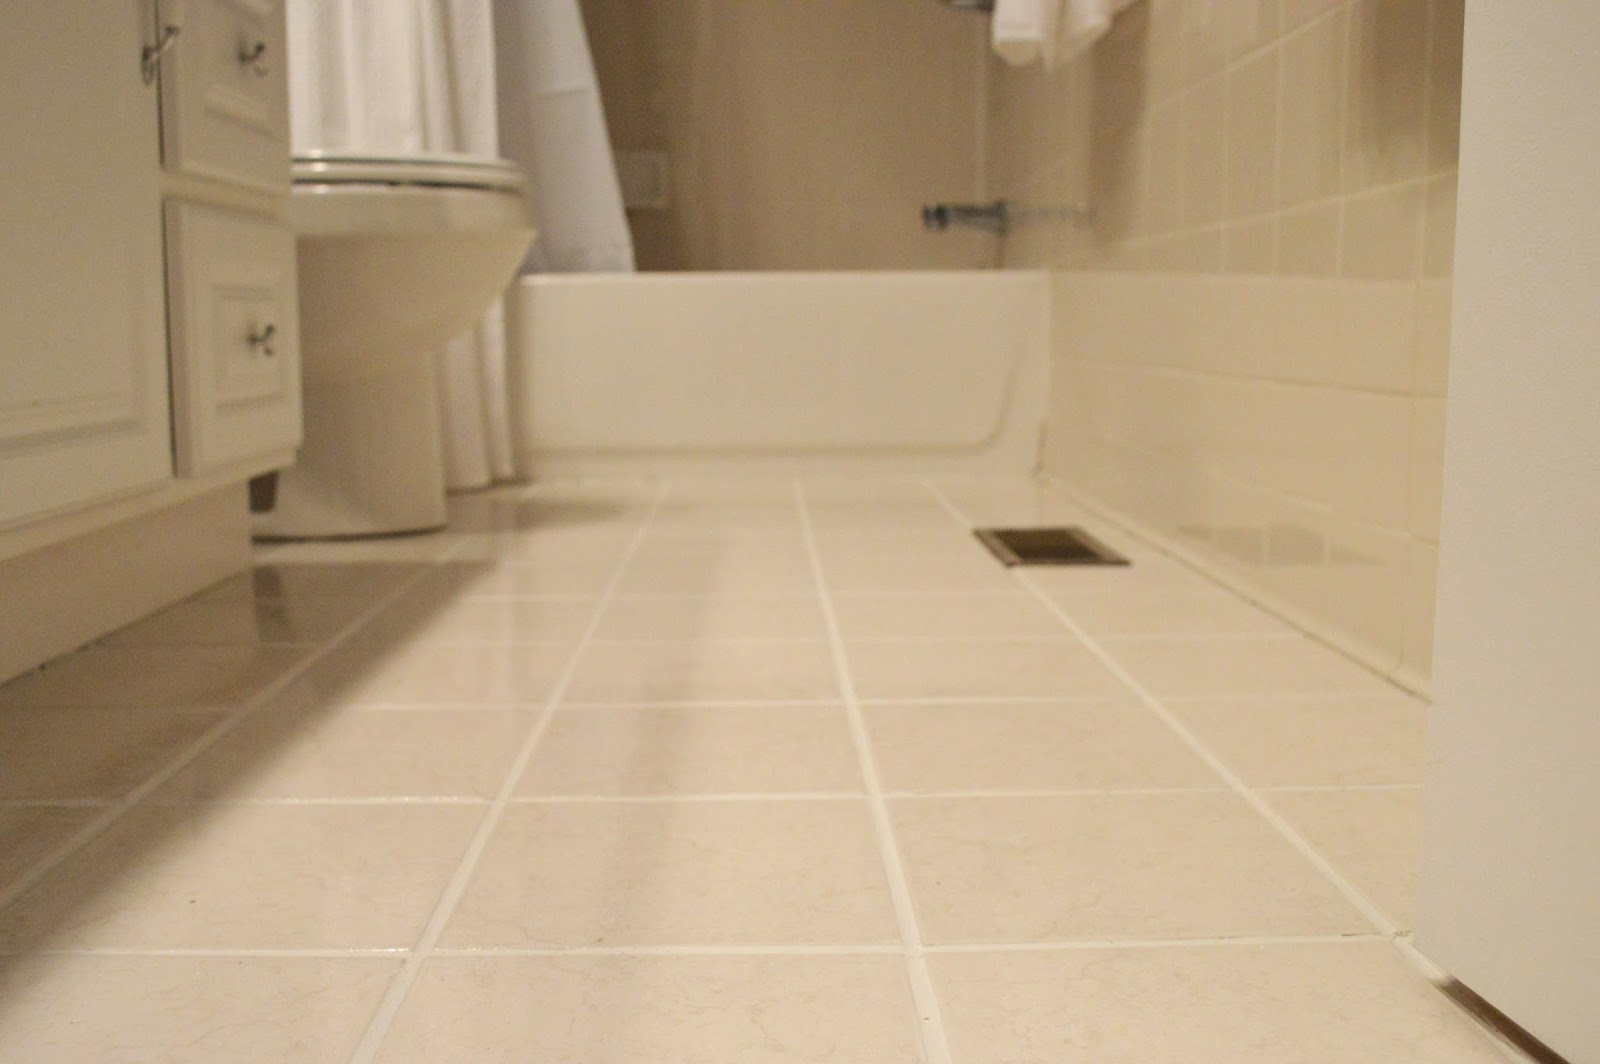
And this is what it looks like after a coat of Tricorn Black paint. I love the color, but it made the brown grout all that more apparent. In our last house, we did some heavy grout cleaning and painting, as well as cosmetic update to our small bath. Although we are not fighting with retro blue tile like in our last home, the brown grout was something that automatically dated the bathroom. I knew retiling wasn't an option (especially, after that time we tiled the kitchen) and we are not ready to gut the entire bathroom, so I began the search for an easy solution.

BEFORE

I found out that YHL had a similar grout dilemma in their new house. So I read about their experience and headed to Lowes to purchase both a grout pen and grout renew paint/sealer to try. Like YHL says, the grout paint/sealer works best. I thought this would be an incredibly meticulous task - I started out painting each grout line super carefully, trying not to get any on the tile. I was very untrusting of its ability to come off the tile so in the beginning, I was diligently wiping any spots off of the tile as I went (even though the grout renew bottle says to wait 30-45 minutes, spritz with water and then wipe off the tile). It was slow going! I started in the most conspicuous area - beside the toilet - to perfect my skills and then tested this "30-45 minutes theory." Low and behold - it worked! 


I had to do three coats of the grout renew to cover the brown. I suspect if I was using a color closer to the underlying grout that two coats would have been enough. You can see that I was not very meticulous after I tested the spot behind the toilet. I would put on one coat, wait 15 minutes, put on the second coat and then wait 45 minutes before scrubbing the excess off of the tile. For the third coat, I would be more careful and wipe the tile clean as I went (because it was such a light third coat, mostly touch ups, I felt like this was more efficient than waiting another 30 - 45 minutes).


Another thing that worked well was dividing the room into sections. This is a small bathroom, but I still had 4 rounds of waiting for the grout renew to dry before moving on to the next section. Each section was small enough for me to reach entirely across without resting on the newly painted tile so that I wouldn't smudge a drying section. 


I LOVE the results, and am so amazed that a $6 bottle of grout renew could totally transform my bathroom...but it did!! 

BEFORE

AFTER


Have you guys done any fun big bang for your buck projects over the Christmas break?


Wednesday, September 17, 2014

Updates to our Small Retro Bath Update


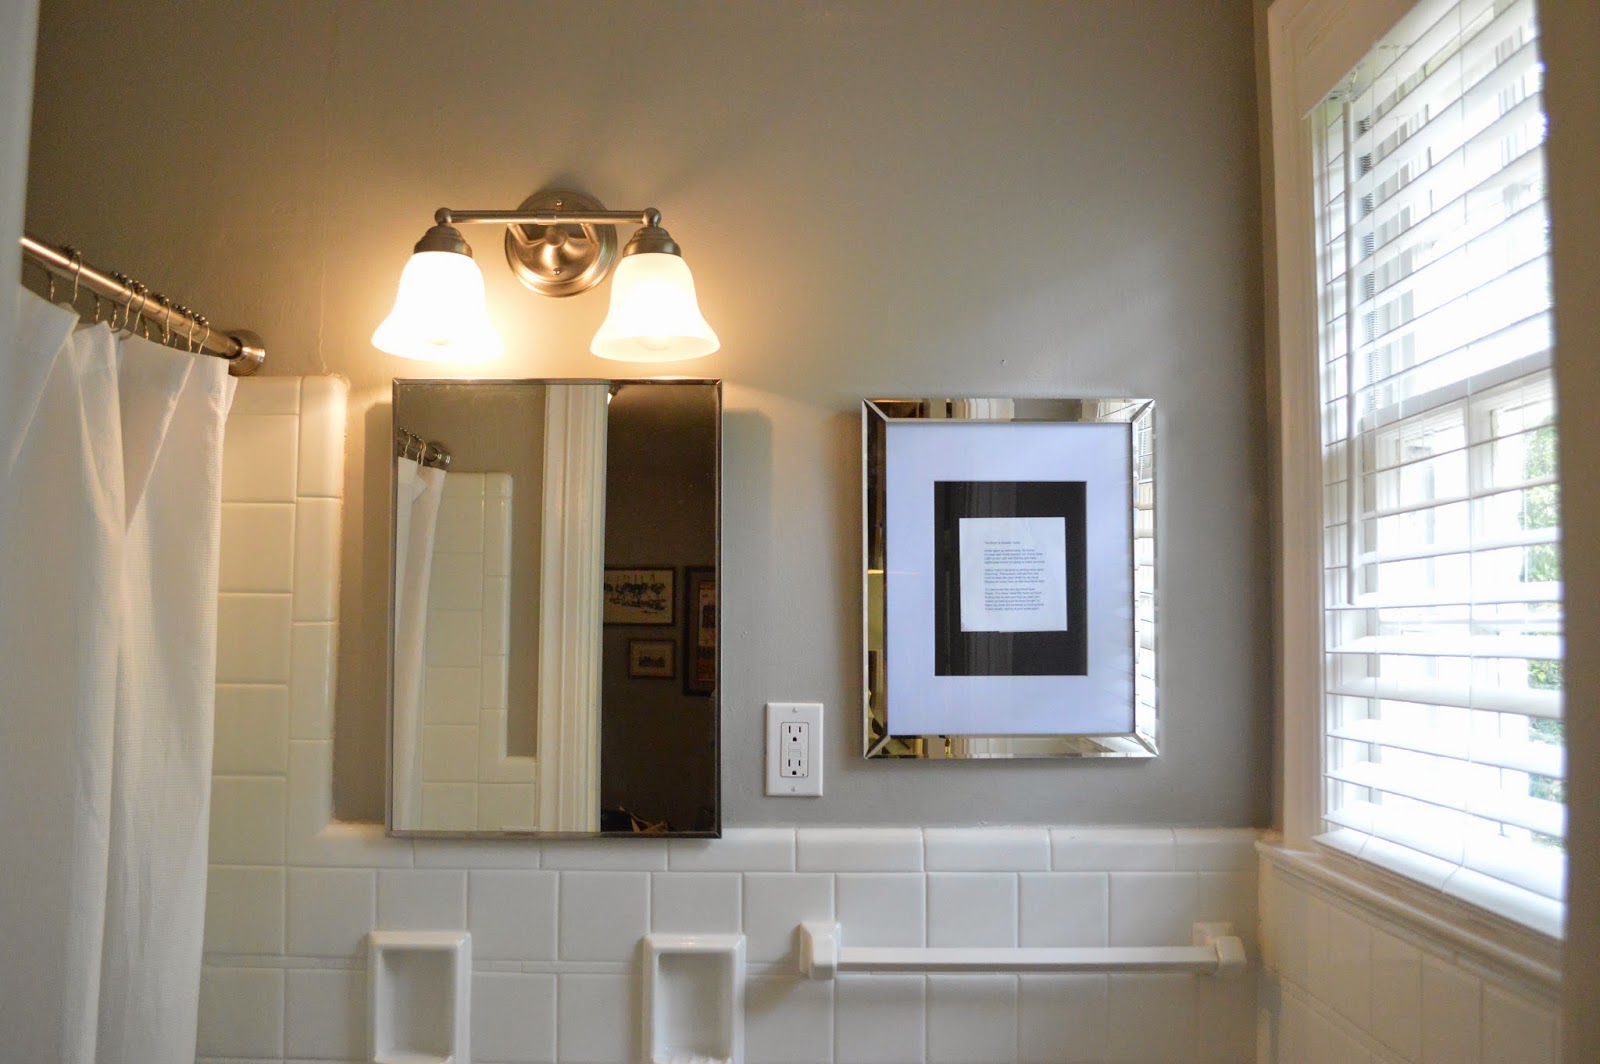
It has been awhile since we tackled any big home reno projects. I have mostly stuck to decorating and organizing this summer (two of my favorite things!). With the start of fall, I wanted to welcome my favorite season with an updated bathroom. I was tired of looking at the light purple paint and damaged trim and tile. Just to refresh your memory, this is what our small white bathroom looked like when we moved in.


Take a look at what 48 hours, some paint, and $150 can do to transform a space. 


Have you done any low cost high impact updates in your home lately?


Monday, February 10, 2014

Installing a New Vanity & Faucet in Our Retro Blue Bathroom


We got you attention, huh? Whoa baby....It's time for the Bathroom REVEAL!
 (that pregnancy test was found during our clean out and does not belong to us but someone who lived here before...sorry to dissappoint! no comment on how gross it was to find this)

The Plan (BEFORE)

As you saw here, we have already scoured the bathroom, cleaned the grout and freshened the paint. Next step, remove the old vanity. We live in a home built in 1950, and while many things have been updated, this bathroom (until now!) is one of those things. The sink did not have a shut off valve to the water supply so we had to first turn the water off to the entire house. Then we removed the plumbing supply to the wall from the sink, and unbolted the sink from the wall.


After removing the sink top, we took apart the sink base, and then placed the whole thing on Craigslist for FREE! We find that this is easier than trying to sell it for a low price of $10 or paying a dump fee to properly dispose of something like this (it was gone within 3 hours!)


With the OLD SINK GONE, we were left with years of dirt to clean up (YUCK!). After cleaning up the mess, we measured for placement of the sink. The sink is to be centered on the white plumbing pipe so the faucet is centered on the light fixture and there is enough room to open the bathroom door, as well as still comfortably sit on the toilet. We measured each plumbing spot on the wall by measuring its height off the floor, and as well as distance from the midpoint. 


Then we took those calculations and applied them to the vanity so we could drill holes for the three pipes in the proper places. 

After the holes were drilled, we slid the vanity into place and installed shutoff valves for the hot and cold water. 

Just before sliding the vanity into its new home!

Next it was time to place the sink top onto the sink base. We used a silicone gel to hold the vanity in place. We placed a small line in each corner and at the base of the vanity against the floor tile for extra stability. 


 Post vanity top install! Next up, the faucet!

We chose a beautiful brushed nickel Pfister Faucet. 

Vanity (BEFORE): 

Vanity (AFTER):


BEFORE & AFTER


We are so enjoying our fresh new space (AFTER): 
 

TO DO: 
Paint the Ceiling, Trim & Walls
Repair Walls
Scrape and re-caulk tile
Clean grout
Paint Linen Closet & shelving
Replace light fixture
Replace/Repair shower hardware 
Refinish tub
Install NEW vanity (oh em gee, I cannot wait for this!)
Repair frame around linen closet... if we decide to keep the door off
Install towel hooks
Install new wood blinds for privacy
Purchase and hang white extra long shower curtain
Purchase new towels and a floor mat 
Install new vanity mirror


Related Posts Plugin for WordPress, Blogger...

Blog Archive