Showing posts with label kitchen. Show all posts

Monday, July 28, 2014

Updating the look of the Kitchen

You know when something just isn't quite right? That is how I have felt about our kitchen for months!The kitchen is our biggest renovation project to date and feeling like something was off had me questioning the whole project.I  began looking through the pictures I originally picked out for the kitchen to try to identify where I drifted from those ideas. Turns out, the base for the kitchen: White Cabinets and Dark Flooring was all in line with the "feel" I wanted to achieve. 

Inspiration for the Kitchen:

When I layered an albeit pretty but red rug on the charcoal floors, the "feel" I was going for vanished. So I began the hunt for a rug that was a little more natural and neutral. What I love so much about decorating is that  little changes have big impact!

 I stumbled upon this rug at TJMaxx and knew it was the one. 


The black and natural fiber rug brings together the colors in the granite, cabinets and flooring while blending well with the look of our kitchen island. We are loving the new look of our kitchen. 


Small change = Big Impact!
Have you guys made any small changes that have had a big impact on your home?! 


<<<PS __ Ty and I celebrate 2 years married today! >>>>


Thursday, May 8, 2014

#TBT


#TBT to the Condo Kitchen BEFORE I got my hands on it!


The Condo Kitchen: AFTER


Friday, January 31, 2014

Kitchen Renovation: How To Repair Plaster Walls


We have referred to "that wall" for quite some time. 
"That wall" has been that wall since demo day in late October of last year.
 In fact, that wall has been around for SO LONG its become a household name. 
"When are we going to fix that wall?"
"The Kitchen is almost entirely done - except for that wall."
"You hardly notice that wall "(and so another week goes by without repairing it!)
"I'm going to hang a picture on that wall so its less noticeable "
(this in fact, makes the undone state of that wall even more obvious)
Which wall? THAT WALL! You know, the one in the kitchen that is hardly noticeable until it is and then you are like "WHOA! what is up with that wall?!"


What's up with that wall is that during demo day, I thought painting over the wallpaper and plaster would be a good time saver - I just really couldn't take anymore wallpaper removal at that point. WRONG-O!
This short cut turned into a long cut. We began the tedious process of removing the wallpaper, which now was sealed to the wall by my grand painting idea. This revealed disastrous chipping plaster walls, faux wood paneling, and just a plain ugly peachy tan and white splattered wall. So began the weeks of neglecting that wall, and the looming question of how DO we fix that wall?

1. Gather Supplies.
Face Mask
Palm Sander (or heavy grit sand paper if you are really brave!)
Joint Compound
Flat Trowel
Patience & Time
Shop Vac or other form of vaccuum (lots of dust)
Drop cloths
Kilz Latex Primer


2. Apply joint compound in a thin layer. filling holes and uneven surfaces.
Allow to dry (every compound is different , read your bucket for exact drying times!).


3. SAND. Make sure the first layer of joint compound is dry. Sand the uneven surface until smooth.
4. Repeat Steps 2 & 3 until the wall is completely even and smooth. (Ty sanded the surface twice)


5. PRIME. Once the sanding is complete, wipe down the wall with a dry cloth and vaccuum the area to remove any dust. Prime the wall using Kilz Latex Primer(our favorite primer, not our favorite cost... a small quart is $15 a pop!)...but man it gets the job done. Allow to dry. Repeat step 5 if necessary (Ty did!)


6. PAINT. Mindful Grey, for us of course.


This finished product had us saying...
Take a  look at that wall!


Credits to Ty for this project. I was basking in the warm sunshine of Miami, Florida while he was at home in the first snow showers of the season while battling that wall. 


Missed our kitchen reveal from start to finish?
Click here, here and here!
Can't Wait: The Kitchen Final Reveal

Monday, January 13, 2014

Freshening Up a Kitchen on a Zero Dollar Budget

If you don't already know, I am a {home} rehab nut. 
So this Room Refresh series is dedicated to taking my craziness into YOUR home! 
Not only do I love fixing up our humble abode, but I love making all spaces new through decorative organizing and accessorizing.

My First Victim: Beth's Kitchen (BEFORE)

There is no better place to start our Room Refresh series than a best friend's house. Beth and I have not only been friends since 7th grade (yes, that's 16 years for those of you counting!), but we also both live in 50s ranch-style homes. So, when she asked me to come help organize her kitchen, I jumped at the opportunity. We tackled her kitchen today by cleaning out the cabinets, organizing, and accessorizing. Not to mention, we cooked up some pretty scrumptious plans for this kitchen's future.

Beth's Kitchen: View from the Dining Room (BEFORE)

Our goal for the space during our clean-up and clean-out day was to simplify
We wanted to organize the open shelving, clean out the cabinets, and freshen up the counter-top space by making things like the microwave and toaster not so applianc-y. 


Beth's Kitchen: View from the Living Room (BEFORE)


We started out by clearing out the entire space. Yep, we removed everything from every drawer, cabinet, nook & cranny. Beth made this very easy because she was so ready to clean out. 
We quickly divided everything into Give, Trash, and Keep piles before re-organizing everything in the cabinets.

Mid-clean out: The Dining Room became our sorting station

Our main focus for accessorizing was the open cabinetry. 
Beth had already removed the doors on the cabinets which made this part easy and fun!

            Open Cabinetry: BEFORE                                                                       Open Cabinetry: AFTER


Up Close & Personal Look at the AFTER open cabinetry: 


And while we were cleaning out we couldn't help but come up with some ideas for the future of the space.... 
Beth really dislikes the florescent ceiling light (I second this!) so our next step will be to install proper lighting for the space.


Our other ideas include placing a pendant light over the sink, painting the cabinets, and replacing the hardware.
 Eventually, Beth would like to replace appliances and flooring but until then...
if it ain't broke don't fix it!


The final results turned out great!

Beth's Kitchen (BEFORE)

Beth's Kitchen (AFTER)

View from the Dining Room: BEFORE

View from the Dining Room: AFTER

So what exactly did we do? 
  • Cleared the counter-tops of non-everyday items 
  • dressed up the appliances 
  • organized the open cabinets 
  • Gave or Threw away unused or broken or duplicate items
  • removed the dated curtains
  • cleaned out and organized the interior of the cabinets for easier use and grouped like items together
  • put lesser used items in harder to reach places (like extra china sets!)
  • Decoratively displayed everyday items

More AFTER shots:


Monday, January 6, 2014

Kitchen Renovation: Budget Breakdown


Well, we are all about transparency here...so here is our budget breakdown for the kitchen. In case you missed the Kitchen Reveal, here is a  little Before & After of the kitchen. So, what does our total budget breakdown look like? 
  • Demo: FREE! (see that here)
  • Microwave: $180 on craiglist plus a $30 new microwave tray
  • Fridge, Range, D/W: $2481 (Fridge was scratch&dent from EE, D/W was new, and Range was negotiated down from $1250 new to $850 plus tax and electrical cord)
  • Tile Floor: $903 (free installation - oh yes, we did that here, here, and here)
  • Backsplash: $150 (seen here)
  • Electrical & Plumbing: $1125 (We had a professional install the sink, garbage disposal & dishwasher. We also had a LOT of electrical work done since our wiring was from 1950. This included some things in the Master Bedroom and Living Room, as well as adding a recessed light over the kitchen sink, but we just included all of it here)
  • Lighting & Garbage Disposal: $621 (We bought a fancy-shmancy 4-light fixture by Kichler & our garbage disposal on build.com)
  • Kitchen Island & Rug: $425 (Rug found on CL for $75)
  • Solid Wood Custom Cabinets & Installation: $7387 (We received 10% off plus a buy more, save more discount, plus an additional 10% off price match with HD, plus free soft close doors, free sink base, free roll out drawers in the pantry and a wood cutlery drawer)
  • Granite: $1250 (this was a STEAL for 3cm granite at $35/sq.ft. including installation and a free sink)
  • Tools: $150 
  • REBATE from Lowe's -$532
  • Selling old appliances and cabinets -$510 (old D/W, fridge, stove & microwave...and cabinets)

TOTAL COST: $13,660

Not too shabby for our first entire kitchen remodel.


In case you are interested in undergoing a kitchen remodel yourself here are some average costs for kitchen remodels:

A basic kitchen remodel: laminate counter-tops, everything remains in essentially the same spot, & average appliances costs around $12,000 and up


A major kitchen remodel: complete gutting, higher end appliances, granite/stone counter-tops, relocating or adding electrical, custom cabinets, new floorings: $50,700 average

Tell us about your kitchen remodel!
The good, the bad, the pricey...we want to hear ALL about it.


Monday, December 30, 2013

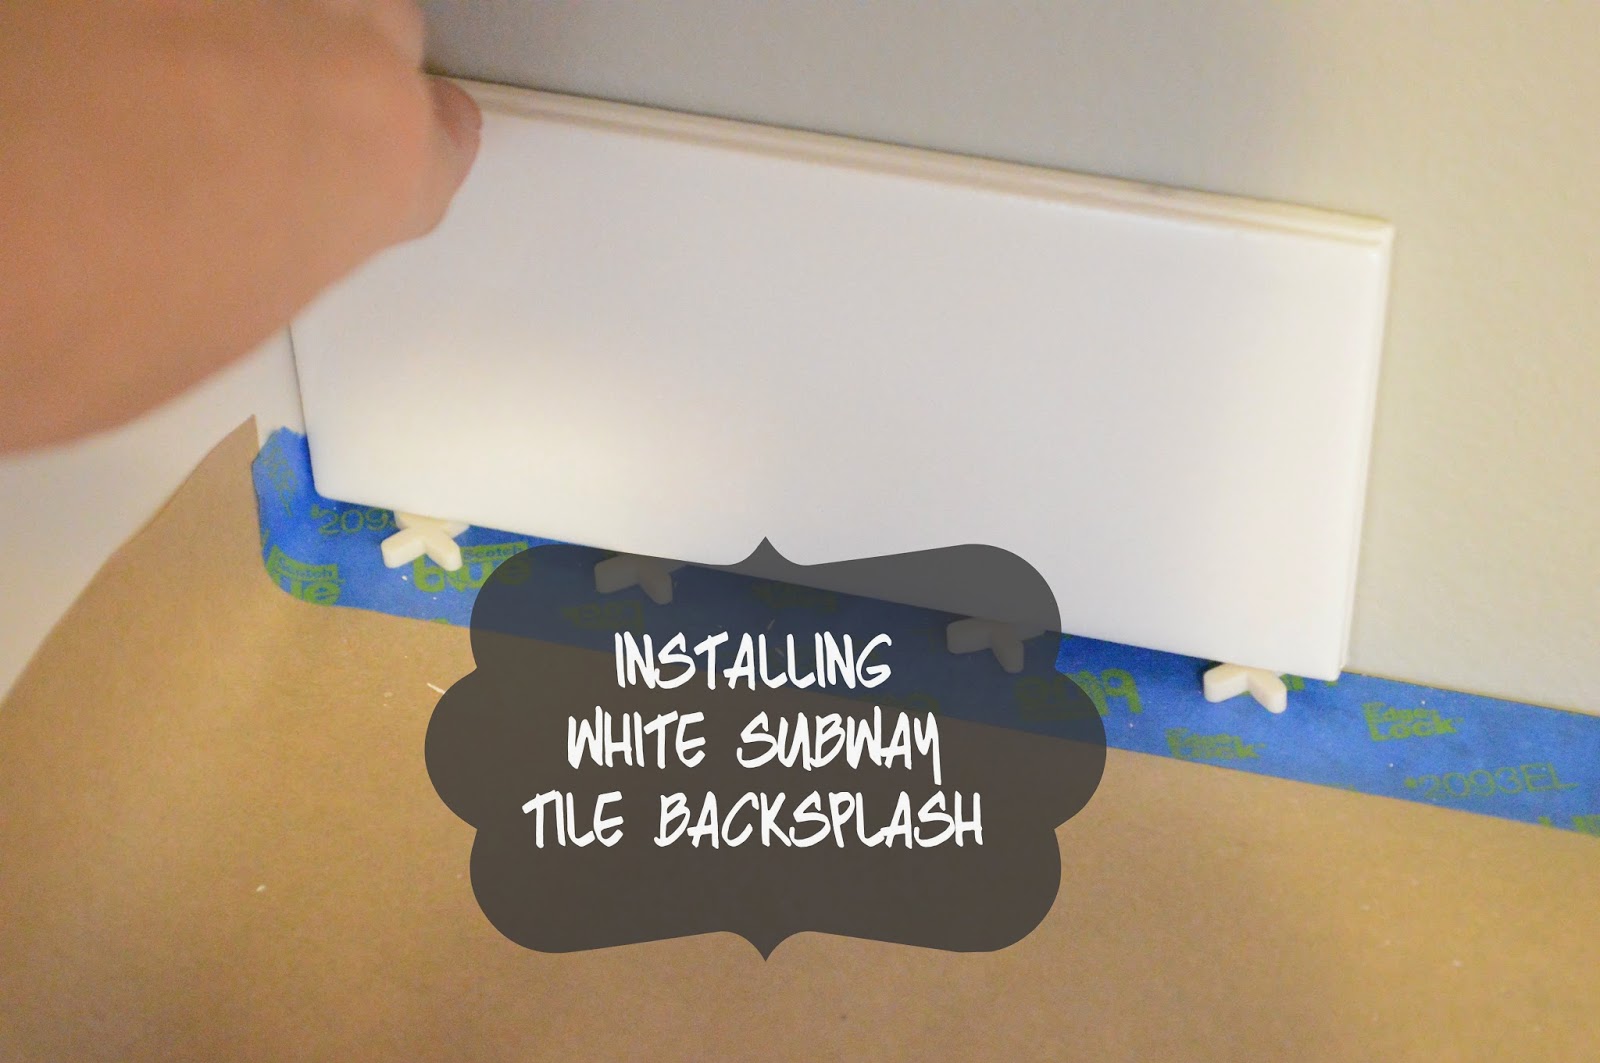
Kitchen Renovation: How To Tile a Backsplash

Well, the Kitchen Reveal has come & gone, but there are a  few missing links on HOW we got there - and this is one of them: Our White Subway Tile Backsplash.


I flew solo on this one. Ty permanently denounced tiling forever (not really, he was just at work so we could actually buy the tile!), so this kitchen backsplash is up to me. We are going for a classic look by using white subway tile. I have to say that round 2 of tiling (see round 1 here here, and here) is MUCH more enjoyable. With no time crunch, smaller tiles, and experience... its FUN!


PREP:
Prep for the backsplash was SO EASY.
 I used kraft paper and painters tape to protect our LUNA PEARL granite. 


 I removed all of the outlet plates. If we had not done a lot of work on the front end of demo-ing the kitchen, I would have had more prep work. The walls were  patched with spackle and then sanded to level the surface. We also went over the area to be tiled with a light sanding to rough up the walls and help the thinset stick.


Covering our bases: We did not want any grout, thinset, etc to damage our gorgeous new faucet so we wrapped awkward surfaces in plastic wrap.


As seen in our previous tiling endeavors, here I am again, mixing thinset! Some people use MASTIC as their tile adhesive. I have heard great things about it for a tile adhesive in the backsplash setting BUT being a savvy saver, I wanted to use the rest of our thinset from the floor rather than having to buy another product. 


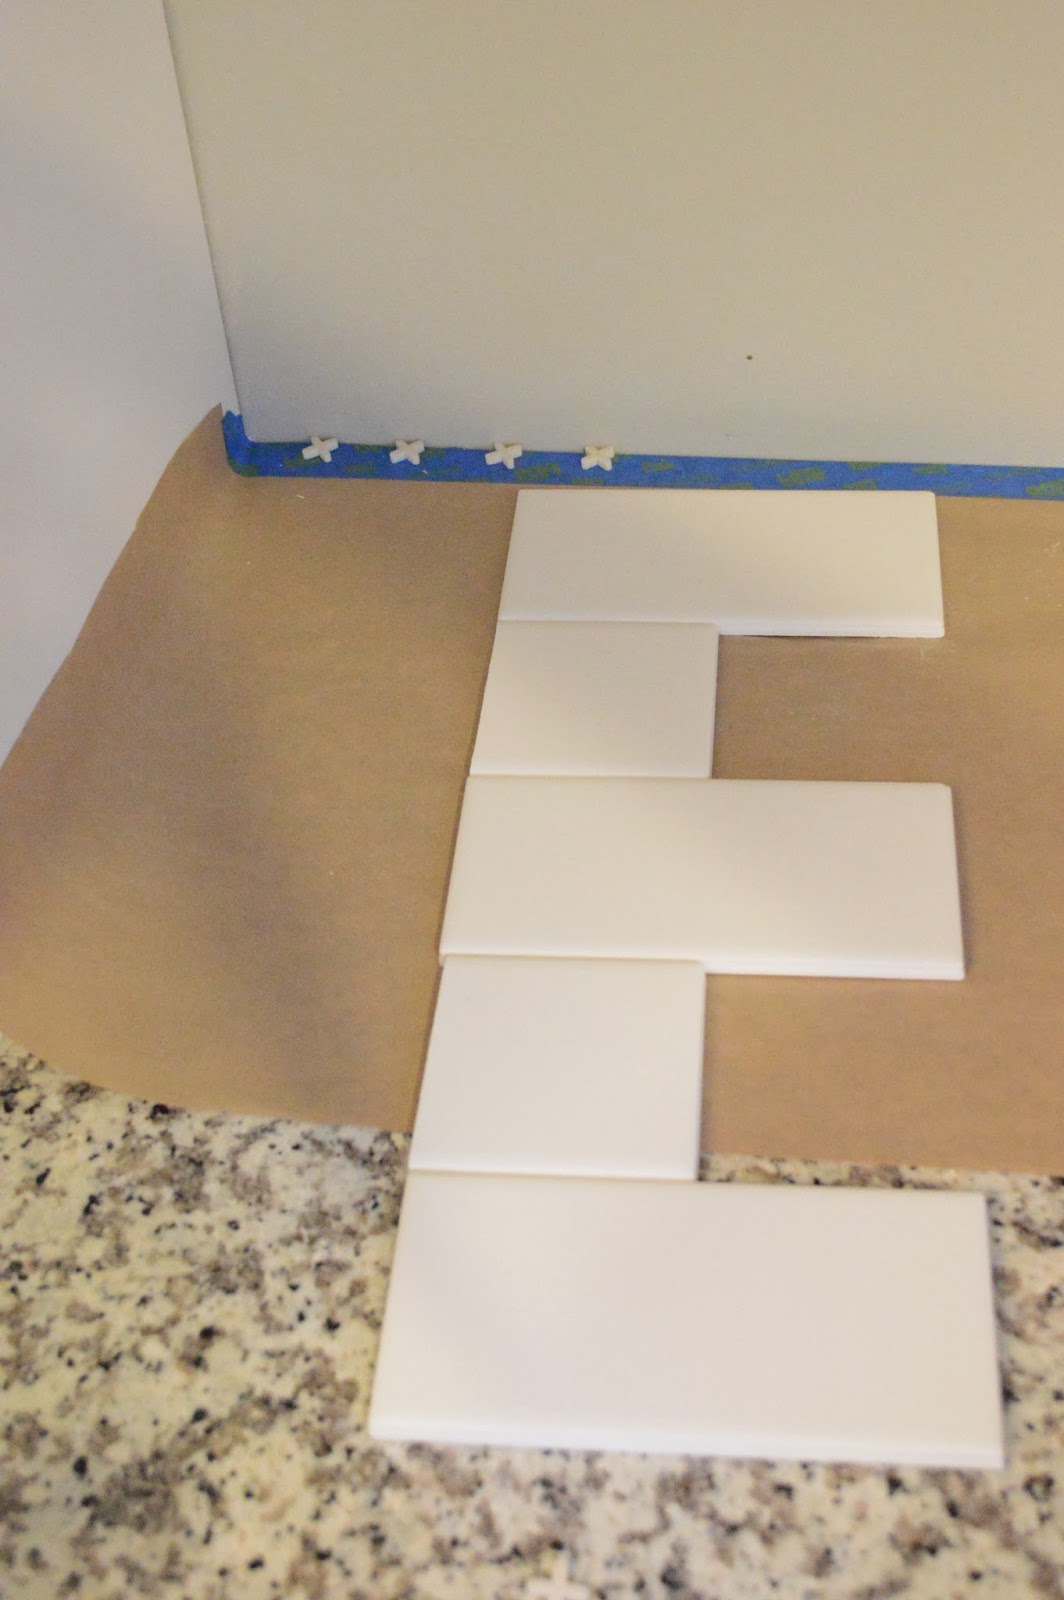
Laying out the tile. 


Another difference in the floor tile and the back splash...  the white subway tile has built in spacers. 
Although we still had to use spacers to keep the tile off the granite. Later, we will caulk between that space. 


Once the layout was set, it was time to tile!


As part of laying out the tile, I had to decide how to "finish" the edges where the counter ended but the wall did not. I used pre-cut edging pieces to create a finished look at the ends of the countertops.


 GROUTing!


Left side grouted, Right side ungrouted.

We had a big debate between dark grey and white grout while the thinset and tiles dried. We ended up going with white grout for several reasons, but mainly because the look is so fresh and does not obligate any one person to grey in the kitchen forever. 

Before
After

Have any of you guys ever tackled a backsplash?
We'd love to see pictures and hear about your experiences tiling!

We will be featuring YOUR HOME PROJECTS in the New Year.
Post in the comments below for more information!
We look forward to hearing from you!

HAPPY (almost) NEW YEAR!!


Related Posts Plugin for WordPress, Blogger...

Blog Archive