Showing posts with label BeforeandAfter. Show all posts

Thursday, May 15, 2014

#TBT

Our Make-shift Kitchen


Our NOW Kitchen


We would love to post your DIY, Home Renovation, Before & After pictures too. 
Send them our way at sylvanparklife@gmail.com for a chance to be featured in a #TBT Blog Post.

Monday, February 10, 2014

Installing a New Vanity & Faucet in Our Retro Blue Bathroom


We got you attention, huh? Whoa baby....It's time for the Bathroom REVEAL!
 (that pregnancy test was found during our clean out and does not belong to us but someone who lived here before...sorry to dissappoint! no comment on how gross it was to find this)

The Plan (BEFORE)

As you saw here, we have already scoured the bathroom, cleaned the grout and freshened the paint. Next step, remove the old vanity. We live in a home built in 1950, and while many things have been updated, this bathroom (until now!) is one of those things. The sink did not have a shut off valve to the water supply so we had to first turn the water off to the entire house. Then we removed the plumbing supply to the wall from the sink, and unbolted the sink from the wall.


After removing the sink top, we took apart the sink base, and then placed the whole thing on Craigslist for FREE! We find that this is easier than trying to sell it for a low price of $10 or paying a dump fee to properly dispose of something like this (it was gone within 3 hours!)


With the OLD SINK GONE, we were left with years of dirt to clean up (YUCK!). After cleaning up the mess, we measured for placement of the sink. The sink is to be centered on the white plumbing pipe so the faucet is centered on the light fixture and there is enough room to open the bathroom door, as well as still comfortably sit on the toilet. We measured each plumbing spot on the wall by measuring its height off the floor, and as well as distance from the midpoint. 


Then we took those calculations and applied them to the vanity so we could drill holes for the three pipes in the proper places. 

After the holes were drilled, we slid the vanity into place and installed shutoff valves for the hot and cold water. 

Just before sliding the vanity into its new home!

Next it was time to place the sink top onto the sink base. We used a silicone gel to hold the vanity in place. We placed a small line in each corner and at the base of the vanity against the floor tile for extra stability. 


 Post vanity top install! Next up, the faucet!

We chose a beautiful brushed nickel Pfister Faucet. 

Vanity (BEFORE): 

Vanity (AFTER):


BEFORE & AFTER


We are so enjoying our fresh new space (AFTER): 
 

TO DO: 
Paint the Ceiling, Trim & Walls
Repair Walls
Scrape and re-caulk tile
Clean grout
Paint Linen Closet & shelving
Replace light fixture
Replace/Repair shower hardware 
Refinish tub
Install NEW vanity (oh em gee, I cannot wait for this!)
Repair frame around linen closet... if we decide to keep the door off
Install towel hooks
Install new wood blinds for privacy
Purchase and hang white extra long shower curtain
Purchase new towels and a floor mat 
Install new vanity mirror


Monday, January 6, 2014

Kitchen Renovation: Budget Breakdown


Well, we are all about transparency here...so here is our budget breakdown for the kitchen. In case you missed the Kitchen Reveal, here is a  little Before & After of the kitchen. So, what does our total budget breakdown look like? 
  • Demo: FREE! (see that here)
  • Microwave: $180 on craiglist plus a $30 new microwave tray
  • Fridge, Range, D/W: $2481 (Fridge was scratch&dent from EE, D/W was new, and Range was negotiated down from $1250 new to $850 plus tax and electrical cord)
  • Tile Floor: $903 (free installation - oh yes, we did that here, here, and here)
  • Backsplash: $150 (seen here)
  • Electrical & Plumbing: $1125 (We had a professional install the sink, garbage disposal & dishwasher. We also had a LOT of electrical work done since our wiring was from 1950. This included some things in the Master Bedroom and Living Room, as well as adding a recessed light over the kitchen sink, but we just included all of it here)
  • Lighting & Garbage Disposal: $621 (We bought a fancy-shmancy 4-light fixture by Kichler & our garbage disposal on build.com)
  • Kitchen Island & Rug: $425 (Rug found on CL for $75)
  • Solid Wood Custom Cabinets & Installation: $7387 (We received 10% off plus a buy more, save more discount, plus an additional 10% off price match with HD, plus free soft close doors, free sink base, free roll out drawers in the pantry and a wood cutlery drawer)
  • Granite: $1250 (this was a STEAL for 3cm granite at $35/sq.ft. including installation and a free sink)
  • Tools: $150 
  • REBATE from Lowe's -$532
  • Selling old appliances and cabinets -$510 (old D/W, fridge, stove & microwave...and cabinets)

TOTAL COST: $13,660

Not too shabby for our first entire kitchen remodel.


In case you are interested in undergoing a kitchen remodel yourself here are some average costs for kitchen remodels:

A basic kitchen remodel: laminate counter-tops, everything remains in essentially the same spot, & average appliances costs around $12,000 and up


A major kitchen remodel: complete gutting, higher end appliances, granite/stone counter-tops, relocating or adding electrical, custom cabinets, new floorings: $50,700 average

Tell us about your kitchen remodel!
The good, the bad, the pricey...we want to hear ALL about it.


Monday, December 30, 2013

Kitchen Renovation: How To Tile a Backsplash

Well, the Kitchen Reveal has come & gone, but there are a  few missing links on HOW we got there - and this is one of them: Our White Subway Tile Backsplash.


I flew solo on this one. Ty permanently denounced tiling forever (not really, he was just at work so we could actually buy the tile!), so this kitchen backsplash is up to me. We are going for a classic look by using white subway tile. I have to say that round 2 of tiling (see round 1 here here, and here) is MUCH more enjoyable. With no time crunch, smaller tiles, and experience... its FUN!


PREP:
Prep for the backsplash was SO EASY.
 I used kraft paper and painters tape to protect our LUNA PEARL granite. 


 I removed all of the outlet plates. If we had not done a lot of work on the front end of demo-ing the kitchen, I would have had more prep work. The walls were  patched with spackle and then sanded to level the surface. We also went over the area to be tiled with a light sanding to rough up the walls and help the thinset stick.


Covering our bases: We did not want any grout, thinset, etc to damage our gorgeous new faucet so we wrapped awkward surfaces in plastic wrap.


As seen in our previous tiling endeavors, here I am again, mixing thinset! Some people use MASTIC as their tile adhesive. I have heard great things about it for a tile adhesive in the backsplash setting BUT being a savvy saver, I wanted to use the rest of our thinset from the floor rather than having to buy another product. 


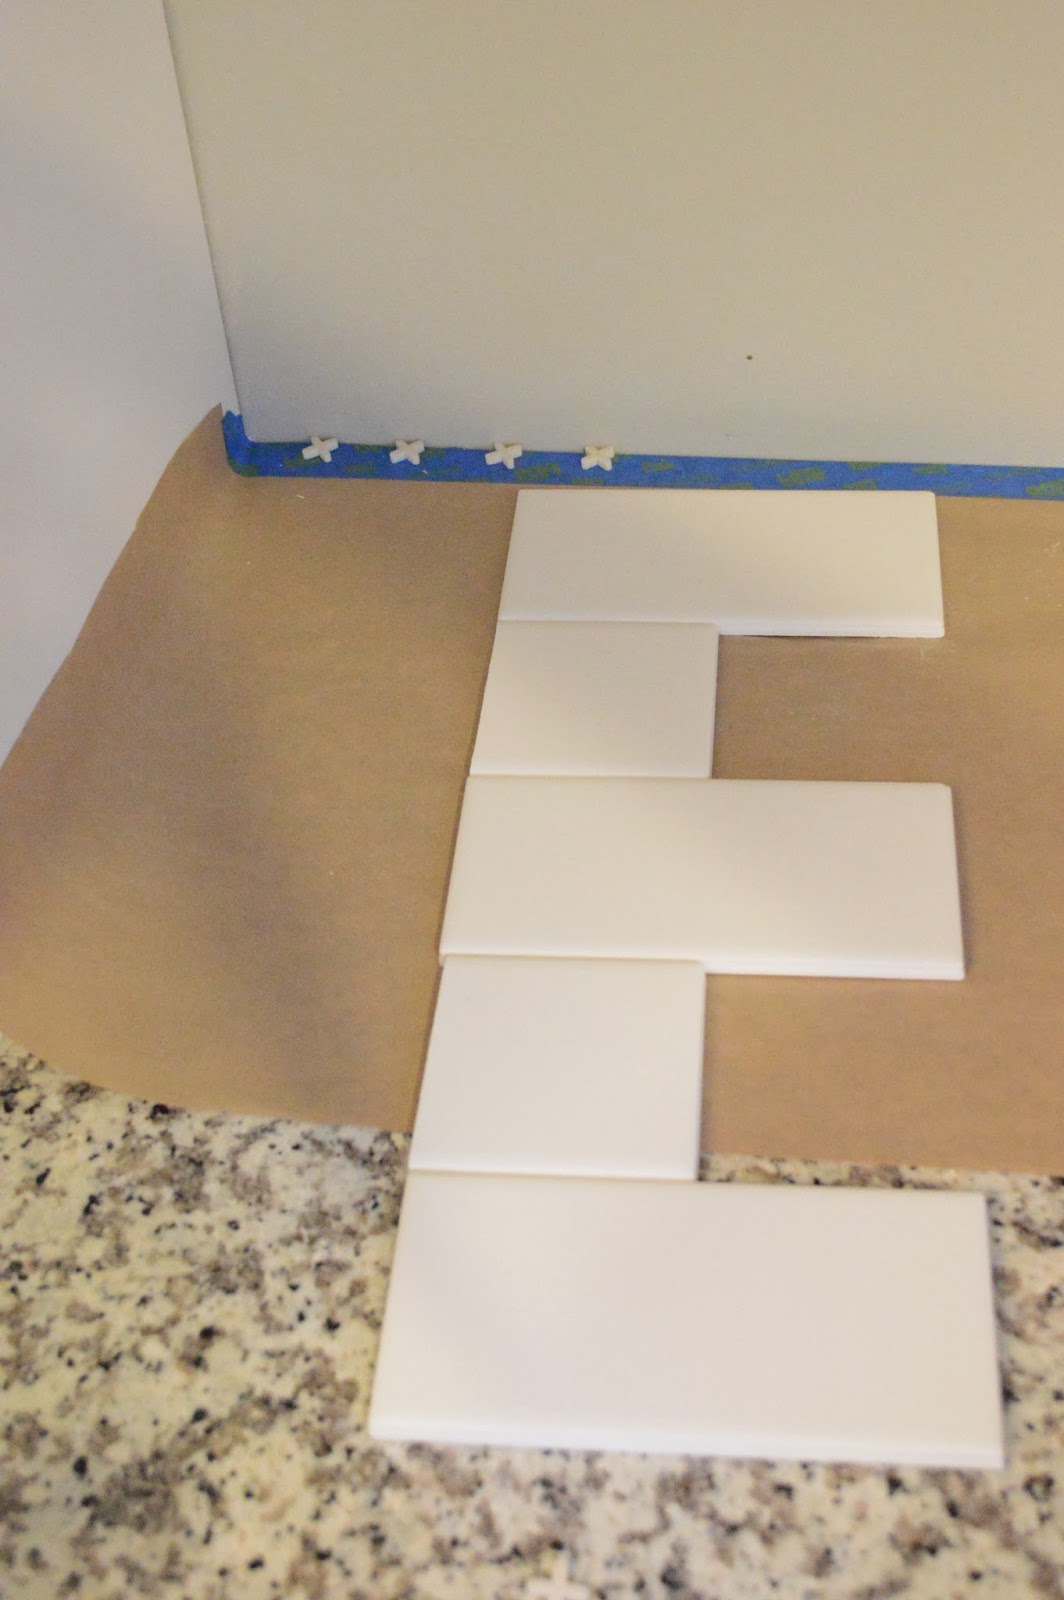
Laying out the tile. 


Another difference in the floor tile and the back splash...  the white subway tile has built in spacers. 
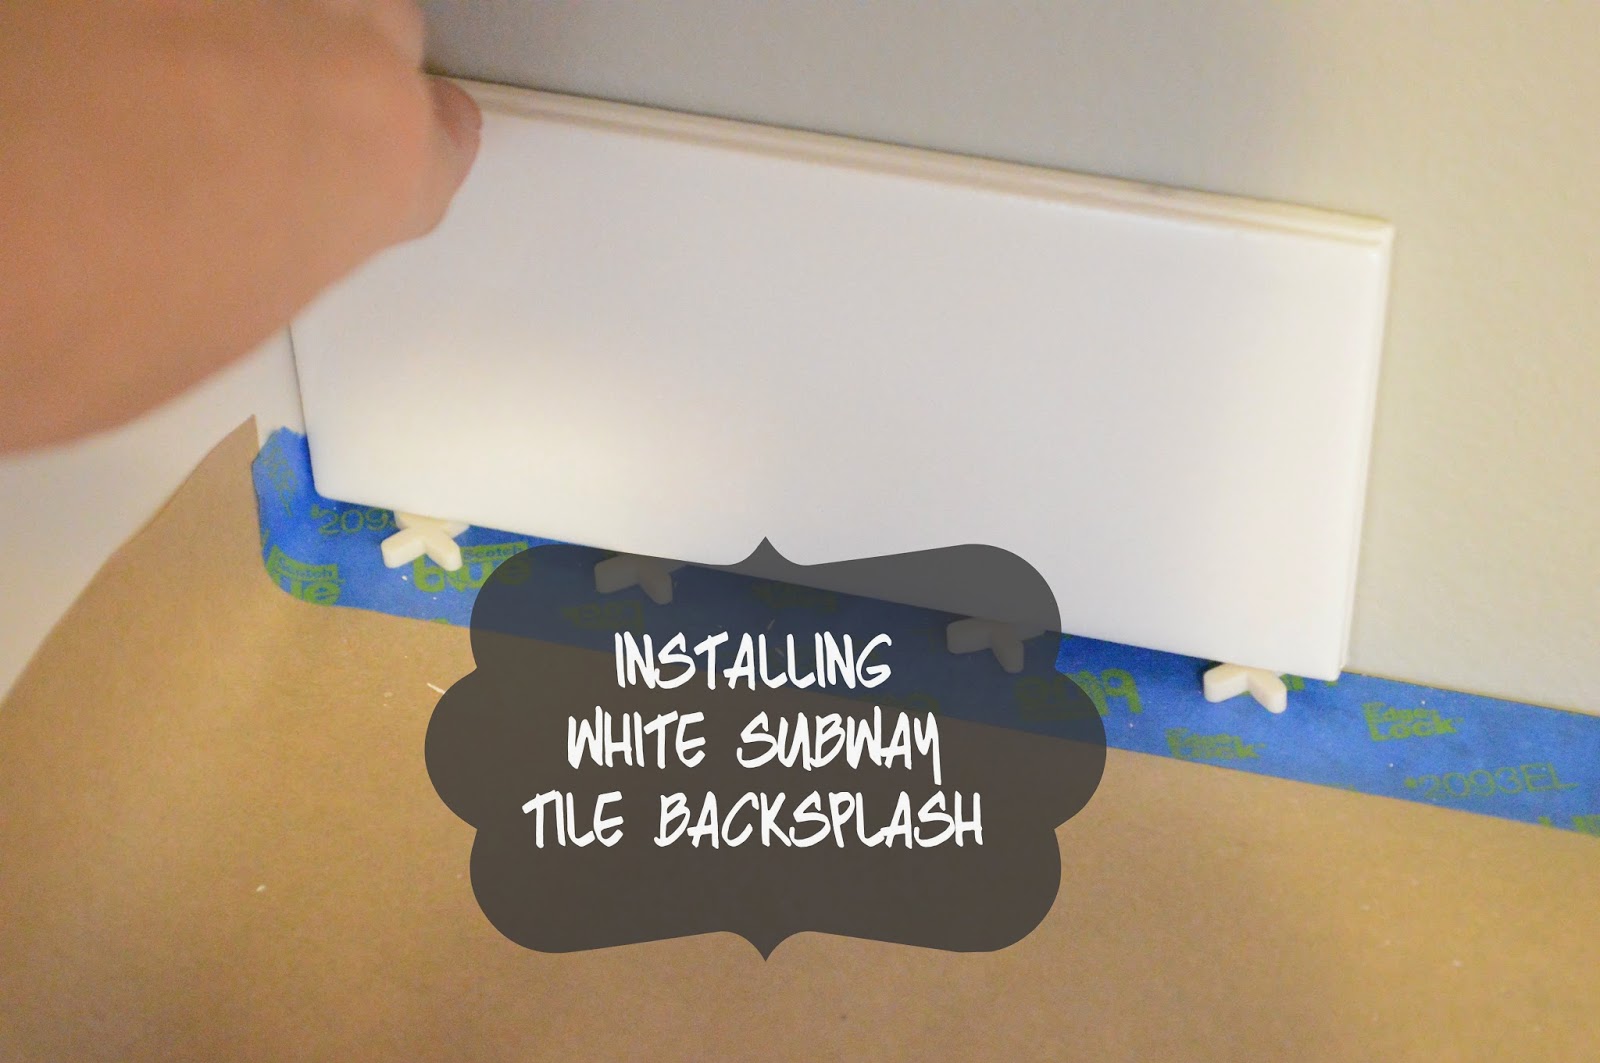
Although we still had to use spacers to keep the tile off the granite. Later, we will caulk between that space. 


Once the layout was set, it was time to tile!


As part of laying out the tile, I had to decide how to "finish" the edges where the counter ended but the wall did not. I used pre-cut edging pieces to create a finished look at the ends of the countertops.


 GROUTing!


Left side grouted, Right side ungrouted.

We had a big debate between dark grey and white grout while the thinset and tiles dried. We ended up going with white grout for several reasons, but mainly because the look is so fresh and does not obligate any one person to grey in the kitchen forever. 

Before
After

Have any of you guys ever tackled a backsplash?
We'd love to see pictures and hear about your experiences tiling!

We will be featuring YOUR HOME PROJECTS in the New Year.
Post in the comments below for more information!
We look forward to hearing from you!

HAPPY (almost) NEW YEAR!!


Friday, October 18, 2013

Repairing & Painting the Front Porch Arbor


While Ty's dad repaired the front door, Ty repaired the awning over the porch. The awning gets full sun for half the day, so over time the paint has chipped away and cracked in many areas. 


1. Sand awning with palm sander.


2. Paint with Sherwin Williams SuperPaint Exterior Paint in Dover White (satin finish). 


3. Stand back and admire the beautiful handiwork. (and finish painting the brick!)


Happy Friday y'all! 
Related Posts Plugin for WordPress, Blogger...

Blog Archive