Showing posts with label guest room. Show all posts

Thursday, December 11, 2014

Guest Room Essentials


On Monday, I showed you our new guest room while simultaneously feeling convicted over the need to rest in this Advent season. I hope you too have found a moment between then and now to sit at the feet of the Lord and take in the blessing of this season. As I seek out daily time to rest before the Lord, I feel that is essential that our guests have the same opportunity in the comfort of a cozy guest space while they are visiting. In honor of filling our homes with family and friends this holiday season, I have come up with a guest room essentials list - guaranteed to give your guests a restful stay.

1. Comfy High-Thread Count Bedding
Invest in good bedding for your guests. They will truly appreciate sliding into high thread count sheets and a cozy down comforter. 

2. Access to Extra Blankets & Pillows
Everyone has different preferences in regards to warmth and pillow fluff. Give them options if you are able. 

3. Lighting
Bedside lamps provide added convenience for your guests.You may also want to provide a stack of magazines for leisure reading, a phone charger, and/or clock.

4. Room for their things
Clear out hanging space for your guests, stocked with lots of hangers. Reserve a few drawers for your longer-staying guests so they can unpack and feel at home.

5. Peace & Quiet
Secure pets. Try to stay quiet as you go about your morning routine, and keep TV volumes low to ensure a restful nights sleep.

What do you like to do to pamper your guests?

View our Guest Rooms below:


Monday, December 8, 2014

A Look at Our Guest Room Progress


Transitioning to a new home leads to lots of to dos (you can see the whole slew of them here), but in this season of Advent my heart is convicted that maybe "getting it all done" isn't all its cracked up to be. As I created a place to rest for my guests yesterday, I felt the Lord tugging at my own heart and asking "where is your place of rest this season?" I confess that I have been more of a Martha - trying to get it all done, than a Mary - sitting at the feet of the Lord. (If you are unfamiliar, here is the story of Mary and Martha). He too wants me to rest before Him, especially in this time before Christmas.


I am grateful for the opportunity to create a space where others can come and rest in this season before Christmas. This room transition was simple since we were able to remix some of the same elements from our old bedroom to create a lovely place for our guests. If you remember, this is what the guest room looked like before we moved in:


PROGRESS: 


 My prayer is that each of us would find a moment to rest in this wondrous season before Christmas. I hope you enjoyed this place of rest I created yesterday for my guests, and will feel freedom to put down your to do list and sit at the feet of the Lord today.


You can view the source list for our Master Bedroom in our home by the creek here.


Monday, March 17, 2014

Decorating Our Guest Room on A Budget


We are enjoying our guest room these days... maybe even a tad envious when we glimpse the guest room and then walk into our unfinished master bedroom... but we are so thankful it is ready to host guests at a moments notice. Here is our Budget Breakdown for the guest room and HOW we got that look!

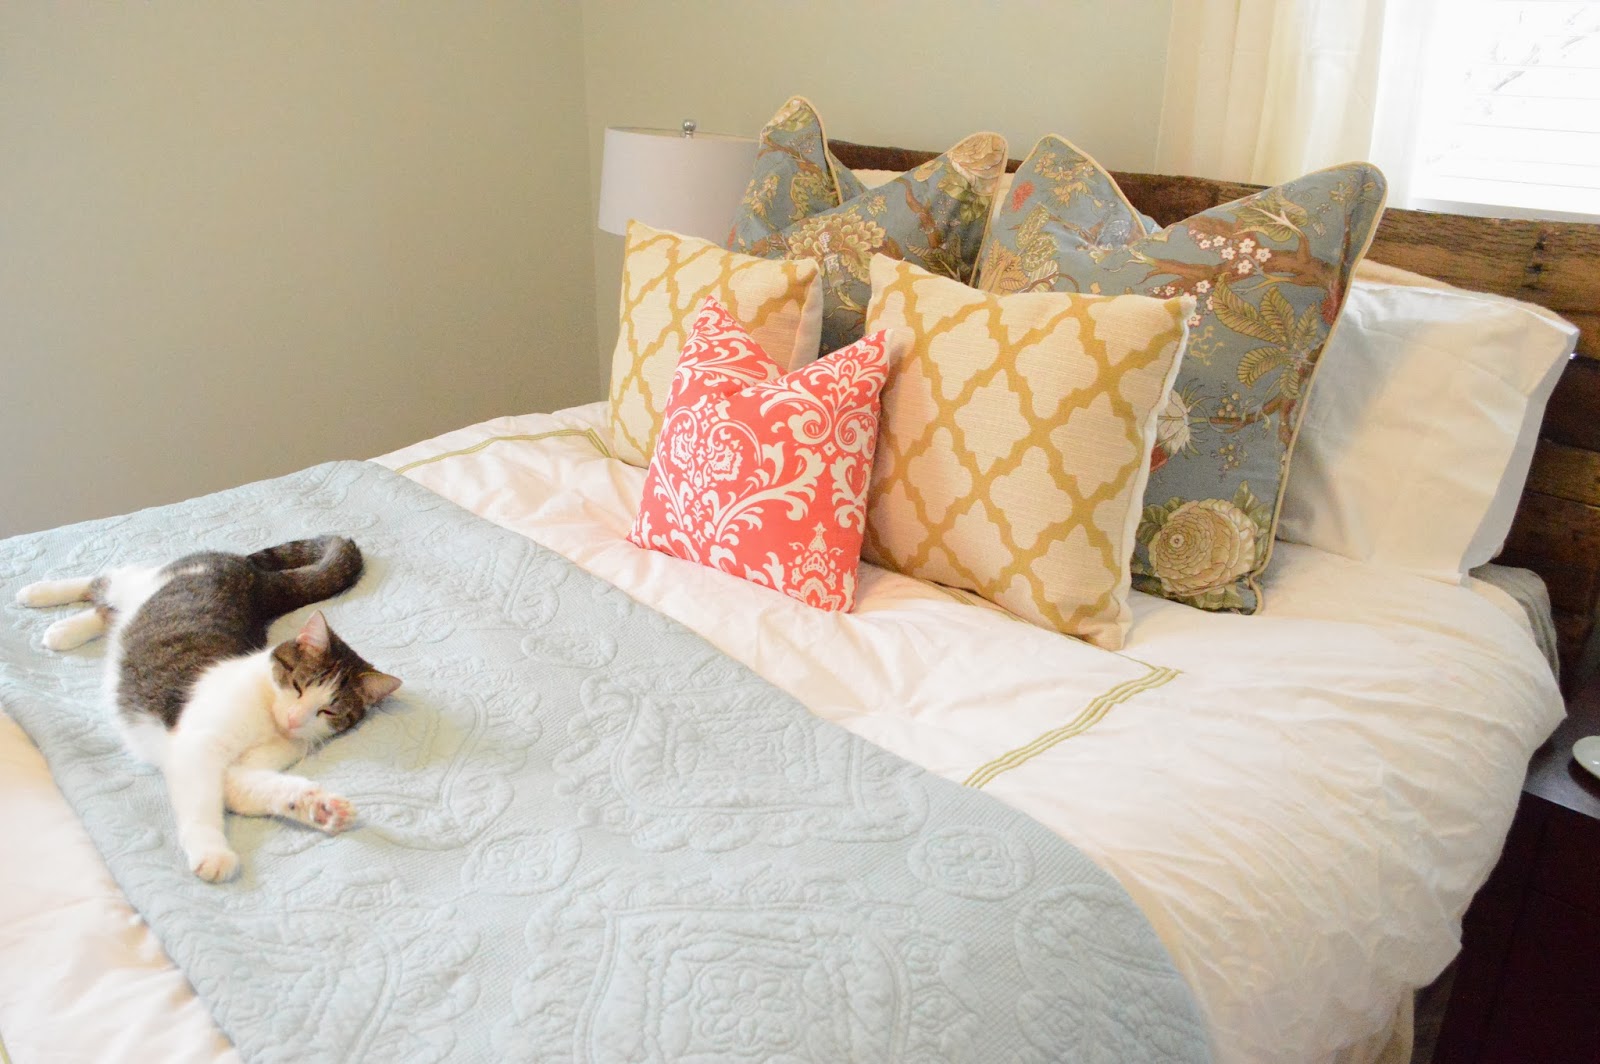
  • Pallet Headboard: FREE! This was the first project Ty and I did together. Who knew it was foreshadowing many DIY projects to come!
  • Bedding: The White Duvet with the Green trim I bought in college. It can still be found here. The quilt was a steal at TJ Maxx/Home Goods for only $49. It is made my Cynthia Rowley.
  • Pillows: The Euro Shams are from PB's Palampore Bedding Collection. These cost a pretty penny at $49 each, but when debating over making my own shams out of my FIRST CHOICE of fabric... Schumacher's Chaing Mai in Aquamarine at $100plus/yard...these were definitely the cheaper of the two options; Yellow Pillows: Homemade from our previous guest room in the Sloan Road HouseCoral Damask Pillow: This was a GREAT Etsy find. Only $14 on clearance.
  • Matching Glass Lamps: Also on CLEARANCE for $29 each at TJ/HG
Schumacher's Chaing Mai Fabric in Aquamarine
Reading Nook: 

  • Yellow Chair: From my childhood, FREE (thanks Ma!)
  • Tahari Yellow Baskets for Wall Art: $45 from TJ Maxx/Home Goods
  • White Fluffy Pillow: Another TJ Maxx/Home Goods find for $45
  • Curtains: White Ritva Curtains from Ikea (4); two pair for $24.99 each
  • Night stands and side table: all previously owned $0


and last but not least...
Crystal Knobs to update existing side table: $7


Grand TOTAL: $400 on the nose 
(I included tax to get this pretty number) 
We also plan on changing out the light fixture at some point too! 


Share this with others on PINTEREST


Monday, February 17, 2014

Guest Room Reveal


The progression of the guest room, not unlike the master bedroom, was full of trial and error. 

Move in Day

Moving Rooms: The Guest Room's final landing spot.
After painting the room with Sherwin Williams Sea Salt
Post Curtain Install & Trial of Catty Cornering the Bed
And today... 


Come on over! Hotel Dilbeck is now taking reservations.


Monday, January 20, 2014

How to turn a Basket into Art


Well, we are just about out of juice on the kitchen, so we are mixing it up a little this week with the latest work on our Guest Room: DIY Wall Art. My original design board (seen below) had hints of coral and brown to blend with the already Sea Salt Blue of the walls and white bedding, until... 


I stumbled upon these amazing Tahari baskets! I was instantly inspired to use them as wall art.


Here's HOW I made easy Basket Wall Art!
1) In order to hang them properly, I used kraft (is this spelled with a c or a k?! I'll never know!) paper to trace the outline of each basket.
2) I put my pencil through the center whole to mark the center of the tracing circle.
3) Cut out each tracing. 


4) Then using painter's tape I was able to adjust them on the wall until I found the perfect spot of each one. (some trial and error happened first!)


This also made it easy to hang each basket. 
5) Using tack nail, hammer the nail in at the spot previously marked (center of the circle) with the pencil. Leave the nail sticking out about a half of an inch. 
6) Tear off the craft paper from around the nail. 
7) Place basket on the nail by pushing the center of the basket on top of the nail. Then hammer the nail further into the wall to secure the basket fully.


TA-DAH! Easy DIY Wall Art
(AND The perfect reading nook for our guests!)


We put the finishing touches on the guest room next week! Stay tuned:)

Have any of you found any unique pieces for wall art inspiration lately?!
Tell us about them in the comments section below!

Share with your friends on PINTEREST!


Related Posts Plugin for WordPress, Blogger...

Blog Archive