

If you remember from our house tour, this is what the bathroom looked like before we moved in, ugly brown grout and all.

And this is what it looks like after a coat of Tricorn Black paint. I love the color, but it made the brown grout all that more apparent. In our last house, we did some heavy grout cleaning and painting, as well as cosmetic update to our small bath. Although we are not fighting with retro blue tile like in our last home, the brown grout was something that automatically dated the bathroom. I knew retiling wasn't an option (especially, after that time we tiled the kitchen) and we are not ready to gut the entire bathroom, so I began the search for an easy solution.
BEFORE

I found out that YHL had a similar grout dilemma in their new house. So I read about their experience and headed to Lowes to purchase both a grout pen and grout renew paint/sealer to try. Like YHL says, the grout paint/sealer works best. I thought this would be an incredibly meticulous task - I started out painting each grout line super carefully, trying not to get any on the tile. I was very untrusting of its ability to come off the tile so in the beginning, I was diligently wiping any spots off of the tile as I went (even though the grout renew bottle says to wait 30-45 minutes, spritz with water and then wipe off the tile). It was slow going! I started in the most conspicuous area - beside the toilet - to perfect my skills and then tested this "30-45 minutes theory." Low and behold - it worked!


I had to do three coats of the grout renew to cover the brown. I suspect if I was using a color closer to the underlying grout that two coats would have been enough. You can see that I was not very meticulous after I tested the spot behind the toilet. I would put on one coat, wait 15 minutes, put on the second coat and then wait 45 minutes before scrubbing the excess off of the tile. For the third coat, I would be more careful and wipe the tile clean as I went (because it was such a light third coat, mostly touch ups, I felt like this was more efficient than waiting another 30 - 45 minutes).

Another thing that worked well was dividing the room into sections. This is a small bathroom, but I still had 4 rounds of waiting for the grout renew to dry before moving on to the next section. Each section was small enough for me to reach entirely across without resting on the newly painted tile so that I wouldn't smudge a drying section.

I LOVE the results, and am so amazed that a $6 bottle of grout renew could totally transform my bathroom...but it did!!
BEFORE

AFTER
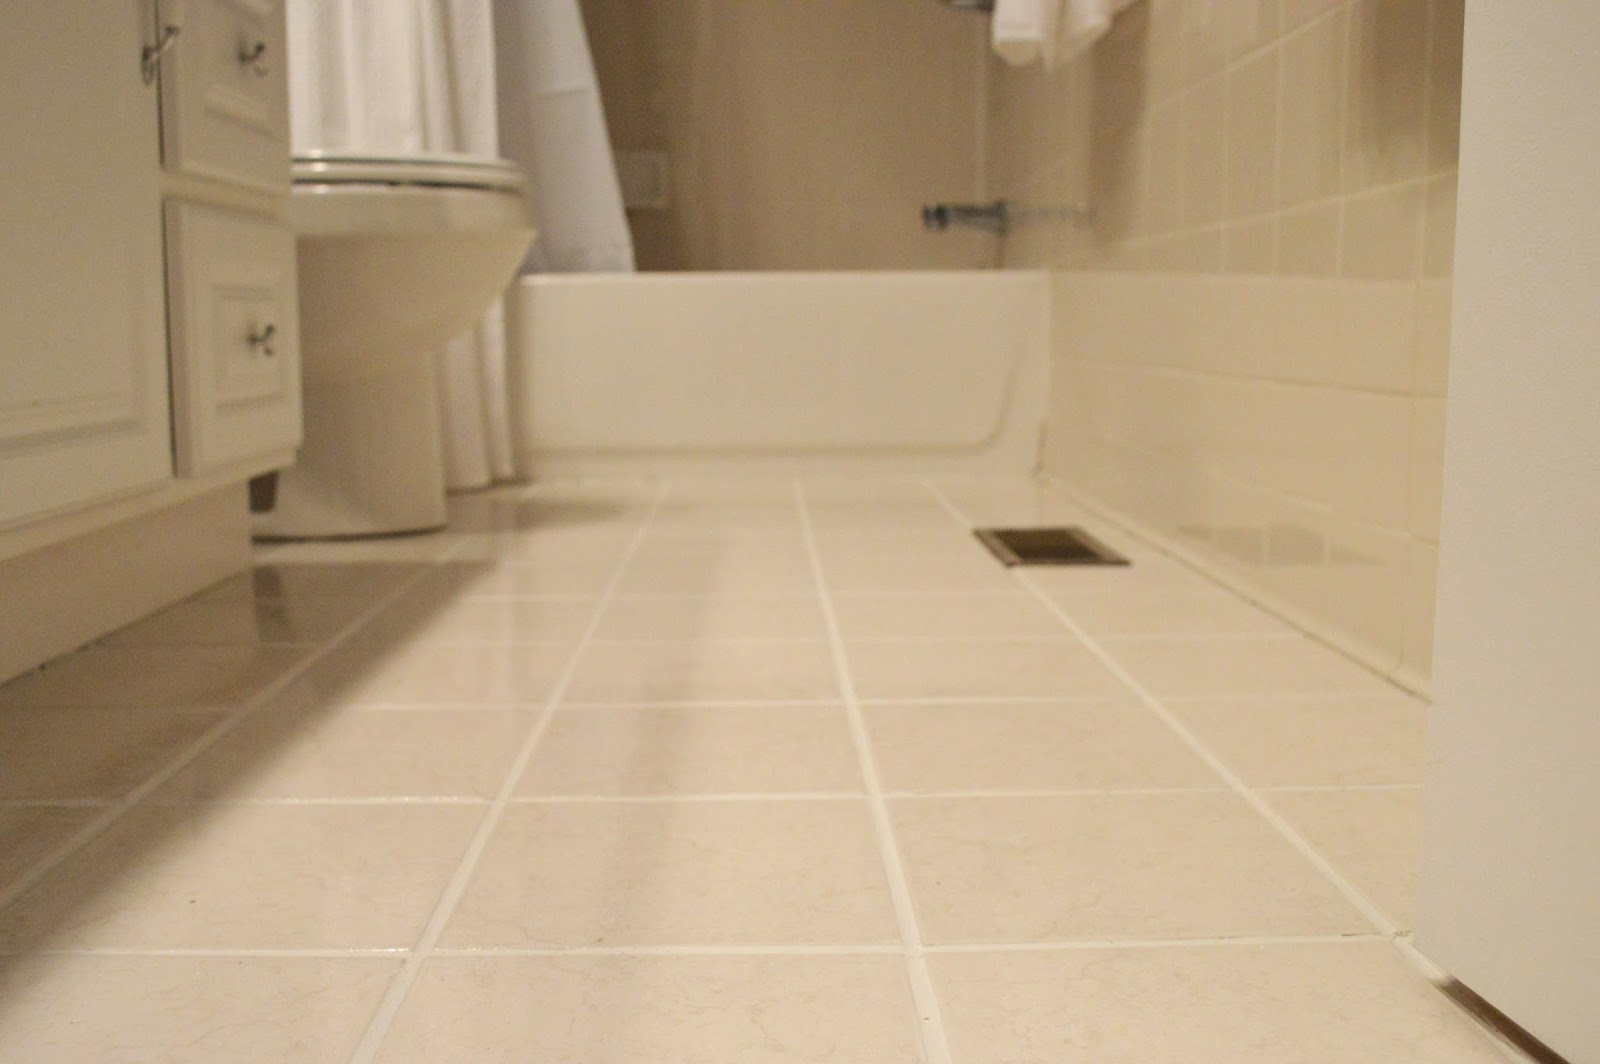


Have you guys done any fun big bang for your buck projects over the Christmas break?


.png)
