

It takes a lot of courage (and trust!) to let someone invade your closet space, sort through your stuff and reorganize it. My client was ever so trusting and let me overtake her master bedroom closets for the day. This Master Bedroom Closet is a terrific space and already had "good bones" when we started. It just needed some practical and functional additions to make the space work better for my client.
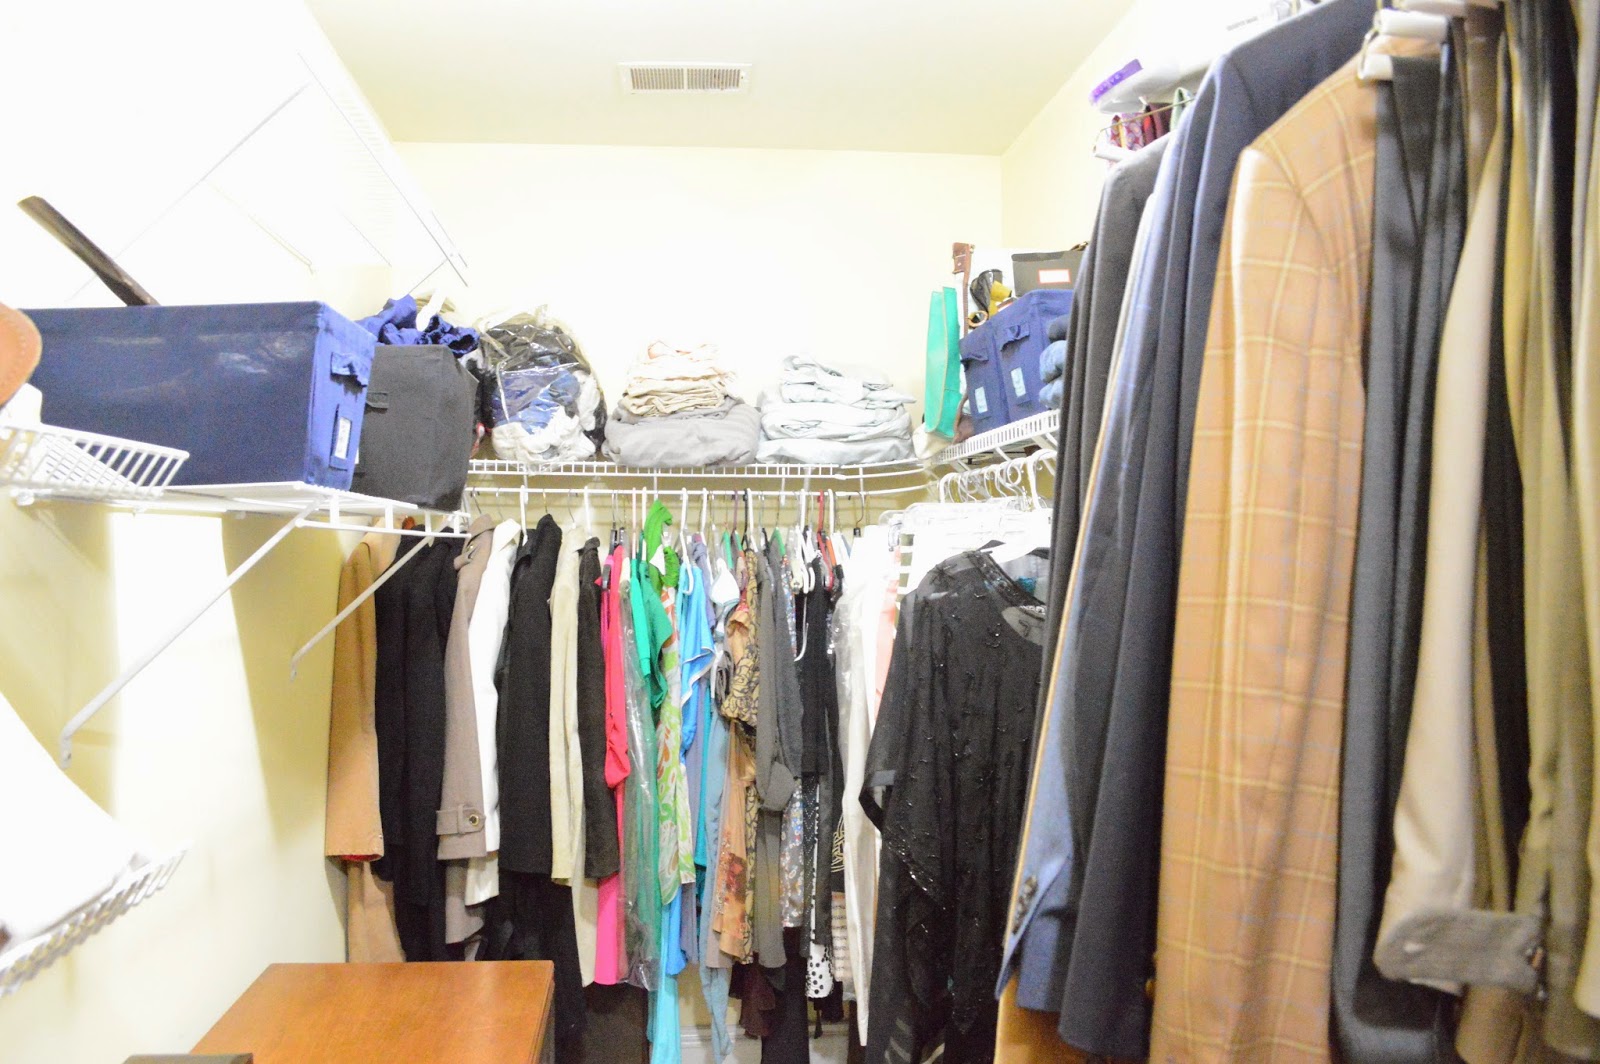
Master Closet BEFORE:

Here are some of the needs:
- Practical way to put away clean but not-ready-to-be-put-away clothes
- Sweater and Jean Organization
- Belt & Boot Storage
- Open Floor Space
- Functional & Clean
- Easy Access to Travel Gear & Bags


Practicality wins out in this Master Closet. Lets be honest, at the end of a long day, it is not always practical to neatly fold your sweater and jeans, or hang up your dress shirts. So we made it so this doesn't have to be done, but the closet still remains crisp, functional, and uncluttered.
THEN:
Jeans would pile up to the right of the entry to the closet.
Leaving the closet feeling cluttered before you even walked in

NOW: A Storage Bin that is large enough for jeans to be tossed at the the end of the day.
Although they are folded neatly here, there is enough room for them to be wadded up but still contained, creating less visual clutter and giving them to have a designated space.
We also used a pull out drawer for seasonal things like hats, gloves, and scarves.

THEN:
Sweaters would pile up on the shelving if they weren't properly folded.

NOW:
Sweaters have a designated bin. It doesn't matter if they are folded or not,
they just have to make it into the bin. This is also great because sweaters tend to be a "seasonal" item in Tennessee. At the end of a season, they can easily be placed on a top shelf or brought out for the fall

As for the dress shirts on the door knob, I installed two sturdy brushed nickel hooks on the back of the closet door. This allows shirts to be draped in a place that is out of site until they are ready to be put away.
The next piece to the master closet organization puzzle was to organize belts and accessories.
THEN:
Accessories were in several areas of the closet.
Some bags were in two bins on the floor.

Some purses were hanging on a hook
in the area outside the Master Closet.

NOW:
All accessories are in an easy to reach area.
Purses and bags are on the shelf directly above the brand new belt rack.

BEFORE: Belt Storage

AFTER: Belt Storage

A large part of this Master Closet organization was taming the shoes.
THEN:Shoes

Here is HOW I usually organize shoes:
1. Separate Men's and Women's Shoes and decide a designated area for each
2. Divide each group by type of shoe: Heels, Flats, Sandals, Dress Shoes, Etc.
3. Remove shoes from boxes and discard
(if you must keep boxes open, remove the excess paper for a less cluttered feel)
4. Group like items together on shelving
NOW: Beautifully Organized Shoes

To help with our shoe organization, we also utilized the area outside of the closet for boots.
I used small clip hangers with soft grips to hang boots.

Last but not least, I organized all of the clothes. First by Men's and Women's, then by type (shirts, dresses, pants), and then by color. The results are phenomenal. One thing I also encouraged my client to do is purchase matching hangers like these. This makes all of the clothes hang at the same height which not only is space saving but also visually appealing. You can see just with the organization of like items, there is QUITE a difference.
BEFORE:

AFTER:
BEFORE:
AFTER:

That ends our practical and functional Master Closet Organization.
No comments :
Post a Comment
Join the conversation! We love hearing your ideas, seeing your DIY projects, and answering your questions.