Showing posts with label design. Show all posts

Monday, May 19, 2014

How To Style a Coffee Table Like A Pro

If I have learned anything about decorating a room, it is that a room is built over time. Layer by Layer.


First Layer = Flooring and Furniture
Second Layer = Lighting 
Third Layer = Pillows and Poufs
Fourth Layers  = Accessorizing and Artwork

(and of course before ANY of this you must come up with a PLAN)

We are entering the fourth stage of our living room design (yes, after the chair debacle things have moved along quite rapidly) and I am SO EXCITED. Accessorizing and detailing is my favorite part of a room. Not only does it signal the room is almost finished (does that ever actually happen?!), but its where the room becomes more than THE living room but MY living room - it gets a personality.
So today I am giving you a quick tutorial on dressing your coffee table for success. 


WHERE DO I START?

First and foremost, SHOP your house. I highly suggest keeping all of your decorative items in one spot. That way you can go to that cabinet, armoire, or closet and literally "shop" for the things you need to freshen up your space. This is one of the best ways to know and use what you have. It keeps you from feeling like you need to purchase something, and you can instantly change the look and feel of a space by using whatcha got.

The Elements of a Well-Styled Coffee Table


Why it works?

Something to Provide Height + Something Decorative + A Stack of Books + Something Floral 
= A Well-Styled Coffee Table
  • Each item provides its own unique element of style but also connects to the other items on the table.
  • The floral arrangement provides both height and adds a fresh feel in this case. You can use a separate item to provide height like a hurricane jar with a candle or candle sticks.


  • Odd numbers work best - notice there are three items on the right side and four on the left for a total of 7. 
  • Balance. The tray is used to contain the three items on the right and balances the books with the books on the left.
  • Use like or complementary colors. Notice everything is similar to the colors within the room. It is okay to use one wacky or out of place object/color to give it personality, but try to blend everything by using like colors. 

  • Find something small to ground your books - a small decorative object like a paperweight, ceramic animal, magnifying glass or a candle (seen here).


Something to Provide Height + Something Decorative + A Stack of Books + Something Floral 
= A Well-Styled Coffee Table


Now its your turn! 
Use the simple formula above to create your own beautiful coffee table decor. 
I would love to see how yours turns out! Post in the comments below or feel free to email me at sylvanparklife@gmail.com!

Get the Look (Sources):
Books: Domino (found here), Emily Post's Etiquette (found here), African Hunter (Ty's from childhood)
Metallic Tray: West Elm Lacquer Tray
Silver Decorative Item: Ty's Mom's Silver Set
Ceramic Jar with Blue Accent: West Elm
Vase for Flowers: Restoration Hardware Small Zinc Glass Jar (no longer available) 
but you can find similar jars here
Hydrangeas: Faux floral arrangement from Color (local Nashville shop) but you can also find them here


Thursday, May 8, 2014

#TBT


#TBT to the Condo Kitchen BEFORE I got my hands on it!


The Condo Kitchen: AFTER


Wednesday, May 7, 2014

Monday, May 5, 2014

Finding the Right Chairs for the Living Room

I may have gotten a touch obsessive about finding living room chairs. I really wanted to find THE PERFECT chairs for our living room. You see, our living room is rather large, but also rather narrow. It is also open on both sides - from the dining room and the front entry. I did not want to block the flow of the room in either direction while also allowing for a conversation style seating and the ability to view the TV. A TALL order!

Toward the Entry

Toward the Dining Room

I used Houzz to find living room arrangements that were like my own, and came up with a plan for how to arrange the room. The original plan was to mount the TV above the fireplace, and have two fireside chairs sittting directly across from the sofa.


Although I really liked these wing chairs that were hauled all the way here from GA!, we were unsure about mounting the TV over the fireplace and felt like the set up did not fully take advantage of the big space in the room. So I went back to the drawing board. I will make a VERY long story short at this point. Around the fourth pair of chairs and a small stent in counseling  I became discouraged, starting to dislike our living room altogether, and generally wanted to give up on finding the perfect chairs.

The Use Whatcha Got Chairs. 
Originally I wanted to recover my existing club chairs 
but I could never find a fabric I loved for both chairs.


Vintage Pair of Craiglist Chairs - 
These barely made it home before I posted them back on Clist because they were too low and too small (although quite adorable)


Cream Club Chairs from Wayfair.com 
These look great but the room became unbalanced on the right side of the fireplace, 
and the chairs were too big to sit side by side.


Pair Floral Chairs from Pier 1
These were returned within an hour of purchasing them for being too blue.


Pair of Henry Bertoia Chairs. 
I thought these would add the perfect Mid-Century vibe, 
but again these were also too small when seated next to our large sofa.


Six pairs of chairs later, I was STILL unsatisfied with the look of the room. Would our living room EVER look right? Would this chair debacle end in terrible tragedy? I was beginning to think so. Until...
I found the perfect living room chairs for 20% off while perusing a local furniture shop.

I felt like Tom Hanks in Cast Away... 


And the living room (and me) lived happily ever after...

LUCKY NUMBER #7:


I hope this encourages all of you when you don't get it right the first time... I don't either!
The story of this room is a long one, but I am so happy to finally have gotten it just right!


Monday, March 17, 2014

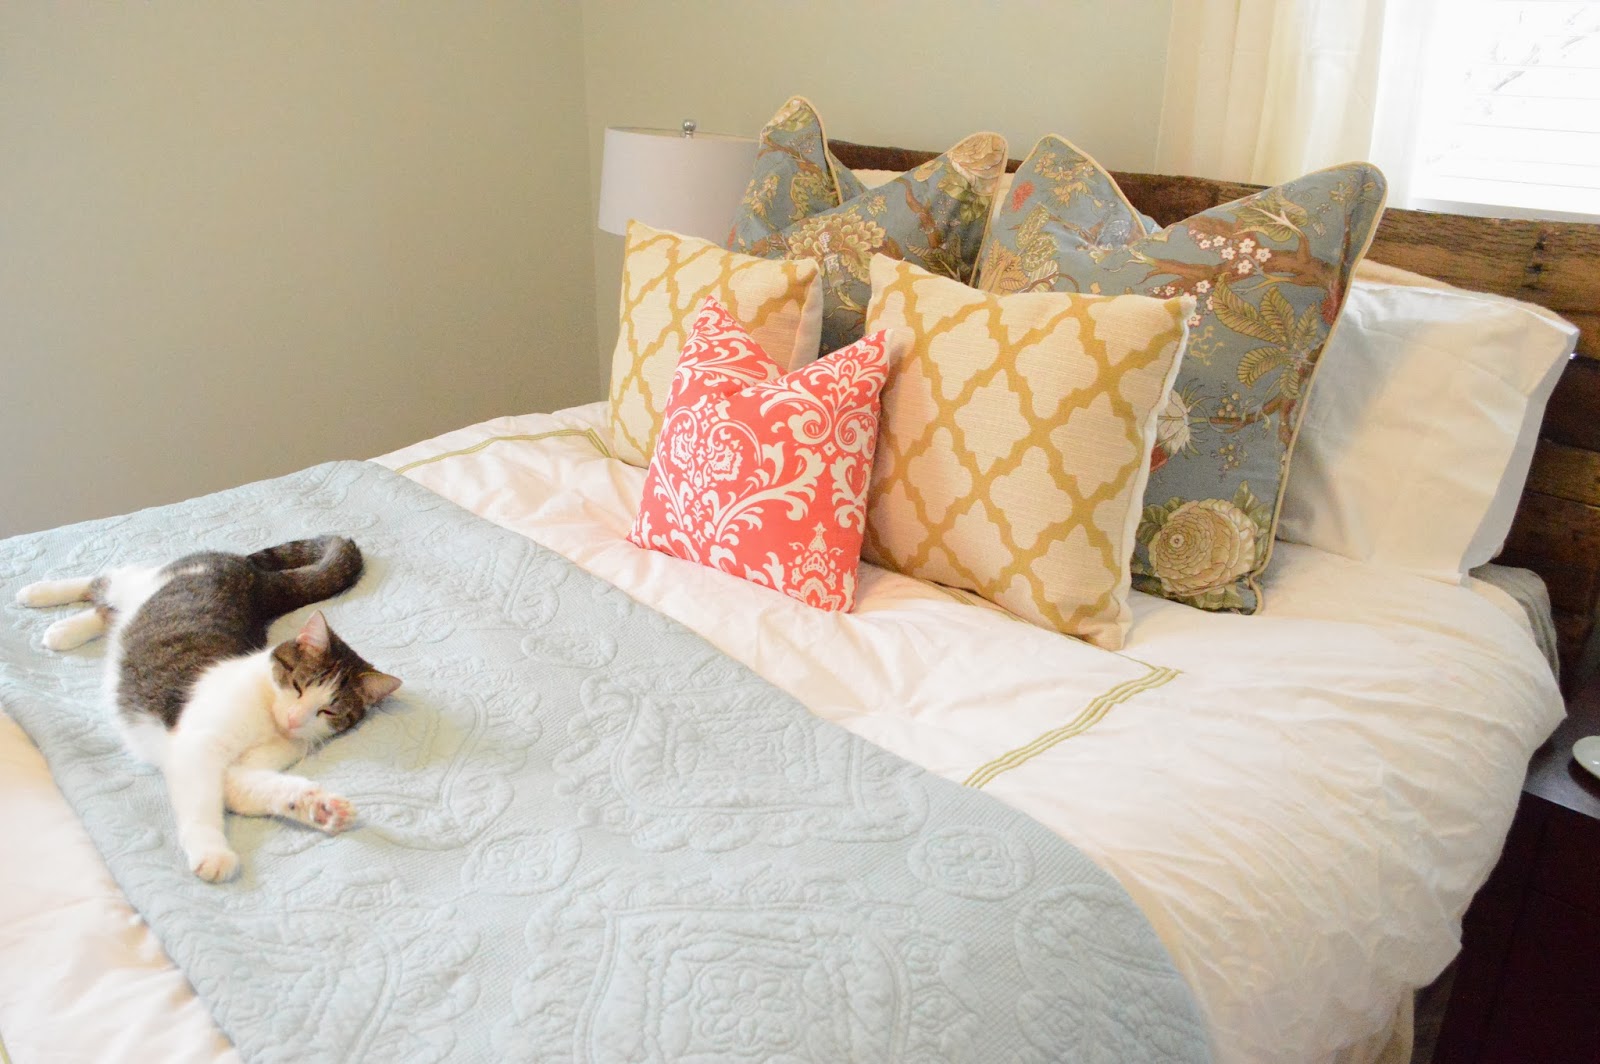
Decorating Our Guest Room on A Budget


We are enjoying our guest room these days... maybe even a tad envious when we glimpse the guest room and then walk into our unfinished master bedroom... but we are so thankful it is ready to host guests at a moments notice. Here is our Budget Breakdown for the guest room and HOW we got that look!

  • Pallet Headboard: FREE! This was the first project Ty and I did together. Who knew it was foreshadowing many DIY projects to come!
  • Bedding: The White Duvet with the Green trim I bought in college. It can still be found here. The quilt was a steal at TJ Maxx/Home Goods for only $49. It is made my Cynthia Rowley.
  • Pillows: The Euro Shams are from PB's Palampore Bedding Collection. These cost a pretty penny at $49 each, but when debating over making my own shams out of my FIRST CHOICE of fabric... Schumacher's Chaing Mai in Aquamarine at $100plus/yard...these were definitely the cheaper of the two options; Yellow Pillows: Homemade from our previous guest room in the Sloan Road HouseCoral Damask Pillow: This was a GREAT Etsy find. Only $14 on clearance.
  • Matching Glass Lamps: Also on CLEARANCE for $29 each at TJ/HG
Schumacher's Chaing Mai Fabric in Aquamarine
Reading Nook: 

  • Yellow Chair: From my childhood, FREE (thanks Ma!)
  • Tahari Yellow Baskets for Wall Art: $45 from TJ Maxx/Home Goods
  • White Fluffy Pillow: Another TJ Maxx/Home Goods find for $45
  • Curtains: White Ritva Curtains from Ikea (4); two pair for $24.99 each
  • Night stands and side table: all previously owned $0


and last but not least...
Crystal Knobs to update existing side table: $7


Grand TOTAL: $400 on the nose 
(I included tax to get this pretty number) 
We also plan on changing out the light fixture at some point too! 


Share this with others on PINTEREST


Monday, February 17, 2014

Guest Room Reveal


The progression of the guest room, not unlike the master bedroom, was full of trial and error. 

Move in Day

Moving Rooms: The Guest Room's final landing spot.
After painting the room with Sherwin Williams Sea Salt
Post Curtain Install & Trial of Catty Cornering the Bed
And today... 


Come on over! Hotel Dilbeck is now taking reservations.


Monday, February 3, 2014

Organizing the Home Office: Part 2


BEFORE

AFTER


BEFORE: Fabric Wall 

AFTER: Fabric Wall & NEW Sitting Area 

BEFORE:  Dysfunctional Multipurpose Desk Space

AFTER: A Functional Space with Designated Zones

Zone 1: Drafting Area

Zone 2: Sorting Station

Zone 3: Sitting Area

Zone 4: Computer Work Station

Zone 5: Fabric Sorting and Storage Area

BEFORE: Built-In Bookshelves 

AFTER: Built-In Bookshelves 


What she says about her new space...

"I could hardly leave my office this morning"

"I really feel like my batteries have been recharged and I am not running on empty today" 
(after TWO DAYS of hard work organizing her space)

"What a priceless gift you have given me"


Stuck in a sea of papers? Let me help you with that. Don't know where to start? We can solve that too. I am your go-to gal for all things organizing.


Related Posts Plugin for WordPress, Blogger...

Blog Archive