Showing posts with label Yard Work. Show all posts

Monday, June 23, 2014

Creating a Flagstone Walkway


You may remember from our HONEY DO list that we wanted to add some form of stone pavers to create a more ordered look to the front walk. We decided to create an inviting flagstone walkway, but first we had to remove the pea gravel and cement stepping stones.

BEFORE: Pea Gravel WalkWay

After we removed the pea gravel (can't wait to show y'all where we moved it!) and stepping stones, we had to level the ground. We used filler dirt from a local supplier to fill in the gaps and define the area where the flagstone walkway will be. 

POST Pea Gravel Removal


 MID DIRT DUMP

RAKING OUT THE DIRT 

POST DIRT DUMP


Ty surprised me by purchasing the flagstone and laying them out while I was out of town.
Here is a sneak peak of our soon-to-be-finished walkway!


Monday, June 2, 2014

How To Plant an Herb Garden


I planted my very first herb garden this spring. Here's HOW I did it!
1. Choose a planter and the herbs you would like to plant. 
I chose Basil (to make yummy pesto!), Rosemary, Parsley, and Cilantro.


2. Prepare the soil.


I accidentaly purchased enriched soil instead of potting soil. (This may explain why my front porch plant didn't make it) Oops! So we used some of this enriched soil as filler and then used some of the fertile dirt already in the flower bed. We mixed that together to create a rich environment for the herbs to take root. 
Moral of the story: BUY POTTING SOIL

3. Evenly space your herbs within the pot or bed. 


4. Dig a hole the width and depth of the herb to be planted. 


5. Place herb in the hole. 


I used herbs that did not have to be un-potted for planting. 
I simply had to tear the bottom of the biodegradable pot off the 
bottom and place those remnants in the hole. 

6. Tightly pack the herbs in place ensuring that the base of the herb is even with the soil line.


7. Water!


Share this with your friends on PINTEREST!


Monday, May 12, 2014

Planting Privacy Trees


We told someone we were planting trees in our yard. He said "that is so nice to pay it forward like that." I never thought of it that way --- and it is a nice thing, endearing in fact. But in case you missed our confession post last week, I'll just go ahead and fess up to this too: 
These are PRIVACY trees, NOT pay-it-forward trees. 


I digress. These puppies were planted a few weekends back. In the summer when the yard is flourishing we have great coverage from the road, but this winter we noticed it was a little bare. You guys know we are always operating on a budget, and this time we REALLY needed to find the biggest bang for our buck - insert: Green Giant Trees. 


These trees are estimated to grow THREE FEET per year and are sure to block out noise, traffic view, neighbors, peeping toms.  Not only that, they are hardy and do not require much care. They also are not prone to bugs/insects/disease like some trees are. So hopefully this view will be much more private by next year. 


Down to Planting: HOW WE DID IT! Originally we thought we would need an auger, but when we saw how large a four-foot tree actually is, Ty quickly realized that a shovel would do. (Pocketed $60 bones right there!) 

1. Determine placement. These particular trees get huge. It is recommended  to plant each tree 5 to 10 feet apart. We chose 6 feet.


2.  Dig a whole as deep as the bulb and twice as wide.


3. Place the root ball into the hole, ensuring that the truck of the tree is above or equal to the soil line 
(aka ground level). 

4. Pack in the soil tightly around each tree.


5. Cut binding around tree and water each tree for 20 seconds per day for the first few weeks until the trees are established.


6. Use pine straw or mulch around each tree to help the trees retain moisture.


Share with others on PINTEREST!


Monday, April 28, 2014

We Don't Actually Live in Sylvan Park...and other confessions

Confession #1: We Don't Actually Live in Sylvan Park


This has been a much debated topic of interest. I even had a co-worker say there was a heated debate in the middle of the PICU, and she just knew I lived in Sylvan Park and had defended me to the nth degree. 
I let her down gently. We no longer live in our beloved Sylvan Park. We still met and fell in love in Sylvan Park. We still climb at our favorite climbing gym in SP. We still have quite a few friends in the neighborhood. We still plan to move back there one day - hopefully to live in what I like to call our "house-house" (aka forever home). BUT when we sold the condo in 48 hours and had to go-a-searching for a house, we liked this one best and it was still in our top 3 areas to live - just right outside Sylvan Park. 
Phew, got that off my chest.


Confession #2
We no longer live in a grey house. Some may say we live in the White House. 
You can decide.


When we last left you with the exterior, we had begun to prep and repair the exterior of the house. By December, the job still wasn't done and we decided to cut our losses and hire professionals. Have y'all ever encountered a job that was just too big to tackle on your own? Like you'd finish one part and the project just seems to go on and on and on?!? 

While I was on a trip to Miami, Ty had them come out and paint the entire house Dover White. (Yes, surrender is sometimes necessary, and you can't always do-it-yourself. Lesson learned.)
I came home to a snowy Nashville and a freshly painted house!


That was the last time we stepped outdoors...until now! 
Well that may be a little bit of an exaggeration BUT this beautiful spring weather is the perfect time to reveal our newly painted white house of a home during the springtime. 
ENJOY!


We have lots more spring projects and confessions to share with you so check back for more.

And don't miss Wednesday's Mid-week Must-have list!

Wednesday, August 7, 2013

Removing an Old Stump

UPDATE: Ole Stumpy was still alive and kicking when we moved. He's a tough ole log. 

Gettin' Grumpy about Ole Stumpy

Ole Stumpy is a large pompous and aged tree stump that adorns the center of our beautiful backyard.


This makes us quite grumpy! Our solution: light it on fire using diesel fuel & briquetes while enjoying a brew!


In other backyard happenings.... 
Ty wrangled the 300 pound crumbling rock fireplace (seen below) & successfully demolished it.
Before


After

Meanwhile, Ole Stumpy has been giving us a hard time so we have resorted to harsher means of attack.


We're gonna get you Ole Stumpy... in 6-8 weeks...


Thursday, August 1, 2013

Yard Work: Trimming the Hedge

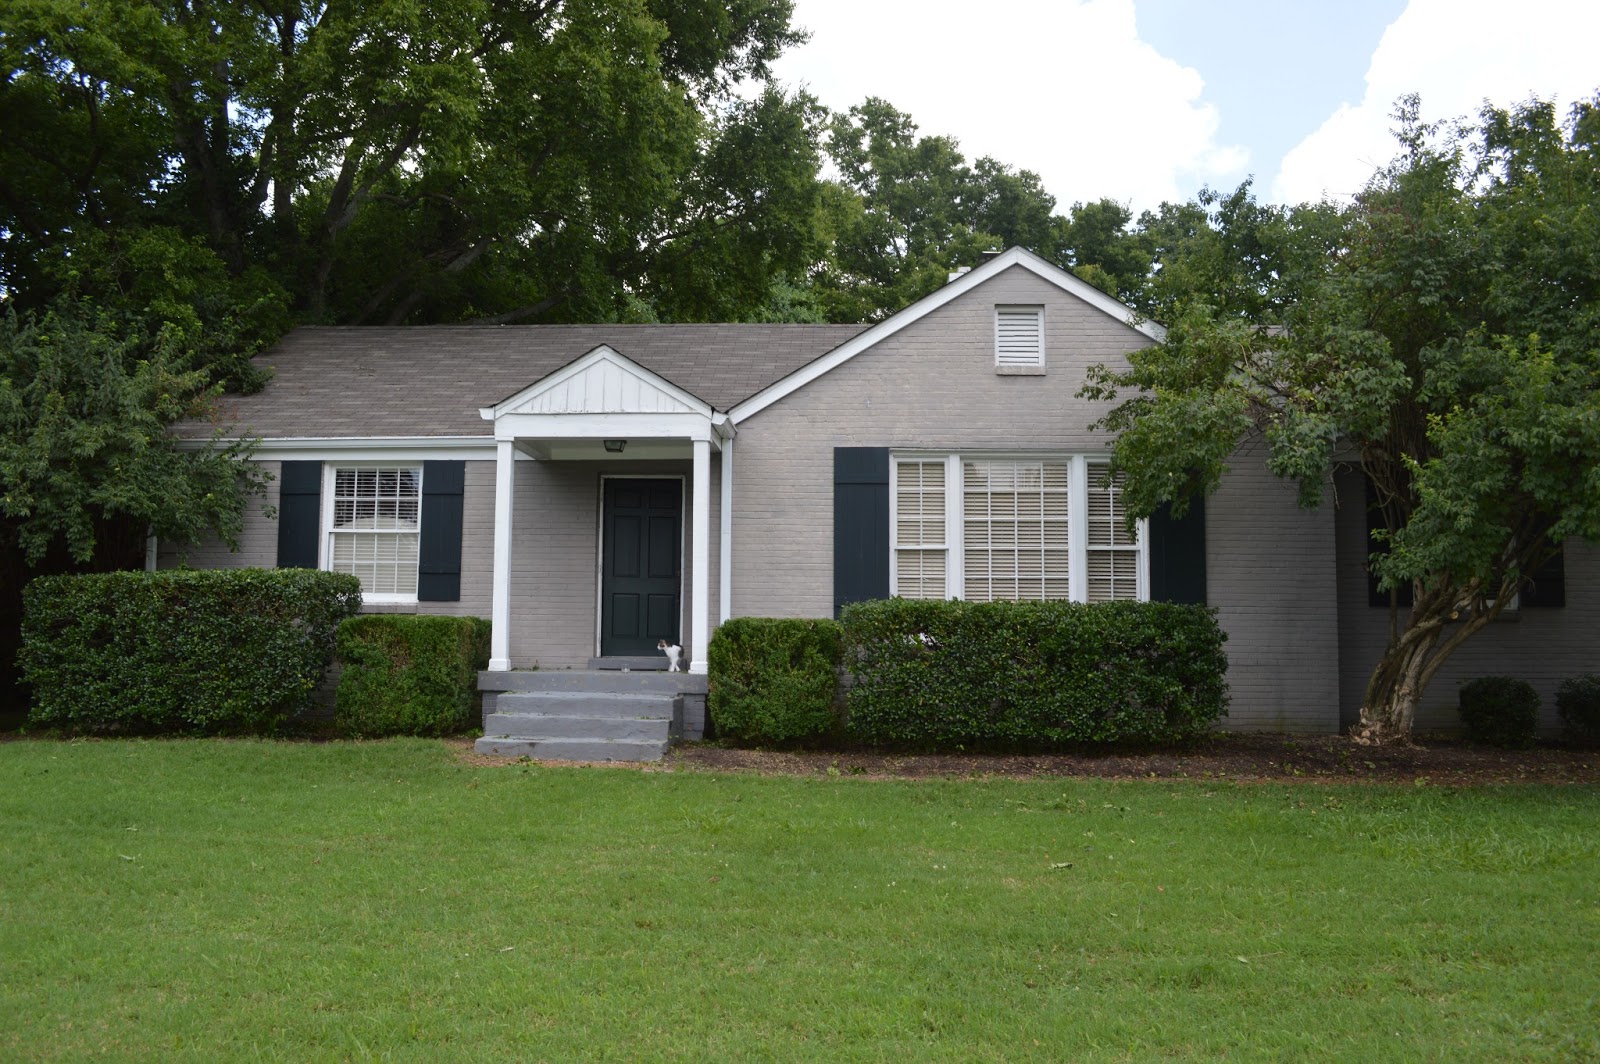
Y'all know I have been a little on edge about the overgrown state of our yard. Well, we have finally tackled the beast in the front yard and have some amazing Before&After photos to share with you. Two people, a chainsaw and a trimmer can do a lot of damage!


We were able to tackle the front of the house quickly as Ty manned the chainsaw,
and I learned to use the trimmer!


Before
After
In order to trim the shrubs we first made a PLAN OF ACTION. You know we love planning, to-do lists, etc! I did a rough (and I mean rough!) drawing of the current bushes that were in the front of the house. Then we decided what needed to stay, what needed to go, and what needed to be moved. We then moved from left to right trimming the house. It was incredibly helpful to have two people as one of us could stand at the road and determine symmetry, while the other trimmed. It also kept us from cutting too much...
a little accountability is always good!

Before

After
We researched (eh, googled) trimming a tad before we went to work as well. Most shrubbery can only be cut back so much at a time (about 1/4 to 1/3 of its total size), so it was hard to get all the shrubbery to equal sizes this first go, but oh what a difference it made!

Before
After
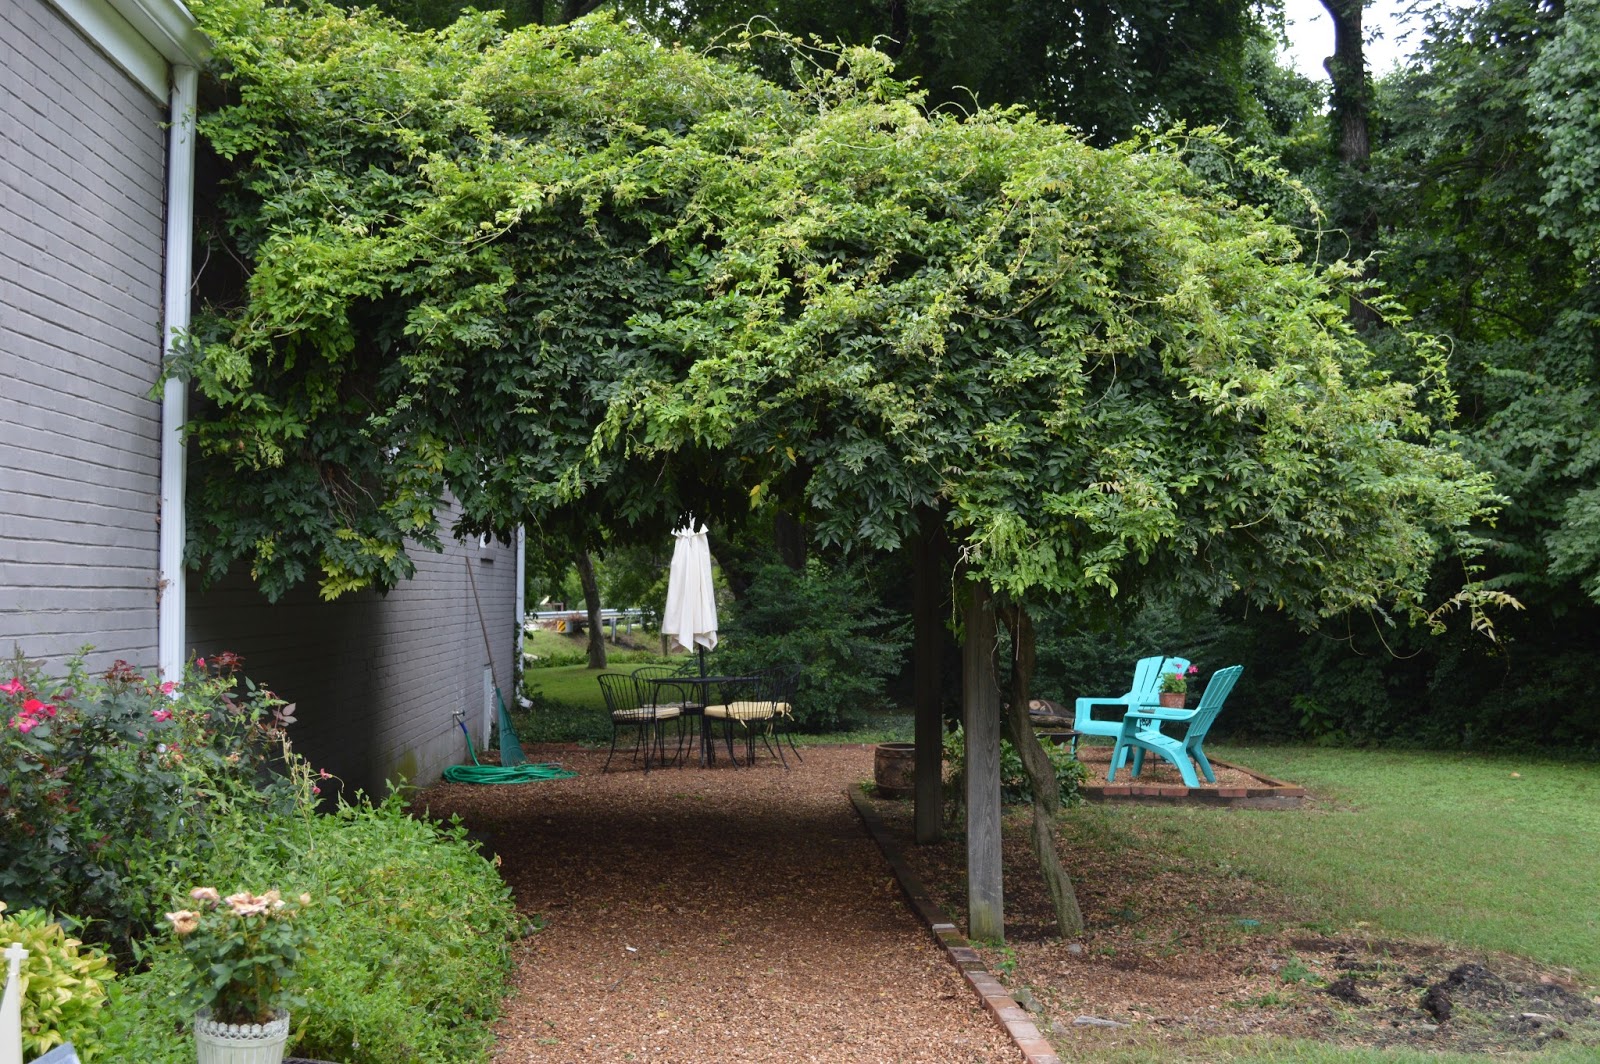
We still need to transplant some shrubs to the empty spot below the window (see above pic), but it does look miles better than the scattered ground cover that was there previously. Meanwhile, we calmed the  hysterical wysteria in the backyard. Trimming wisteria is a little more technical than I originally realized. While you can tame & train the wisteria by cutting the well established limbs/vines, the blooms are another story. For each blooming vine or new growth, you have to find the wood root that it is growing from and then count 6 buds out for EACH vine so that the vine will still flower... talk about tenuous. There are at least 100 new blooms on this wisteria plant alone so I will be slowly but surely finishing that task.
Before
After

The Finished Product! Now that's progress!


Related Posts Plugin for WordPress, Blogger...

Blog Archive