Thursday, February 27, 2014

Freshening up a Living Room on a Zero Dollar Budget


After finishing Beth's Kitchen (seen here), she got an itch to makeover the living room as well. We are on a strict "use whatcha got" budget for this room overhaul and that is exactly what we did. Beth has great taste, and has done a beautful job collecting accessories over the last few years. In fact, the only things she has purchased for this room are the TV, the sectional sofa (bought second hand), and a few pillows.Other things she has found, collected, or have been gifted to her from family. Her home is testimony to the fact that you don't have to spend a lot to make a place look great!


Here is a little room tour so you can see the space before.
Fireplace Mantle (BEFORE): 


Area by the Front window (BEFORE)
:

Small Desk/Office Area (BEFORE)


Front Entry (BEFORE)

Area behind sofa: (BEFORE)


 As you can see the living room is very open and spacious, which is both a challenge and a blessing. When you have such a large area, it is important to designate a purpose for each portion of the room so it is functional. That is exactly what we did. While the TV watching "zone" remained in the same portion of the room we relocated the actual location of the TV.

BEFORE: TV on mantle

AFTER: 

We relocated the TV to sit on her grandmother's old cedar chest - something we found stashed away in a spare bedroom. The old suitcase belonged to her aunt and provided just the right amount of extra height we needed for the TV. 


With the TV gone - the mantle was now free to be a focal point from the front door (rather than the TV).

View from the front door (BEFORE):

View from the Front Door (AFTER):


The area next to the front door while large, was not funcitonal. We moved her most comfy reading chair from the TV viewing area to the area by the front window to balance out her other reading chair. We also found a retro lamp in the garage to add light. 

Reading area:  (BEFORE)

Reading area: (AFTER)


We pulled a chair from her bedroom into the living room, and closed the table leaves to warm up the entryway.

BEFORE:

AFTER:


The desk area also got a little sprucing..

BEFORE:

AFTER: 


The final look....
BEFORE: 

AFTER: 


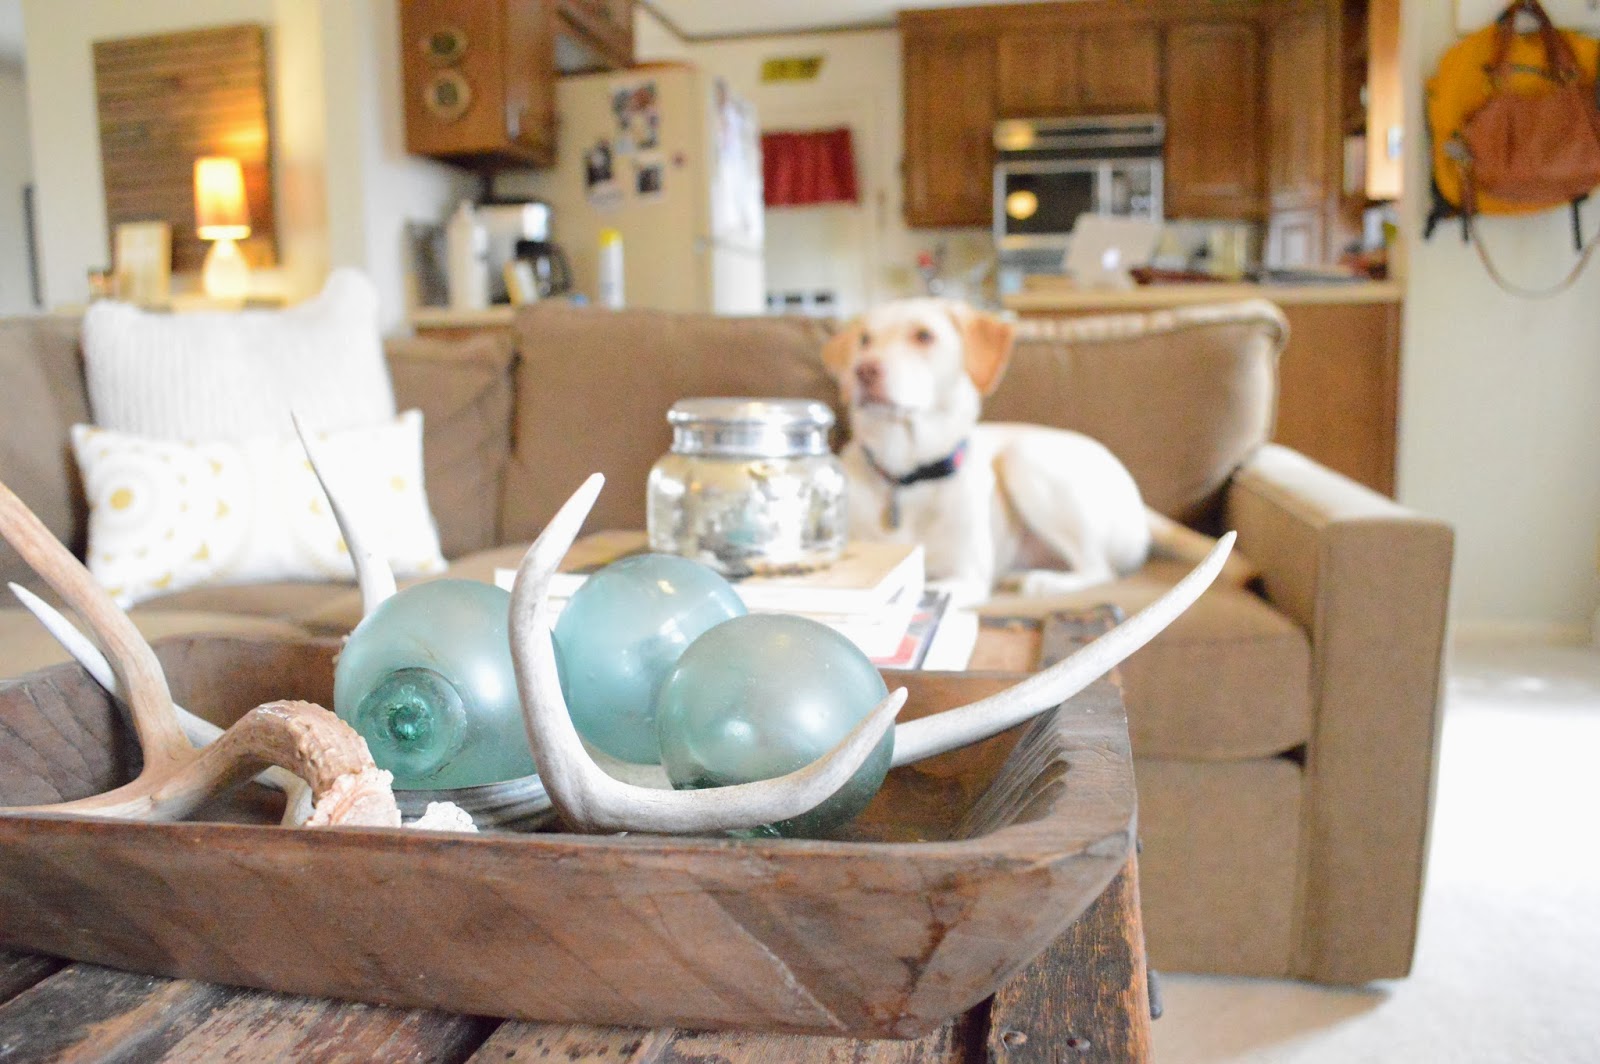
This room is Leland approved!


Share this with your friends on PINTEREST!

Friday, February 21, 2014

How To Repair a Broken Blind


This broken blind has been staring glaring at us since we moved in. We finally got tired of its dirty looks, and set out to repair it. {Little did we know, those looks could have been avoided had we taken 10 minutes to repair it} Here is HOW TO repair a broken blind.

1. Find the rubber stopper at the bottom of the each track of the blinds, and remove it.


2. Untie the knotted string found beneath the rubber stopper. {Depending on how many tracks your blinds have, you may have to do this 2, 3, or 4 times} We did this for both tracks.


3. Pull the string through each blind until you get to the broken individual blind. Remove broken blind.


4. Take an undamaged blind from the bottom row of the blinds. Insert the undamaged blind into the broken blind's spot.{move the broken blind to a bottom less-noticeable spot}


5. Thread the string through both tracks of the blinds until you reach the bottom. Retie the tie knot and replace the stopper.

BEFORE:

AFTER: 


Monday, February 17, 2014

Guest Room Reveal


The progression of the guest room, not unlike the master bedroom, was full of trial and error. 

Move in Day

Moving Rooms: The Guest Room's final landing spot.
After painting the room with Sherwin Williams Sea Salt
Post Curtain Install & Trial of Catty Cornering the Bed
And today... 


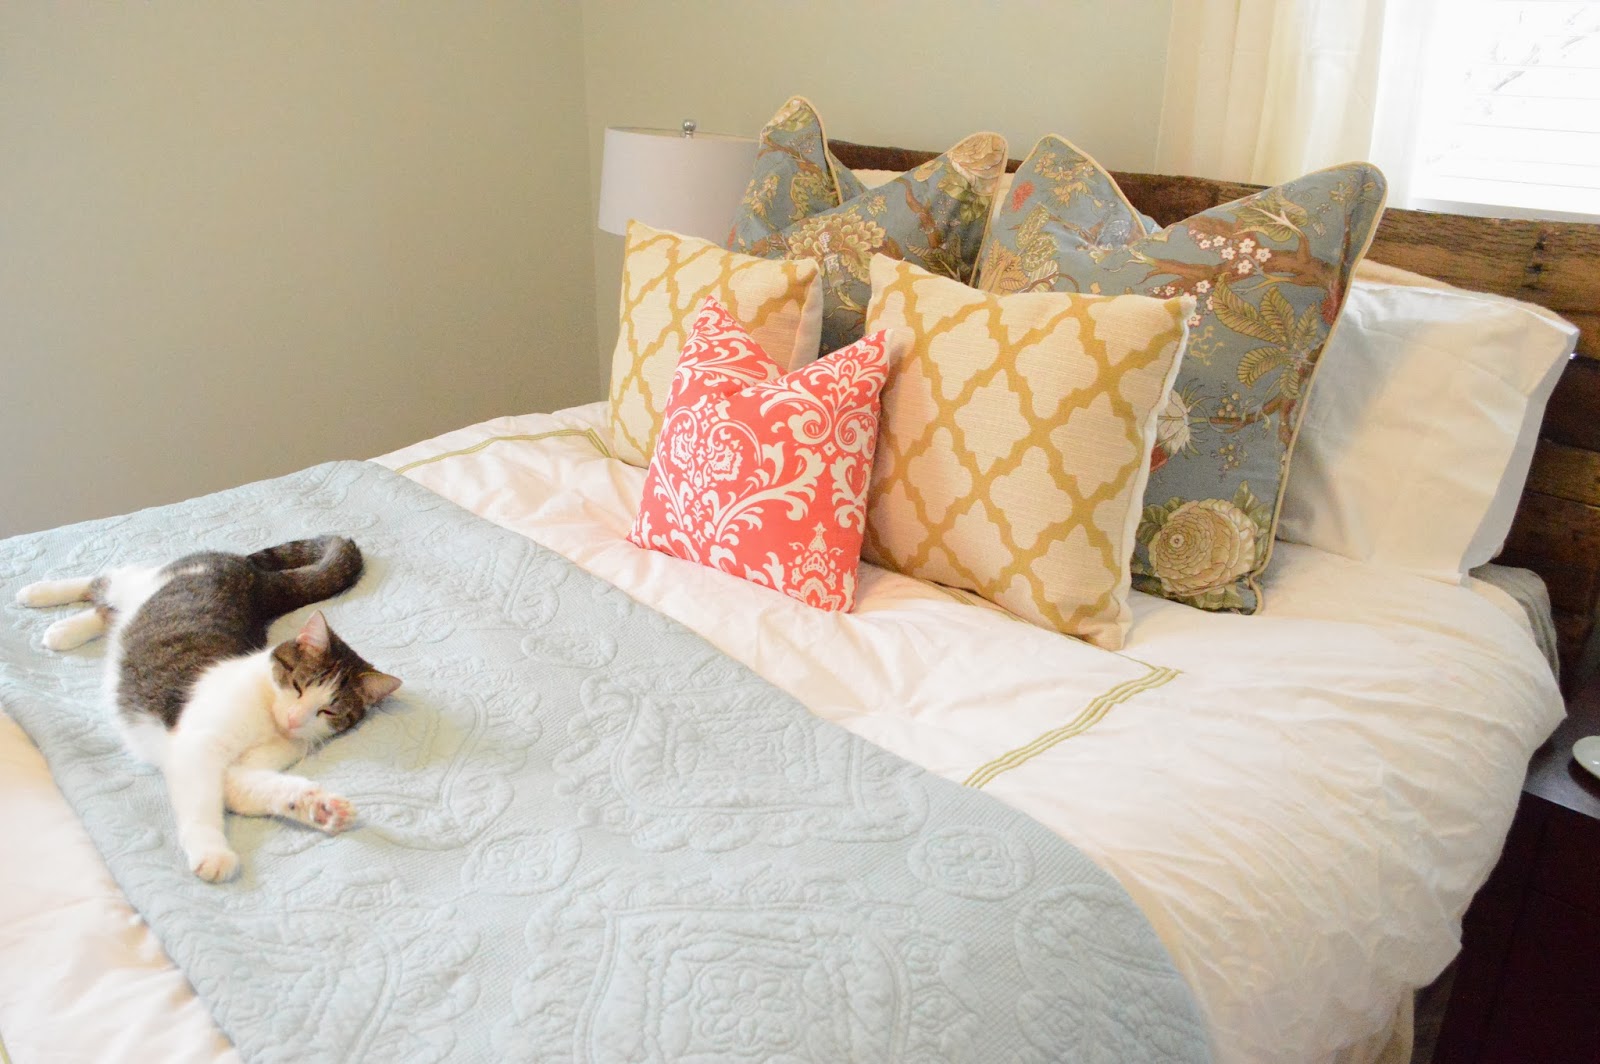
Come on over! Hotel Dilbeck is now taking reservations.


Friday, February 14, 2014

DIY I love you Art


There is no better time than Valentine's Day to recreate some of my favorite art by Alice Lane Home (not feeling an art project today? You can find them here) At $437 a pop, my Valentine may be feeling less than loving if I purchased these on a whim, SO I set out to make my own version of my favorite word art.

I purchased two 20x20 gallery wrapped canvas boards at Michael's ($18 each with a 40% off coupon). I always prefer to get the "level 3" canvases because they have a thick 1 inch surround that gives art a professional finished look. 


Using white acrylic craft paint, I painted a base layer of white. Then, I combined a little brown in the mix to give the canvas a "distressed" look. {Sorry this is a little hard to see in the pictures.}


Next I used a medium point paint pen (pictured below) to write in script the "i love you" words. I practiced on another canvas first before writing in freehand on the actual project canvas. I also tried several other pens first to no avail - a fabric pen, a sharpie, and a fine point acrylic paint pen.


Then came the writing...


What do you think of the final results? 
It cost me less than $60 versus around $850 for the originals


Have you done any fun Valentine's Craft Projects this season?


Happy Valentine's Day! Go hug someone you love.


Follow me on PINTEREST for more great DIY projects!


Related Posts Plugin for WordPress, Blogger...

Blog Archive