

After finishing Beth's Kitchen (seen here), she got an itch to makeover the living room as well. We are on a strict "use whatcha got" budget for this room overhaul and that is exactly what we did. Beth has great taste, and has done a beautful job collecting accessories over the last few years. In fact, the only things she has purchased for this room are the TV, the sectional sofa (bought second hand), and a few pillows.Other things she has found, collected, or have been gifted to her from family. Her home is testimony to the fact that you don't have to spend a lot to make a place look great!
Here is a little room tour so you can see the space before.
Fireplace Mantle (BEFORE):

Area by the Front window (BEFORE)
:

Small Desk/Office Area (BEFORE)

Front Entry (BEFORE)

Area behind sofa: (BEFORE)

As you can see the living room is very open and spacious, which is both a challenge and a blessing. When you have such a large area, it is important to designate a purpose for each portion of the room so it is functional. That is exactly what we did. While the TV watching "zone" remained in the same portion of the room we relocated the actual location of the TV.
BEFORE: TV on mantle

AFTER:

We relocated the TV to sit on her grandmother's old cedar chest - something we found stashed away in a spare bedroom. The old suitcase belonged to her aunt and provided just the right amount of extra height we needed for the TV.

With the TV gone - the mantle was now free to be a focal point from the front door (rather than the TV).
View from the front door (BEFORE):
View from the Front Door (AFTER):


The area next to the front door while large, was not funcitonal. We moved her most comfy reading chair from the TV viewing area to the area by the front window to balance out her other reading chair. We also found a retro lamp in the garage to add light.
Reading area: (BEFORE)
Reading area: (AFTER)


We pulled a chair from her bedroom into the living room, and closed the table leaves to warm up the entryway.
BEFORE:
AFTER:


The desk area also got a little sprucing..
BEFORE:
AFTER:

The final look....
BEFORE:
AFTER:


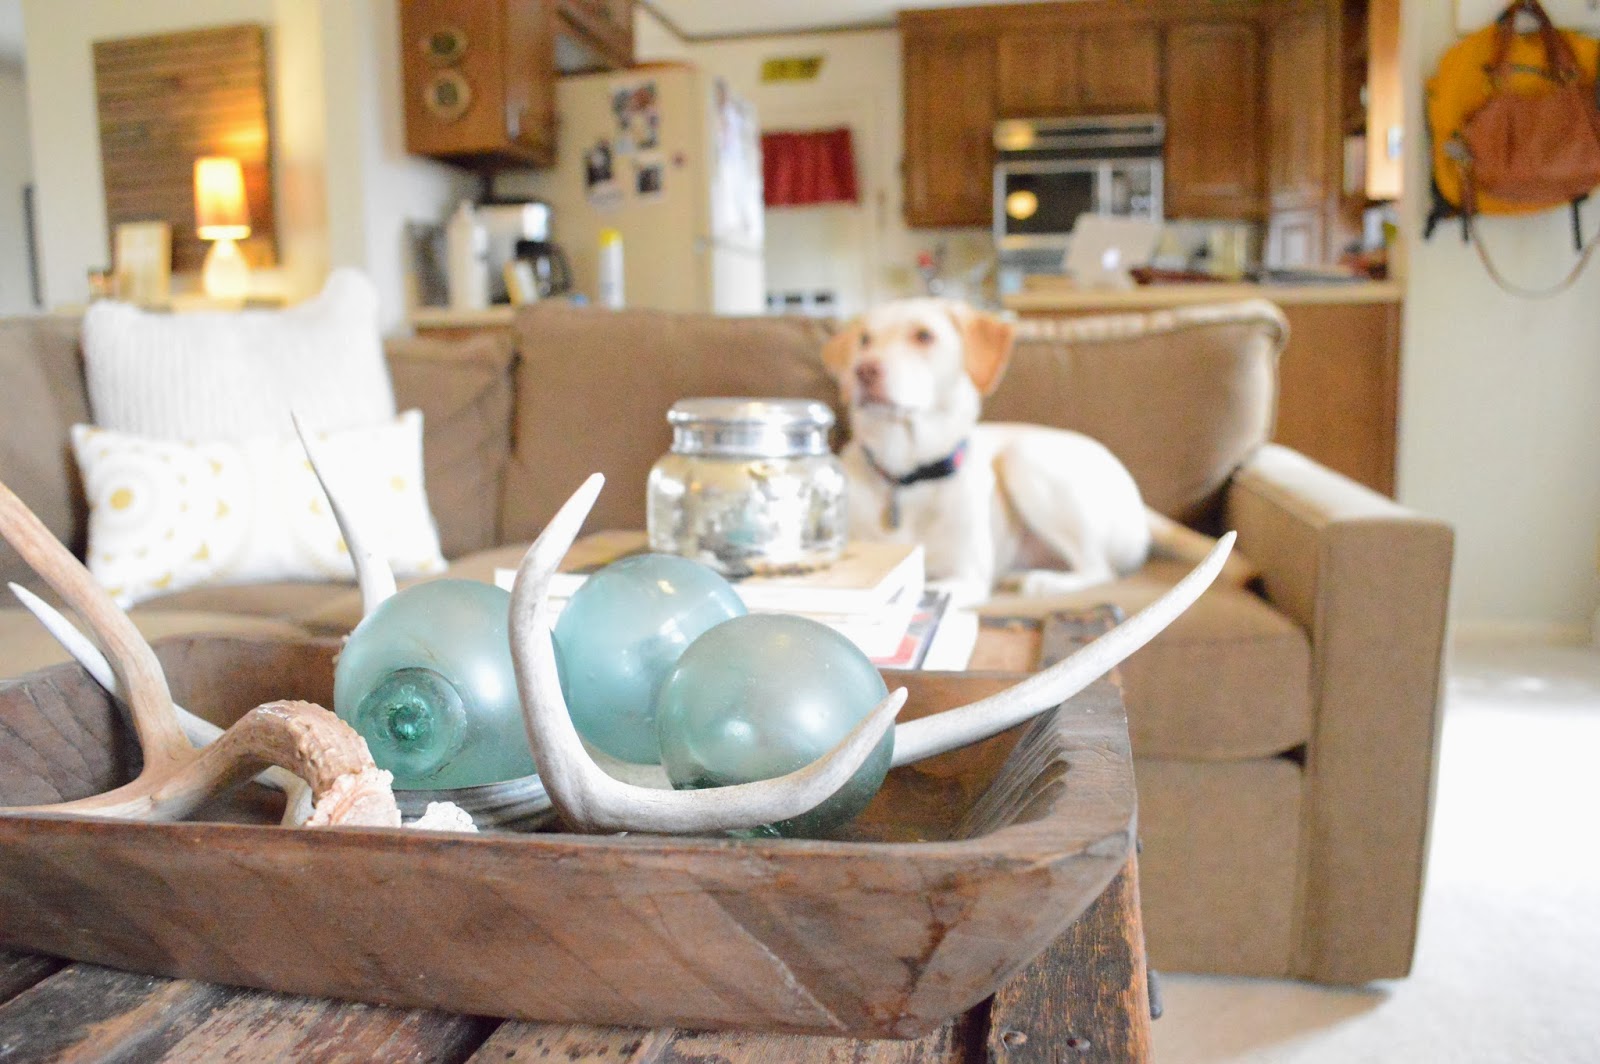
This room is Leland approved!

No comments :
Post a Comment
Join the conversation! We love hearing your ideas, seeing your DIY projects, and answering your questions.