Time for an update...
you remember this enormous list we had in the beginning right? Well, we are two months into living in our new space and we are beginning to chip away (& add to) this list. Come take a look at where we are at.
Let the planning begin!
I have probably written out a million lists in my head,
and dozens more on scrap sheets of paper since we first put a bid on the house,
BUT now I can officially do one of my favorite things, so here it goes,
a running list of honey-do's for each room of the house (well, part 1 of that long list at least)!
A very good place to start...
The Entryway!
 In the entryway
...
Exchange hanging fixture for a flush mount one. The lantern hangs too low and anyone over 5' will hit their head.

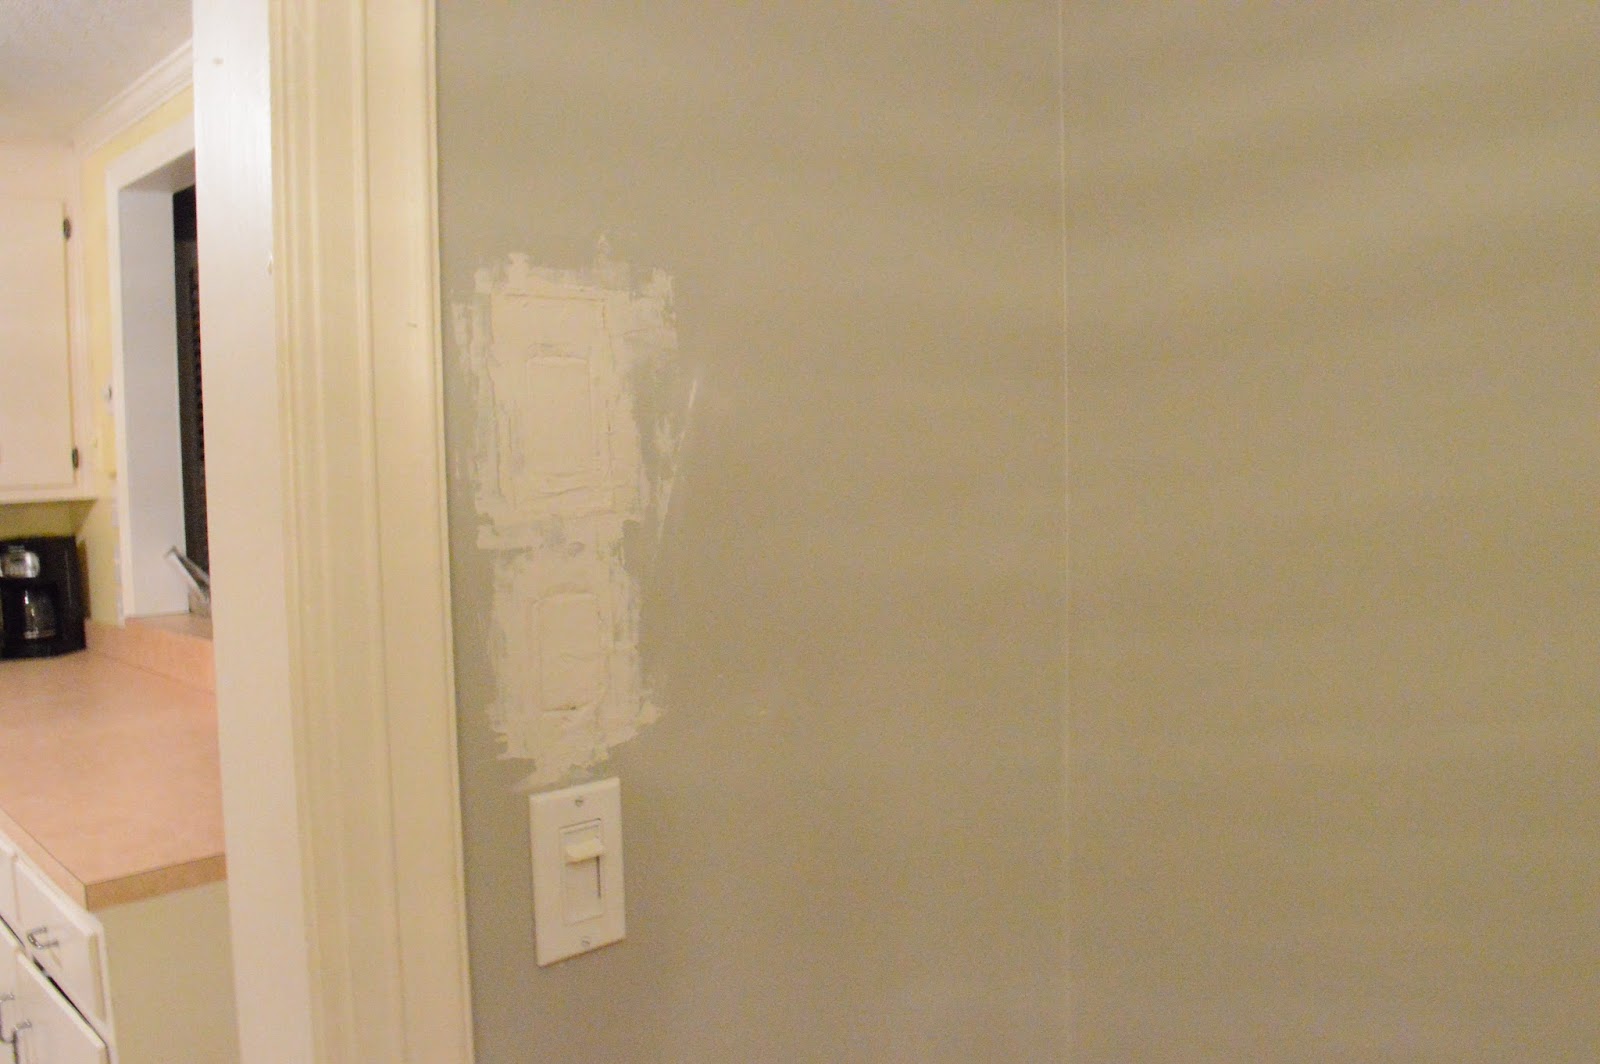
Paint walls... Rockport Gray!!
errr..Mindful Gray. but check!
Paint area under chair rail white to match trim.
Reverse coat closet (behind front door) to be used in Master Suite (more on that later!)
New Plan: Maintain coat closet in the entry!
Paint Walls Revere Pewter with a white(ish) trim. Update Fireplace (aka get rid of the yucky outdated brass) View that here!- Add built-ins with a place for the TV
Dining Room:
Widen doorway (far back left) to create a more open space between dining room & kitchen We nixed that idea week 2. The doorway is plenty wide and the kitchen feels really open.- Update fixture
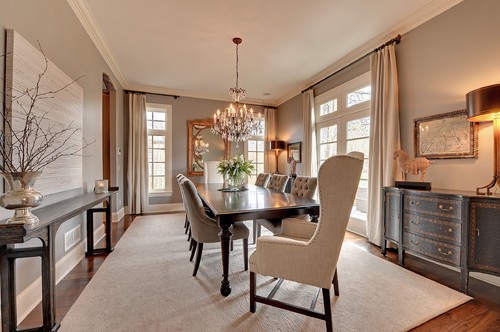
Tear out wallpaper circa 1980 & replace with wainscoting panelsPaint Walls & Trim
Here is the look we will be going for in the dining room except we will probably use a round dining table and go a little more casual with the fixture. Oh my, I just can't wait!
Kitchen:
- Right now there is some crazy wall paper adorning the ceiling -- that's got to go!
- Replace fan with a flush mount fixture & pendant lights over bar seating
Update Replace kitchen cabinets and countertops (after further inspection these need to go!)- Paint kitchen trim and walls
- Pray there is hardwood under the linoleum! Rip up linoleum and refinish hardwoods (lucky us...there ARE hardwoods! YES!!!!!)
Refinish/Re-coat old farmhouse sink & replace hardware- New plan: Add granite countertops & a smaller undermount sink (current one is 4 ft wide)
- Demo old cabinets and hang in garage (oh yes, we are BIG fans of the "use what ya got" mentality)
Loving this look for our future kitchen!
Sunroom/Back Entry:
So many windows!
- Fall in love with wood paneling.
Paint said paneling a neutral color.
Replace door to garage (one on the right) with a fire-safe door - Update fan with three-light ceiling fan (say goodbye to brass!)
View from the Back door into the sitting area of the "sunroom"
This is where the home remodel gets real!
We are ditching the old bathrooms,
and creating a Master Suite for ourselves,
but to be really impressed you'll need to see what it looks like now.
First up, the all important BLUE hallway bathroom!
Nothing a little demolition won't take care of!
NEW PLAN!
- paint existing tile OR demo tile and replace with beadboard
- if replacing beadboard, retile shower
- replace tile on bathroom floors
- install new vanity
- consider glass for shower door
- new shower hardware, towel bars, faucet
- install new light fixture & mirror
Bathroom #2 (& current Master Bath): Built for Tiny Tim
NEW PLAN:
- learn how to replace a shower pan and retile this shower OR make this into a half bathroom
- Install pedastal sink to make the room feel bigger
- repair and refinish tile in necessary areas
- install new toilet (at a minimum, replace the cushy toilet seat)
- consider glass for shower door
- new shower hardware, towel bars, faucet
- install new light fixture & mirror
The Plan:
Demo BLUE & TINY!expand current white bathroom into a more spacious guest bath, accessible from the hallwaycreate an en suite Master Bathroom with two vanities, and a luxurious shower
OR SCRATCH ALL OF THAT!
Here is some forward thinking...
 |
Future Master Bathroom (minus the tub...it just won't fit!)
|
 |
| Inspiring look for the Guest Bath |
Let's wander down the hallway to our sleeping rooms....
this hallway will also get doused with Revere Pewter
& updated with a new fixture
Bedroom #1:
The Green Room AKA The Back Bedroom
i.e. Future Master Bathroom
Here is what I am thinking...
To Do:
Create a doorway between Master Bedroom & Green RoomTurn Half of Green Room into the Master Bathroom by adding drywall, appropriate plumbing, shower, two vanities, and tileTurn other Half of the green room into the third bedroom....the other part of this bedroom will be where the current BLUE bathroom is
NEW PLAN: This room will either become the Master bedroom with an en suite Master bathroom addition OR we will keep it a lovely guest bedroom/office. Either way...
- paint walls and trim
- replace light fixture
- replace closet doors (if we decide against the bathroom addition)
The FUTURE Master Bedroom (makes me just peach-y!)
To Do: This room is our beautiful guest room
Reverse Closet: Drywall work & Closet door installation NOPE!- New fixture
Paint walls & Trim. I am thinking a calming blue/green color like this: I went with SW Sea Salt
Benjamin Moore Palladian Blue
Bedroom #3: Purple Haze
To Do:
Paint walls & Trim. - Replace Light Fixture
Replace Closet Doors & add shelving inside closet Drywall space where current entry to TINY bathroom currently is (the new guest bathroom will be accessible from the hallway) NOT PART OF NEW PLAN
We have made it to the end of the honey-do's, and we are finishing strong with some great ideas for the exterior of the house, the yard & the garage space.
Up first, the facade of our home by the creek:
TO DO:
1. Paint Brick a gorgeous & inviting creamy white with a correlating white trim
2. Paint shutters a deep navy blue
Here is my inspiration & SOON-TO-BE color scheme for the exterior.
I am always amazed at what a little paint can do...
FRONT PORCH
TO DO:
1. Brighten up front door with Benjamin Moore's Wythe Blue
2. Remove Storm Door
3. Add lantern-like fixture
4. Paint & Re-seal steps to front door
FRONT PATH (now!)
TO DO:
Add Blue Slate Pavers....to create a more ordered look like this!

BACK DOOR
TO DO:
1. Remove Storm Door (it is broken) Repaired!
2. Paint back door the same Wythe Blue as the front door
3. Replace/Repair flood light fixture above door (purchased not installed)
4. Repaint & Reseal back steps
On edge about this HEDGE....
There's a creek somewhere behind there....
TO DO:
1. Go to work with a trimmer and cut back the hedges,
overgrown weeds and limbs around the bases of trees (basically, Clean it up!)
2. Mulch around the existing flower/tree beds.
WISTERIA HYSTERIA
All we need to do here, is trim the wisteria back from the roof line and shape up the bottom....
more work for the trimmer! (Oh, and that large crumbling cement fireplace has to go as well.)
Herb Garden & Flower Bed
TO DO:
Demo Flower Bed.
So sad to have to remove this but it holds water against the side of the house, so we are going to replant the beautiful herbs and roses in an alternate location.
Last but NOT least.....THE GARAGE (exterior)
The Garage (interior)
TO DO:
1. Add electric garage door openers (YES!! Can't wait!)
2. Dismantle loft (it is only held together by 2 - 2x4s hanging from the rafters -- yikes!)
3. Create a laundry room area (unless we follow through with the addtion plan which includes this)
4. Dry wall garage walls and ceiling and remove black tar paper
5. Seal & StainConcrete Floors.... I am thinking something shiny like this...
We are so excited to be in our home at last, and to start ticking away at our honey-do list!
Still have lots to go, and our minds and plans are changing all the time. We are having a blast working on projects together, and brightening up this home!


.JPG)
.JPG)


