Showing posts with label cleaning. Show all posts

Monday, January 13, 2014

Freshening Up a Kitchen on a Zero Dollar Budget

If you don't already know, I am a {home} rehab nut. 
So this Room Refresh series is dedicated to taking my craziness into YOUR home! 
Not only do I love fixing up our humble abode, but I love making all spaces new through decorative organizing and accessorizing.

My First Victim: Beth's Kitchen (BEFORE)

There is no better place to start our Room Refresh series than a best friend's house. Beth and I have not only been friends since 7th grade (yes, that's 16 years for those of you counting!), but we also both live in 50s ranch-style homes. So, when she asked me to come help organize her kitchen, I jumped at the opportunity. We tackled her kitchen today by cleaning out the cabinets, organizing, and accessorizing. Not to mention, we cooked up some pretty scrumptious plans for this kitchen's future.

Beth's Kitchen: View from the Dining Room (BEFORE)

Our goal for the space during our clean-up and clean-out day was to simplify
We wanted to organize the open shelving, clean out the cabinets, and freshen up the counter-top space by making things like the microwave and toaster not so applianc-y. 


Beth's Kitchen: View from the Living Room (BEFORE)


We started out by clearing out the entire space. Yep, we removed everything from every drawer, cabinet, nook & cranny. Beth made this very easy because she was so ready to clean out. 
We quickly divided everything into Give, Trash, and Keep piles before re-organizing everything in the cabinets.

Mid-clean out: The Dining Room became our sorting station

Our main focus for accessorizing was the open cabinetry. 
Beth had already removed the doors on the cabinets which made this part easy and fun!

            Open Cabinetry: BEFORE                                                                       Open Cabinetry: AFTER


Up Close & Personal Look at the AFTER open cabinetry: 


And while we were cleaning out we couldn't help but come up with some ideas for the future of the space.... 
Beth really dislikes the florescent ceiling light (I second this!) so our next step will be to install proper lighting for the space.


Our other ideas include placing a pendant light over the sink, painting the cabinets, and replacing the hardware.
 Eventually, Beth would like to replace appliances and flooring but until then...
if it ain't broke don't fix it!


The final results turned out great!

Beth's Kitchen (BEFORE)

Beth's Kitchen (AFTER)

View from the Dining Room: BEFORE

View from the Dining Room: AFTER

So what exactly did we do? 
  • Cleared the counter-tops of non-everyday items 
  • dressed up the appliances 
  • organized the open cabinets 
  • Gave or Threw away unused or broken or duplicate items
  • removed the dated curtains
  • cleaned out and organized the interior of the cabinets for easier use and grouped like items together
  • put lesser used items in harder to reach places (like extra china sets!)
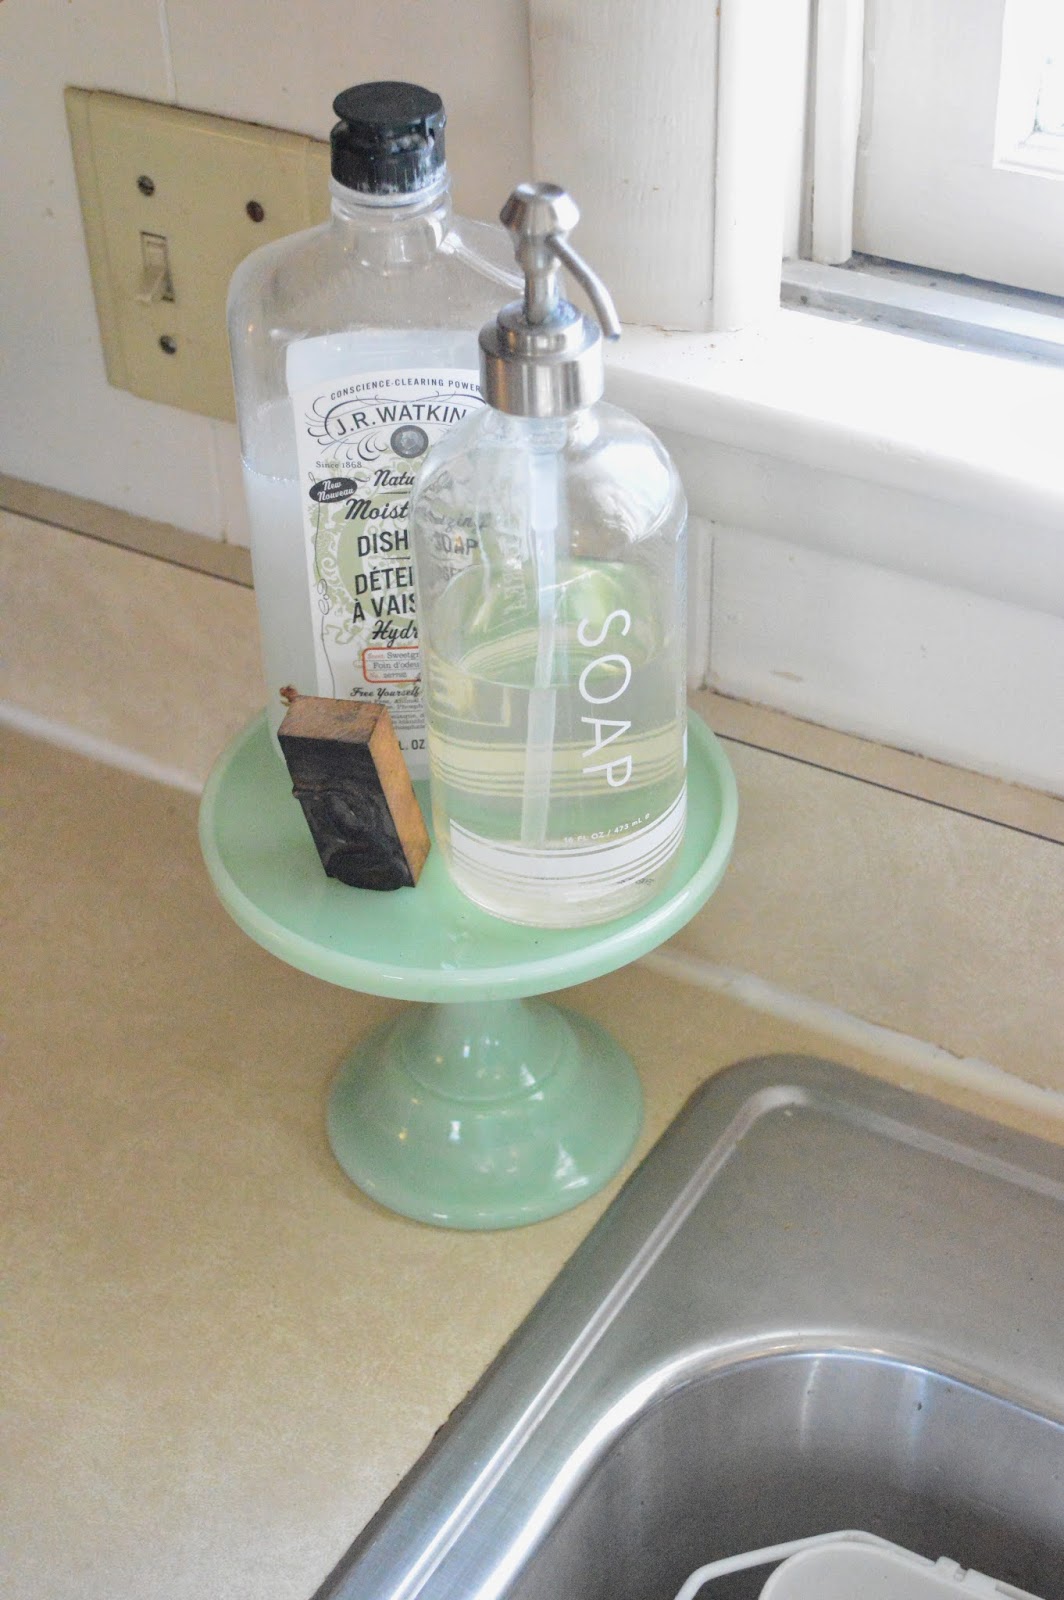
  • Decoratively displayed everyday items

More AFTER shots:


Friday, July 26, 2013

How To Update a Dated Brass Fireplace


Remember this from our first honey do list?

A few days in our new home, and the eye sore in the living room had to go. 
I'm talking the crass brass on our fireplace. 
Turns out this project was 10 times easier than I thought it would be because 
the brass plate simply detached from the fireplace and revealed (sooty but beautifuL) marble!


Next, my mom & I went to work vacuuming & sweeping  out the soot & debris from the interior.


We wanted to be careful not to scratch the marble so we used dish rags, mild dish-washing soap, and Bar Keeper's Friend to scrub the excess glue & soot.


Then it was scrubbing time! 


The finished product! 
There are still some yellowed spots but the sunlight should naturally bleach the marble so it is bright & white.


Now to do one of my favorite things...
Cross it off the Living Room list!

  • Paint Walls Revere Pewter with a white(ish) trim.
  • Update Fireplace (aka get rid of the yucky outdated brass)
  • Add built-ins with a place for the TV

Bye Bye Brass! 


Monday, July 22, 2013

Moving Day Progress


Move in day has come and gone, and we are settling in nicely at our new home. 
Three house guests and one point five weeks later we have already accomplished many smaller to-do's, 
but the most dramatic change came on day #2 after we finished unpacking boxes...
here's a glimpse of the house becoming our home!

Day #1 Living Room
Day #2 Living Room

All hail boxes in the Blue Room on Day #1


Purple Bedroom Day 
Pink Bedroom Day #2
Purple Room Day#2 (also known as the Guest Room)
Just peachy about the Master on Day #2!!
Cluttered Kitchen on Day#1


Us looking good at closing on Day #1.... 

 us nearing the end of day #1... not looking as good as the house, but so happy to be home!


Oh, what a difference a day makes!


Top three things I am SO ready to do...
1. Remove the door between the dining room and kitchen
2. See what's under those kitchen floors
3. Paint! It just won't feel like home until we do

Top three things he is ready to do...
1. Dismantle the loft in the garage
2. See what's under those kitchen floors
3. Cut the grass & trim the hedges!


Related Posts Plugin for WordPress, Blogger...

Blog Archive