XX - C&T
Tuesday, December 23, 2014
We Bid You Adieu
Monday, December 22, 2014
Tricks to Picking the Right Paint
Last time we talked paint, it was about the paint colors in our last house. In this house, the painting was a little more urgent as the current wall colors are a bit unsettling. One of my main goals in this house is to create flow by using paint colors that all mix and mesh well together. The other challenge is picking the perfect white! Believe it or not, not all whites are created equal. Every white has some sort of color undertone, and each one looks different depending on lighting (especially when candy apple green threatens every wall!) So in honor of picking paint for our new house, I want to give you my best tips on picking the right paint.
1. Buy paint samples. Don't rely on computer images or the tiny square paint chips you can get for free at the paint store. Spend the $5-$7 it costs to purchase the samples and save yourself some angst! (Another hint: I usually wait for a 30% or 40% off sale at Sherwin and then buy all of my samples at once.)
2. Paint LARGE splotches on the walls in several areas of the room with your paint samples and stare at them for days. Every color will change throughout the day and will look different in different areas of the room. Make sure you like the paint color in every setting.
3. Create flow with your paint colors by picking paints that mesh well together. There are several ways to do this. One way is to stay within your paint card. Another is to stay within the cool color family or the warm color family.
4. Be aware of color undertones. As I mentioned before, all whites have some sort of color undertone but so do colored paints. For example, Anonymous by Sherwin Williams has a green undertone in the right light, although it appears to be a very greige (brown -grey) color at first glance. If you have a hard time seeing undertones, look at the darkest color on the paint strip. When in doubt, ask a friend. Grays are the worst, in my opinion, for changing colors. Remember, my struggle to pick a gray in our last house. Most of them looked pink or purple when I got them on the wall, except for one: Mindful Grey.
5. Don't be afraid to be bold. I often find myself picking a color I like and then being scared to go "that dark" or "that light." What ends up happening is a I pick a shade darker or lighter and its the wrong color - totally washing out the space. Be bold. Pick the color you like and go with it.
Still don't know where to start? Look at what you have pinned on Pinterest and write down what you like about each room. Is it the wall color or the sofa? Once you have done this with ten to fifteen rooms, you will most likely see a color trend and you can start picking paint from there. Just remember, don't rely on computer generated images for your paint colors - It will look different in your home!
Happy Painting!
Thursday, December 18, 2014
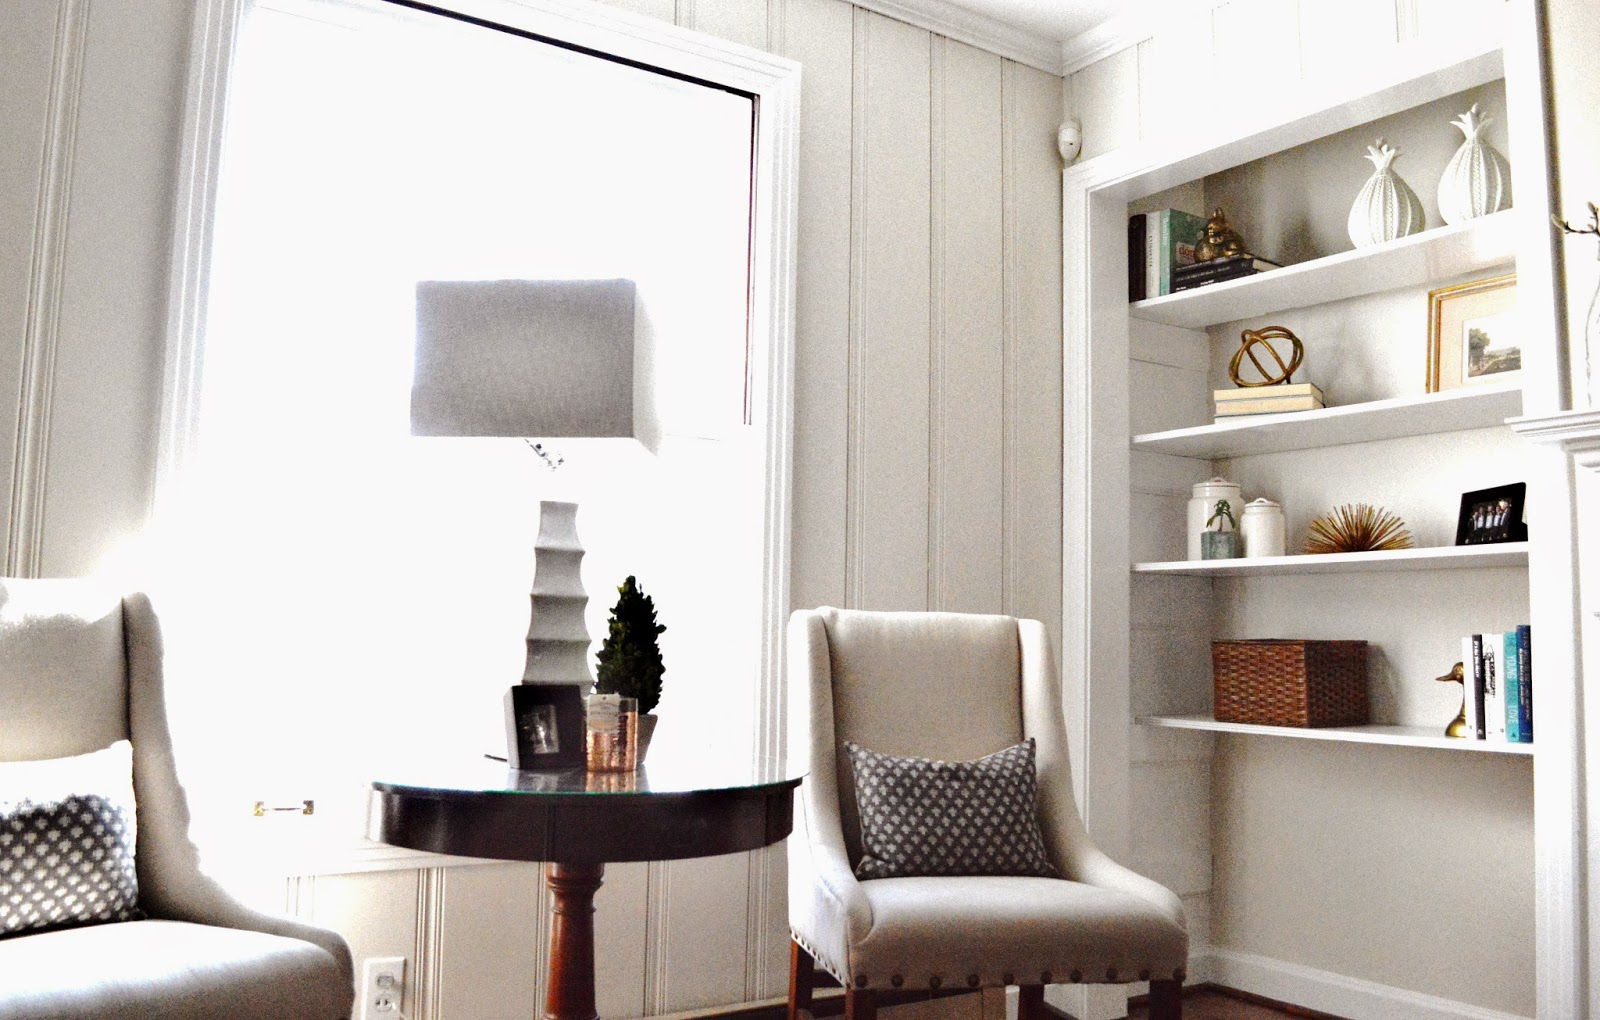
Bookshelf Styling Tips & Tricks
Here are my tips & trips for gorgeous bookshelf styling:
- A crisp glossy trim and the right color paint.
- Less is More. Clear off your shelves first, and start from scratch. Display only items you love.
- Vary your objects. A great mix of objects and books is essential.
- Add framed photos and art.
- Use baskets to hide clutter.
- Mix up your books. Vertical & Horizontal or Both!
- Inject odd-ball objects for contrast.
- Add Something green.
Happy Styling!
Labels:
bookshelf styling
,
Brookside
Wednesday, December 17, 2014
Mid-week Must Haves: Christmas Edition
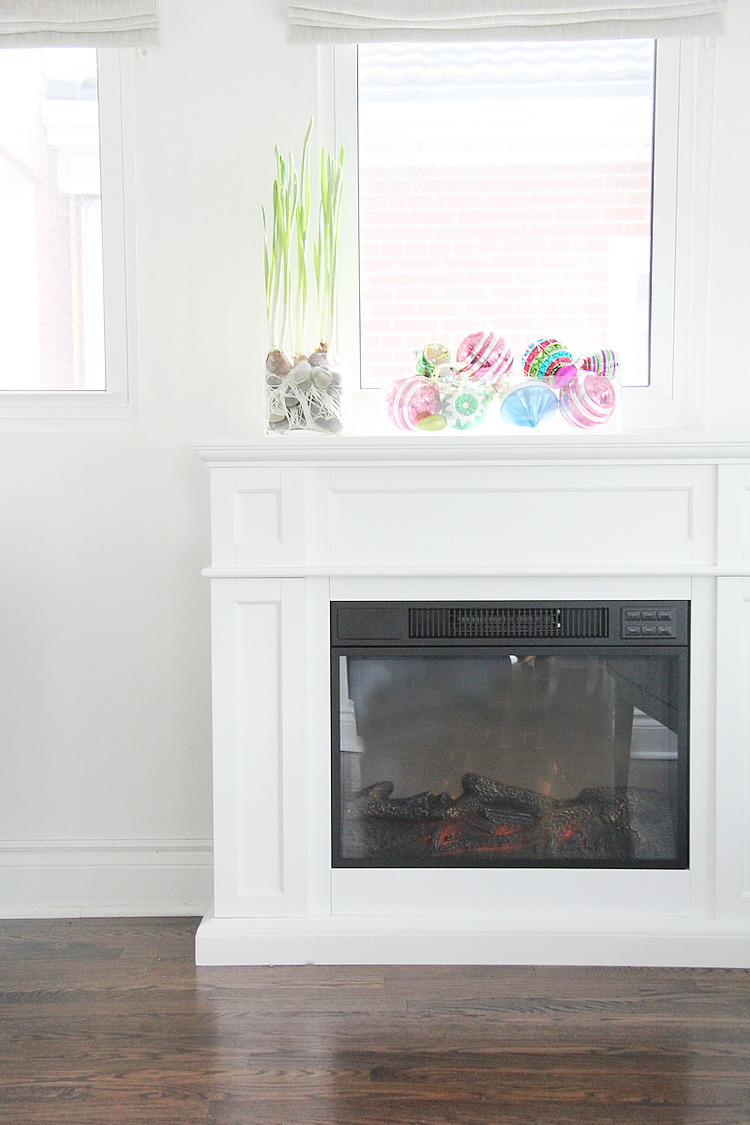
1. You would never believe that this is a faux fireplace...hope Santa figures it out too!
2. This Christmas house tour is delightful.
3. I love this festive outdoor decor.
5. These sphere ice cube molds make the perfect stocking stuffers.
6. This T-REX toy is awesome.
What last minute gifts are you adding to your Christmas list?
**Want more of what you must have? Take a peak at other must have items here. **
**Want more of what you must have? Take a peak at other must have items here. **
Labels:
midweekmusthaves
Monday, December 15, 2014
How to Make Old Grout Look New
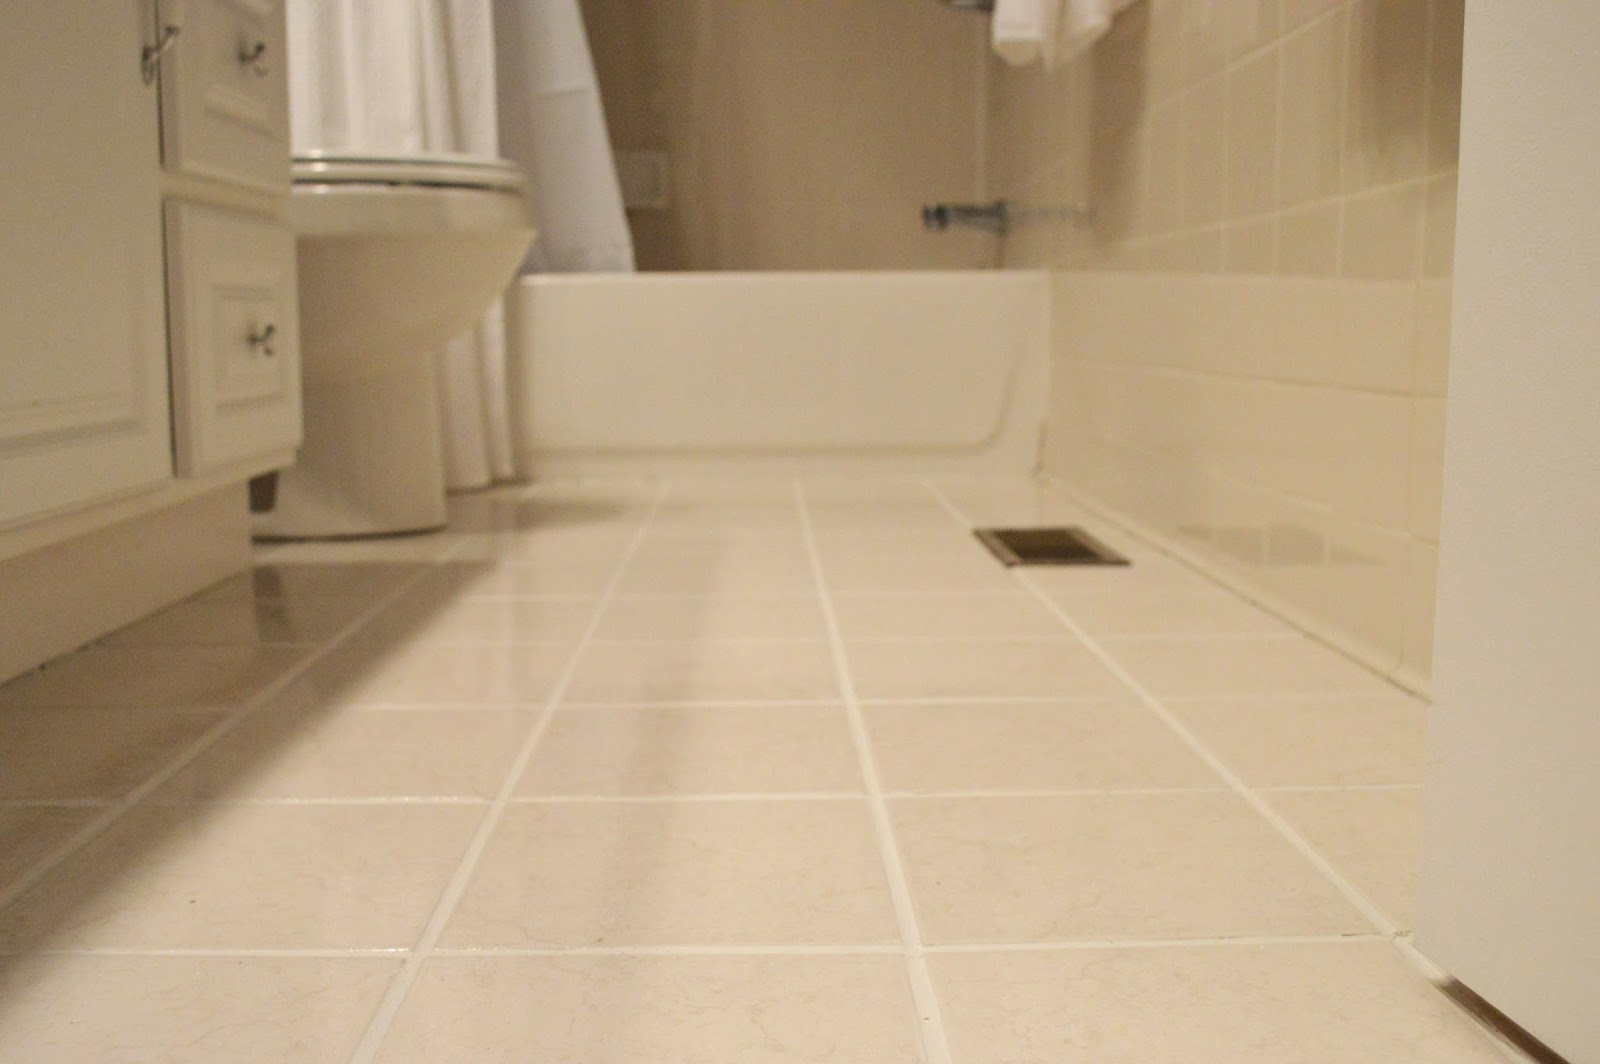
Brown Bear Grout, Brown Grout What do you See? I see ugly brown grout looking at me. So was the story of our second bathroom.. until the other day!
If you remember from our house tour, this is what the bathroom looked like before we moved in, ugly brown grout and all.
If you remember from our house tour, this is what the bathroom looked like before we moved in, ugly brown grout and all.
And this is what it looks like after a coat of Tricorn Black paint. I love the color, but it made the brown grout all that more apparent. In our last house, we did some heavy grout cleaning and painting, as well as cosmetic update to our small bath. Although we are not fighting with retro blue tile like in our last home, the brown grout was something that automatically dated the bathroom. I knew retiling wasn't an option (especially, after that time we tiled the kitchen) and we are not ready to gut the entire bathroom, so I began the search for an easy solution.
BEFORE
I found out that YHL had a similar grout dilemma in their new house. So I read about their experience and headed to Lowes to purchase both a grout pen and grout renew paint/sealer to try. Like YHL says, the grout paint/sealer works best. I thought this would be an incredibly meticulous task - I started out painting each grout line super carefully, trying not to get any on the tile. I was very untrusting of its ability to come off the tile so in the beginning, I was diligently wiping any spots off of the tile as I went (even though the grout renew bottle says to wait 30-45 minutes, spritz with water and then wipe off the tile). It was slow going! I started in the most conspicuous area - beside the toilet - to perfect my skills and then tested this "30-45 minutes theory." Low and behold - it worked!
I had to do three coats of the grout renew to cover the brown. I suspect if I was using a color closer to the underlying grout that two coats would have been enough. You can see that I was not very meticulous after I tested the spot behind the toilet. I would put on one coat, wait 15 minutes, put on the second coat and then wait 45 minutes before scrubbing the excess off of the tile. For the third coat, I would be more careful and wipe the tile clean as I went (because it was such a light third coat, mostly touch ups, I felt like this was more efficient than waiting another 30 - 45 minutes).
Another thing that worked well was dividing the room into sections. This is a small bathroom, but I still had 4 rounds of waiting for the grout renew to dry before moving on to the next section. Each section was small enough for me to reach entirely across without resting on the newly painted tile so that I wouldn't smudge a drying section.
I LOVE the results, and am so amazed that a $6 bottle of grout renew could totally transform my bathroom...but it did!!
BEFORE
AFTER
Have you guys done any fun big bang for your buck projects over the Christmas break?
Labels:
bathroom
,
Brookside
,
grout renew
,
grouting
,
HowTo
Thursday, December 11, 2014
Guest Room Essentials
On Monday, I showed you our new guest room while simultaneously feeling convicted over the need to rest in this Advent season. I hope you too have found a moment between then and now to sit at the feet of the Lord and take in the blessing of this season. As I seek out daily time to rest before the Lord, I feel that is essential that our guests have the same opportunity in the comfort of a cozy guest space while they are visiting. In honor of filling our homes with family and friends this holiday season, I have come up with a guest room essentials list - guaranteed to give your guests a restful stay.
1. Comfy High-Thread Count Bedding
Invest in good bedding for your guests. They will truly appreciate sliding into high thread count sheets and a cozy down comforter.
Everyone has different preferences in regards to warmth and pillow fluff. Give them options if you are able.
Bedside lamps provide added convenience for your guests.You may also want to provide a stack of magazines for leisure reading, a phone charger, and/or clock.
4. Room for their things
Clear out hanging space for your guests, stocked with lots of hangers. Reserve a few drawers for your longer-staying guests so they can unpack and feel at home.
5. Peace & Quiet
Secure pets. Try to stay quiet as you go about your morning routine, and keep TV volumes low to ensure a restful nights sleep.
What do you like to do to pamper your guests?
View our Guest Rooms below:
Labels:
Brookside
,
guest room
Wednesday, December 10, 2014
Midweek Must Haves: World Market Edition
With our new move, I am dangerously close to a World Market. I went in last week during their post-Thanksgiving sale and it took a lot of willpower to walk out with only the items on my list. All that to say, I found a lot of must haves - and since I can't have them all, I'll share them with you!
1. This cart is adorable. It reminds me of this one from Ikea.
2. This antler art put me in the holiday spirit.
3. I used these baskets to organize my laundry room. Oh what a difference good baskets and labeling make. Speaking of labels, these are pretty great too.
4. This tufted bench in navy is just plain perfect. Trying to figure out a place to put it as we speak.
5. I am a sucker for black and white and this rug just about did me in.
Did you have any great post- Thanksgiving finds?
**Want more of what you must have? Take a peak at other must have items here. **
**Want more of what you must have? Take a peak at other must have items here. **
Labels:
midweekmusthaves
Monday, December 8, 2014
A Look at Our Guest Room Progress
Transitioning to a new home leads to lots of to dos (you can see the whole slew of them here), but in this season of Advent my heart is convicted that maybe "getting it all done" isn't all its cracked up to be. As I created a place to rest for my guests yesterday, I felt the Lord tugging at my own heart and asking "where is your place of rest this season?" I confess that I have been more of a Martha - trying to get it all done, than a Mary - sitting at the feet of the Lord. (If you are unfamiliar, here is the story of Mary and Martha). He too wants me to rest before Him, especially in this time before Christmas.
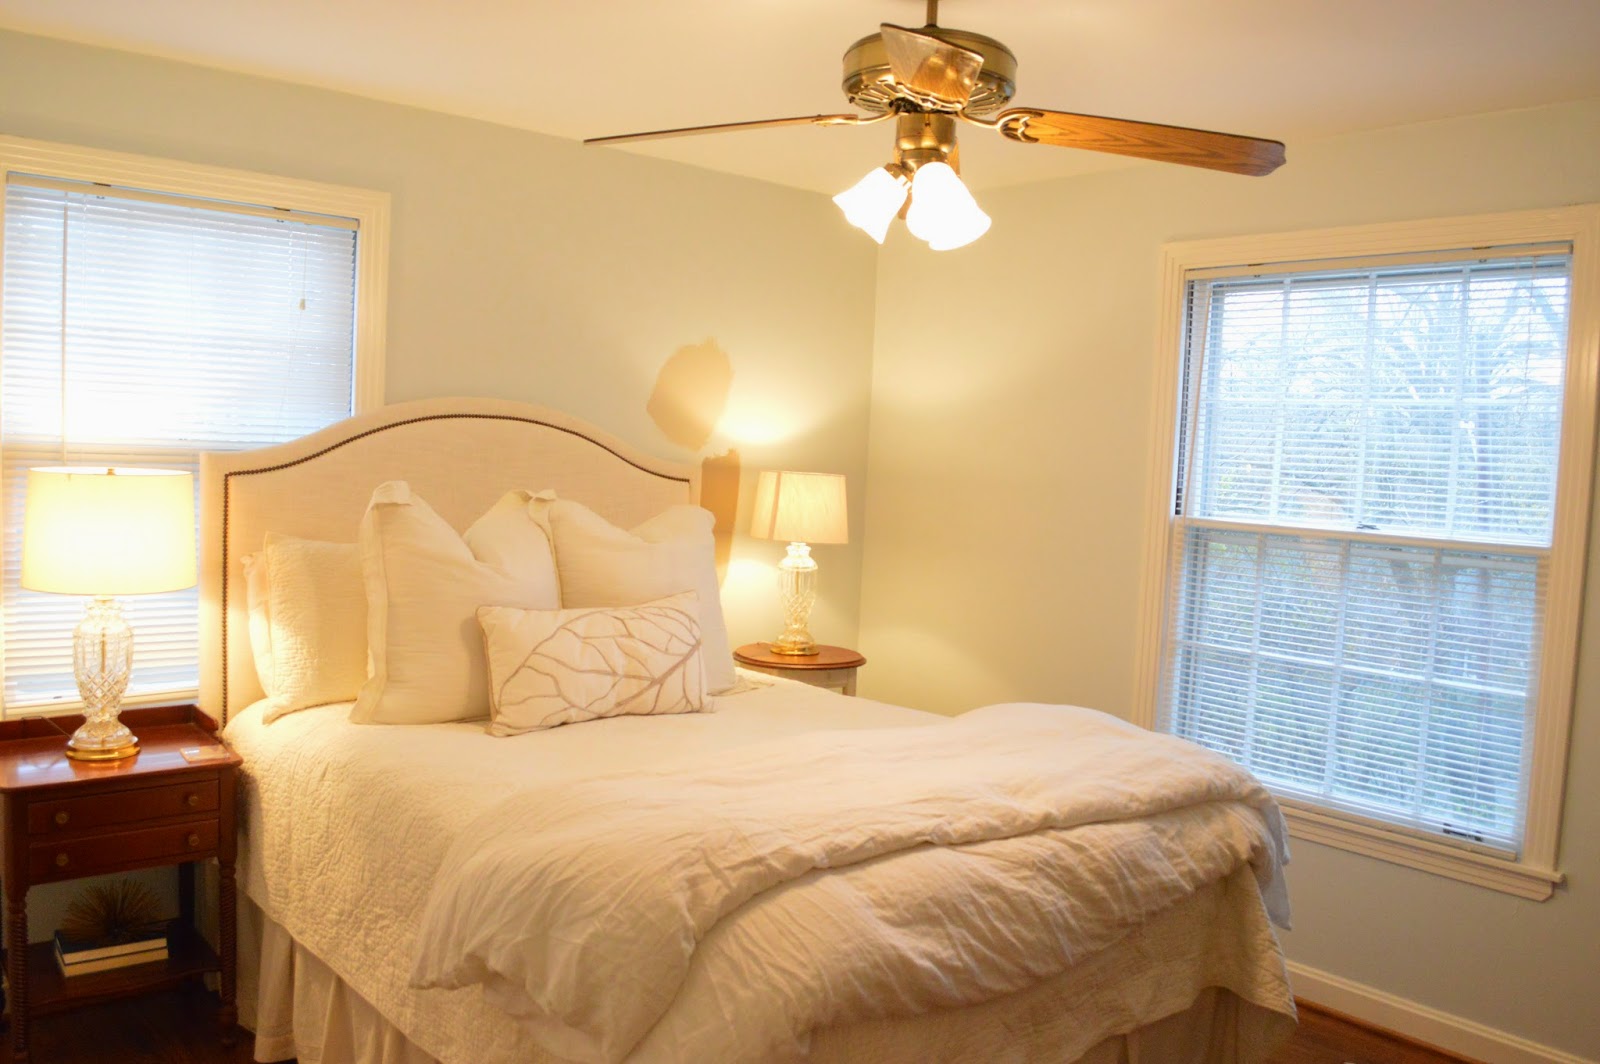
I am grateful for the opportunity to create a space where others can come and rest in this season before Christmas. This room transition was simple since we were able to remix some of the same elements from our old bedroom to create a lovely place for our guests. If you remember, this is what the guest room looked like before we moved in:
I am grateful for the opportunity to create a space where others can come and rest in this season before Christmas. This room transition was simple since we were able to remix some of the same elements from our old bedroom to create a lovely place for our guests. If you remember, this is what the guest room looked like before we moved in:
PROGRESS:
My prayer is that each of us would find a moment to rest in this wondrous season before Christmas. I hope you enjoyed this place of rest I created yesterday for my guests, and will feel freedom to put down your to do list and sit at the feet of the Lord today.
You can view the source list for our Master Bedroom in our home by the creek here.
You can view the source list for our Master Bedroom in our home by the creek here.
Labels:
Brookside
,
guest room
Thursday, December 4, 2014
Master Bedroom Design Plan
One of the best parts of our new home is having our own Master Suite. We are so excited to have a retreat of our own. Here is a little refresher of what the room looks like now.
Here are a few of the looks that have really inspired me for our new suite.
As you can probably tell, I like the tall tufted neutral headboard against dark walls. I also really love the all white bedding. I like symmetry in the matching lamps and side tables. I also like the geometric design on the rug under the neutral bedding to add texture. Here are a few design schemes for the room.
Here are a few of the looks that have really inspired me for our new suite.
What I like Best: Rug, Pillows, White Comforter, Lamps
What I like Best: Headboard, Leather Bench, White Bedding
What I like Best: Wall Color, Headboard, Pillows
As you can probably tell, I like the tall tufted neutral headboard against dark walls. I also really love the all white bedding. I like symmetry in the matching lamps and side tables. I also like the geometric design on the rug under the neutral bedding to add texture. Here are a few design schemes for the room.
Master Design Plan Option #1
Labels:
Brookside
,
masterbedroom
Tuesday, December 2, 2014
A Look at our Home Post-Move
All of our stuff made it a mere 3 miles down the road to our new home. We are so enjoying the quietness of our new space and arranging our things in this house. Here is a look at our post-move progress before the painters sweep in and transform the space. I am trying out a bunch of different paints so you will notice various paint splotches on the walls (more on that in a later post!)
// KITCHEN //
// LIVING ROOM //
// MASTER BEDROOM //
// MASTER BATHROOM //
// LAUNDRY //
// BEDROOM #2: OFFICE //
aka the dumping ground for all of our "extra things" and our last stop on the unpacking front
// BEDROOM #3: GUEST //
aka the dumping ground for all of our "extra things" and our last stop on the unpacking front
// BEDROOM #3: GUEST //
// GUEST BATHROOM //
As you can see, there is still a lot of work to do but we are so pleased with our progress in only a week's time. Next up is a rather large painting project (remember, this one and this one and this one in our last house?) and a new bed to come in our master bedroom. We are so excited to make this house a home, and so grateful that you are coming along on our next big adventure!
Subscribe to:
Posts
(
Atom
)


.png)


.png)
.png)
.png)


