Monday, June 30, 2014

Creating a Path to the Creek Using Pea Gravel & Creek Rocks

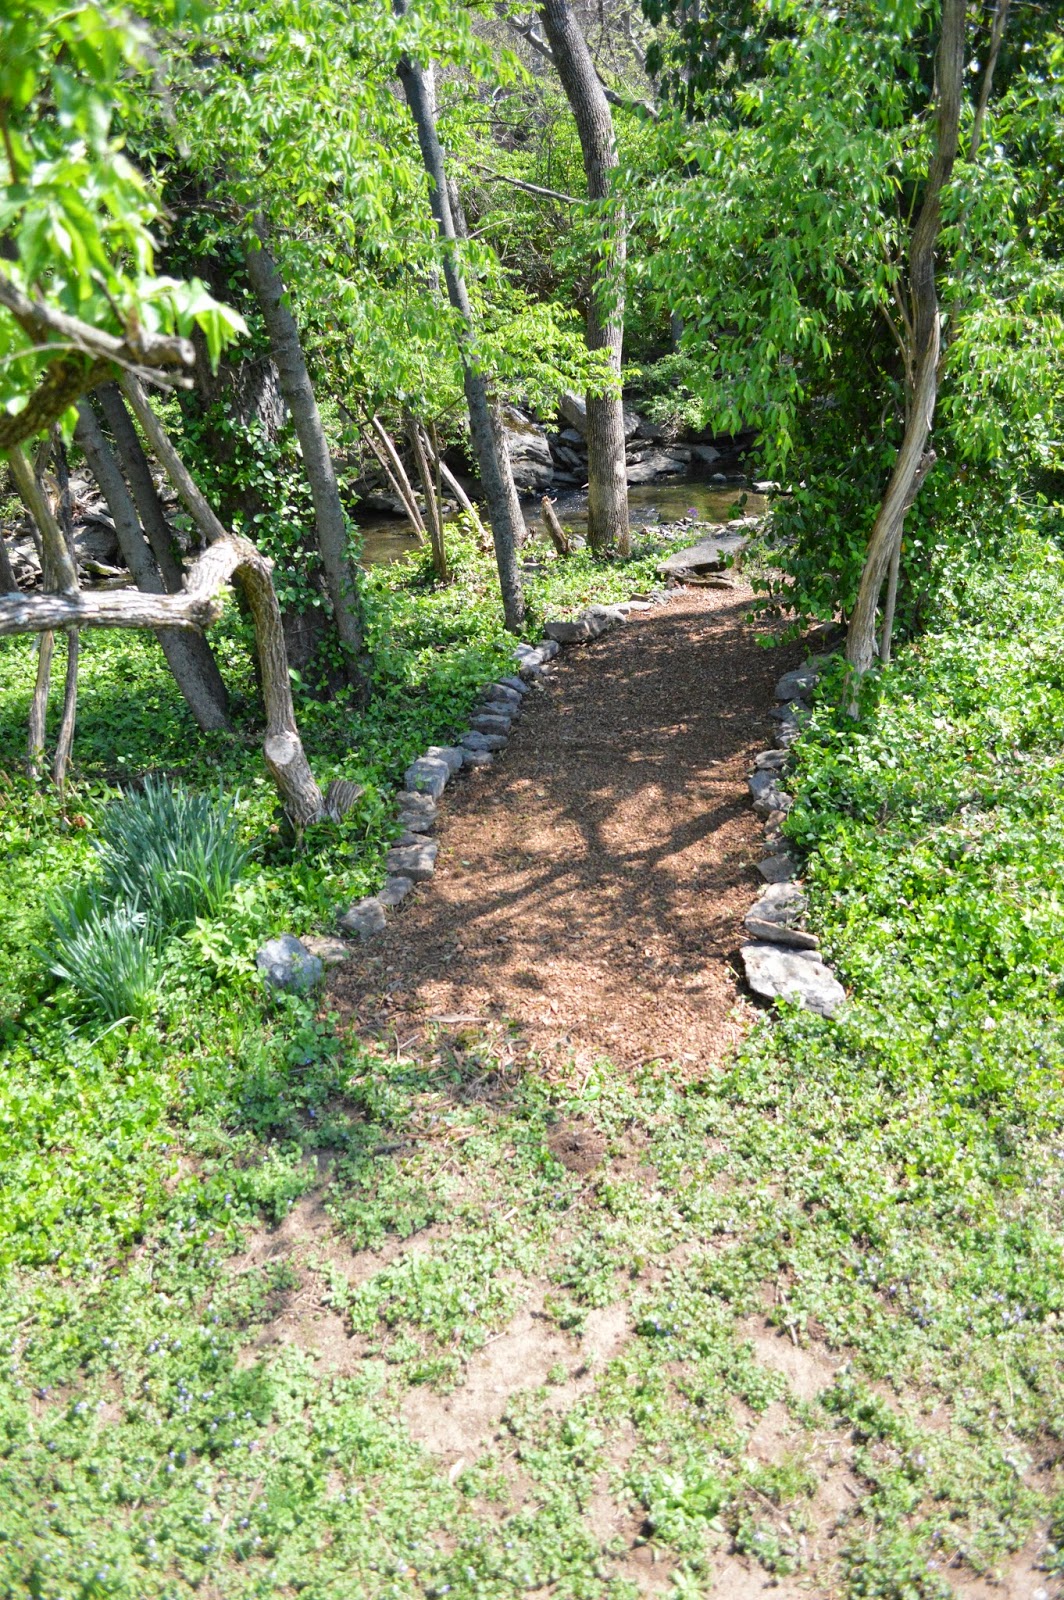
Last week when I told y'all part one of our flagstone walkway story, I also mentioned that we moved the pea gravel from the old front walkway. We ended up using it to create a path to our beautiful creek in the back yard.

BEFORE

Before, the path to the creek was muddy and undefined. We used the pea gravel to create a clean walkway to the creek. We also used big rocks on the side of the path to define it. Lastly, we picked out all of the weeds and cleaned up the perimeter.

AFTER


Now it is easy to hang out and relax by the creek whenever we please.

Displaying photo.JPG

Happy Monday! and Happy Birthday to my dear friend Beth!


Friday, June 27, 2014

Client Project: Organizing a Cluttered Desk

I met my client a few months back for our initial session. She is a free spirited lovely lady who desperately needed a space for herself and her work. As a mother of four, creating a space that was JUST for her seemed impossible - that's where I come in! After talking about her ideas for her desk and the room in general, it was obvious that this selfless lady needed a space all her own - one that was inviting, peaceful, creative, and most of all clutter free. 

Desk: BEFORE

My main priorities were to create a space for everything and to consolidate all of her work items into one area of the house. She also wanted a space that was "her." Filled with pictures of her kids, accomplishments, family photos, and inspirational quotes. 

Desk Shelving: BEFORE


  I had my client order a few organizational items: A plastic mat for her desk chair to roll on (carpet flooring), a stand for her printer to open up the desk space, and a bulletin board.

Desk & File Cabinet: BEFORE

Another piece to this organizing puzzle is finding a way to tame the paper. I feel like we are in a transitional time period where most of us can access all of the documentation for bank statements, receipts, etc online but we are still holding onto the paper documentation out of habit and fear that "we might need it." I LOVE using this simple chart as a guide to taming the paper. 


One other strategy is to GO PAPERLESS whenever you have the choice. It is a lot easier to sort through your mail when you have less of it coming at you. In my client's office we also create a place for her to put items "to be filed." One for her and one for her husband. 

Went from this...BEFORE

To this....AFTER


Setting limits is helpful. For example, when the inbox is full its time to sort and file. Because the inbox is a manageable size, it is not intimidating and you know that it will take around 15-20 minutes to sort (totally doable!) My client also wanted her space to be pleasing to the eye. So instead of having her tapes and computer software visible, we moved it to the unused space where the computer tower use to live.

BEFORE & AFTER


I finished organizing her space by displaying the items she selected to make her space feel like peaceful and inviting. Here are the dramatic results:

BEFORE

AFTER

It is so much easier to work in a space that is clutter free & inviting

 If you are in the Nashville Area and are interested in my organization services, 
please contact me at OrganizingNashville@gmail.com


Organize Nashville
Caroline Dilbeck, Organizing Consultant
Bringing peace and restoration to your home through professional organization


Wednesday, June 25, 2014

Mid Week Must Haves

Living on a budget? Want high end looking furniture without the high price? 
Here are some of my favorite Ikea Hacks.

1. Gold Dipped Console Table


2. Revamped Vittsjo Shelves 


3. Dressed up Malm Dresser


5. Billy Bookcase Built-Ins

You've been hacked! Have a great Wednesday!
!%#*!*$)@(*&%&$&*(!)

**Want more of what you must have? Take a peak at other must have items here. **

Monday, June 23, 2014

Creating a Flagstone Walkway


You may remember from our HONEY DO list that we wanted to add some form of stone pavers to create a more ordered look to the front walk. We decided to create an inviting flagstone walkway, but first we had to remove the pea gravel and cement stepping stones.

BEFORE: Pea Gravel WalkWay

After we removed the pea gravel (can't wait to show y'all where we moved it!) and stepping stones, we had to level the ground. We used filler dirt from a local supplier to fill in the gaps and define the area where the flagstone walkway will be. 

POST Pea Gravel Removal


 MID DIRT DUMP

RAKING OUT THE DIRT 

POST DIRT DUMP


Ty surprised me by purchasing the flagstone and laying them out while I was out of town.
Here is a sneak peak of our soon-to-be-finished walkway!


Wednesday, June 18, 2014

Mid Week Must Haves

Let's just keep things Black or White. Right or Wrong. Yes or No. Ya do or Ya don't.

1. Sofa


2. Rug


3. Walls


4. Skirt


5. Pillow


Keep it simple this week friends!


**Want more of what you must have? Take a peak at other must have items here. **

Monday, June 16, 2014

Creating DIY Art from Fancy Paper


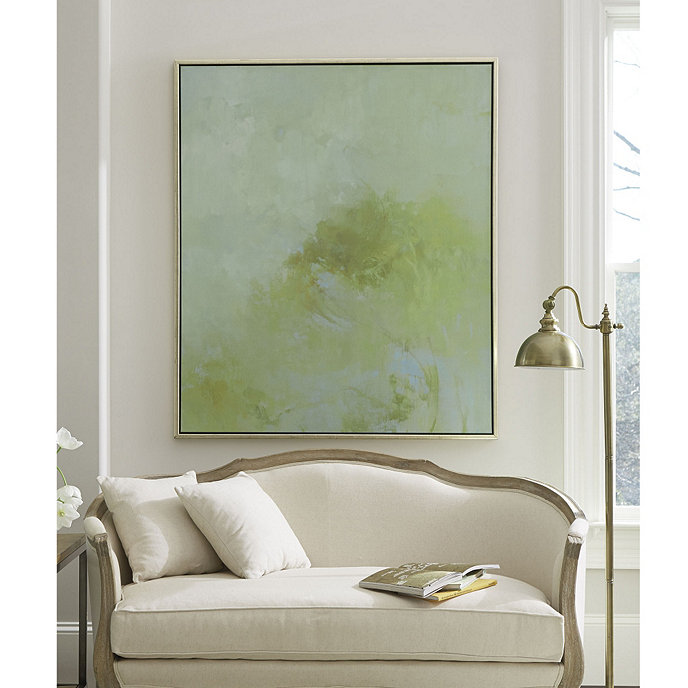
With the chair debacle of 2014 resolved, I wanted to focus on decorating the mantle to finish up the living room. I looked for art at antique malls, garage sales, and even did some online shopping but I still could not find what I wanted for the living room. I really liked this piece from Ballard Designs. It is colorful and abstract... but too large for our space. 


I wanted to create something similar but I was nervous about doing something abstract on such a large scale. In the past, I did some abstract art for our kitchen, but it was more of a whimsy and fun look rather than the more formal look I wanted for the living room. 


I have also seen some amazing marble wrapping papers lately and thought using one of those sheets as art would be fun. I went to a fancy paper supplier here in Nashville and while I was looking at the marble papers, I stumbled upon this Ombre Paper that was a perfect fit for our living room.


Originally I thought that I was going to do to frames side by side on the mantle, so I bought two. It is $6 a sheet - for art this is a cheap risk to take, for wrapping paper it about kills me to purchase it (I digress). I had two frames from botanical prints I was using in the dining room (more on that change up later). I decided to use those frames ($25 each on clearance at TJMaxx) for my art to make an easy DIY Custom Framed Art for only $30.


First, I took the brown kraft paper backing off of the frame. It was super easy. I used an xacto knife to pierce a small shallow hole in the back, and then I ripped off the thin paper backing.


 Next, I had to pry up each staple holding the matte board in place. I lost a lot of staples along the way, but did try to be gentle as I went so that I could use them again to secure the matting when I replaced it with the new artwork. 


Once the staples were open, I could easily remove the matte board and artwork.


The matte board and artwork were glued together - surprise! I did not anticipate this, but using an xacto knife I was able to gently separate the matte board from the artwork. I did not worry about messing up the old art and focused on keeping the matte board intact.


Once separated, I placed the matte over my Ombre Paper. Fortunately, the paper was the exact size I needed. But if it had been too large, I would have used an xacto knife and metal ruler to cut it to the correct size for the matte. 


The matte still had some sticky back lefts so it secured easily to the new artwork. I then placed the new matted art back in the frame, and secured the staples that were left. Voila! New art!! You could also opt to replace the paper back board but with my flare for change and decorating, I figure its only a matter of time before I want to try something new.


Related Posts Plugin for WordPress, Blogger...

Blog Archive