Monday, May 26, 2014

Garage Sale 101

Have you ever gone to a garage sale and just struck out? I have! 
Over the last few years, I have really honed my garage sale-ing skills 
so that striking is a rarity.

Here are my fool proof rules for success at any yard sale.

1. Scout
Thursday and Friday afternoons check Craigslist for 
Yard Sales, Estate Sales, Moving Sales, and Garage Sales. 
And look for signage in your area.
Pick several sales in ONE area that you would like to attend. 

Why it works? Driving all over town to various sales takes time and gas money. 
The best goods go first and since you can't be 10 places at once, pick several places that are closer together.

2. Dolla, Dolla Bills
Get Cash the night before. No more and no less than you want to spend.
Get $1s if possible so that you don't have to worry about change.

Why is works? Unless you are at an estate sale, most people do not take checks or cards. You also have more negotiating power when you have exact change in hand (I'll explain below)


3. Get Amped!
You've got to be there early to get the good stuff so I generally swing by my favorite coffee shop
and wake up while perusing the first yard sale.  
Speaking of...
Get there RIGHT when they open. 

Why it works? The good stuff goes first. Earlybirds stress people out. An annoyed seller is less likely to cut you a deal....so be respectful, and don't get there before they advertise the start 


4. Stalk. 
Have a list of items you are looking for. Walk through the yard sale several times. If something catches your eye, look it over and then keep walking (this will help with negotiating later). 


5. Negotiate 
Before you make an offer, decide on the maximum price you are willing to pay (and stick to it!). 
Make an offer. Garage Sales beg for you to negotiate. 


  • Don't hover around the item you REALLY want to purchase. You'll seem desperate. Take a walk through the sale while you think about the purchase.
  • Sometimes having the cash in hand, and literally holding it out while you say "I'll give you $3" is too enticing for the seller to decline, and you will not even have to meet in the middle
  • Remember: the worst that happens is someone tells you no. 
  • If you are purchasing multiple items, try to ask for a single price for the lot. "I'll give you $20 to take all of this off your hands"
  • Be complimentary of the item, the seller's home - whatever you genuinely like - and tell them.
I hope this helps you in your yard sale-ing adventures!
I'd love to see what you find! 

Monday, May 19, 2014

How To Style a Coffee Table Like A Pro

If I have learned anything about decorating a room, it is that a room is built over time. Layer by Layer.


First Layer = Flooring and Furniture
Second Layer = Lighting 
Third Layer = Pillows and Poufs
Fourth Layers  = Accessorizing and Artwork

(and of course before ANY of this you must come up with a PLAN)

We are entering the fourth stage of our living room design (yes, after the chair debacle things have moved along quite rapidly) and I am SO EXCITED. Accessorizing and detailing is my favorite part of a room. Not only does it signal the room is almost finished (does that ever actually happen?!), but its where the room becomes more than THE living room but MY living room - it gets a personality.
So today I am giving you a quick tutorial on dressing your coffee table for success. 


WHERE DO I START?

First and foremost, SHOP your house. I highly suggest keeping all of your decorative items in one spot. That way you can go to that cabinet, armoire, or closet and literally "shop" for the things you need to freshen up your space. This is one of the best ways to know and use what you have. It keeps you from feeling like you need to purchase something, and you can instantly change the look and feel of a space by using whatcha got.

The Elements of a Well-Styled Coffee Table


Why it works?

Something to Provide Height + Something Decorative + A Stack of Books + Something Floral 
= A Well-Styled Coffee Table
  • Each item provides its own unique element of style but also connects to the other items on the table.
  • The floral arrangement provides both height and adds a fresh feel in this case. You can use a separate item to provide height like a hurricane jar with a candle or candle sticks.


  • Odd numbers work best - notice there are three items on the right side and four on the left for a total of 7. 
  • Balance. The tray is used to contain the three items on the right and balances the books with the books on the left.
  • Use like or complementary colors. Notice everything is similar to the colors within the room. It is okay to use one wacky or out of place object/color to give it personality, but try to blend everything by using like colors. 

  • Find something small to ground your books - a small decorative object like a paperweight, ceramic animal, magnifying glass or a candle (seen here).


Something to Provide Height + Something Decorative + A Stack of Books + Something Floral 
= A Well-Styled Coffee Table


Now its your turn! 
Use the simple formula above to create your own beautiful coffee table decor. 
I would love to see how yours turns out! Post in the comments below or feel free to email me at sylvanparklife@gmail.com!

Get the Look (Sources):
Books: Domino (found here), Emily Post's Etiquette (found here), African Hunter (Ty's from childhood)
Metallic Tray: West Elm Lacquer Tray
Silver Decorative Item: Ty's Mom's Silver Set
Ceramic Jar with Blue Accent: West Elm
Vase for Flowers: Restoration Hardware Small Zinc Glass Jar (no longer available) 
but you can find similar jars here
Hydrangeas: Faux floral arrangement from Color (local Nashville shop) but you can also find them here


Thursday, May 15, 2014

#TBT

Our Make-shift Kitchen


Our NOW Kitchen


We would love to post your DIY, Home Renovation, Before & After pictures too. 
Send them our way at sylvanparklife@gmail.com for a chance to be featured in a #TBT Blog Post.

Organizing the Master Closet


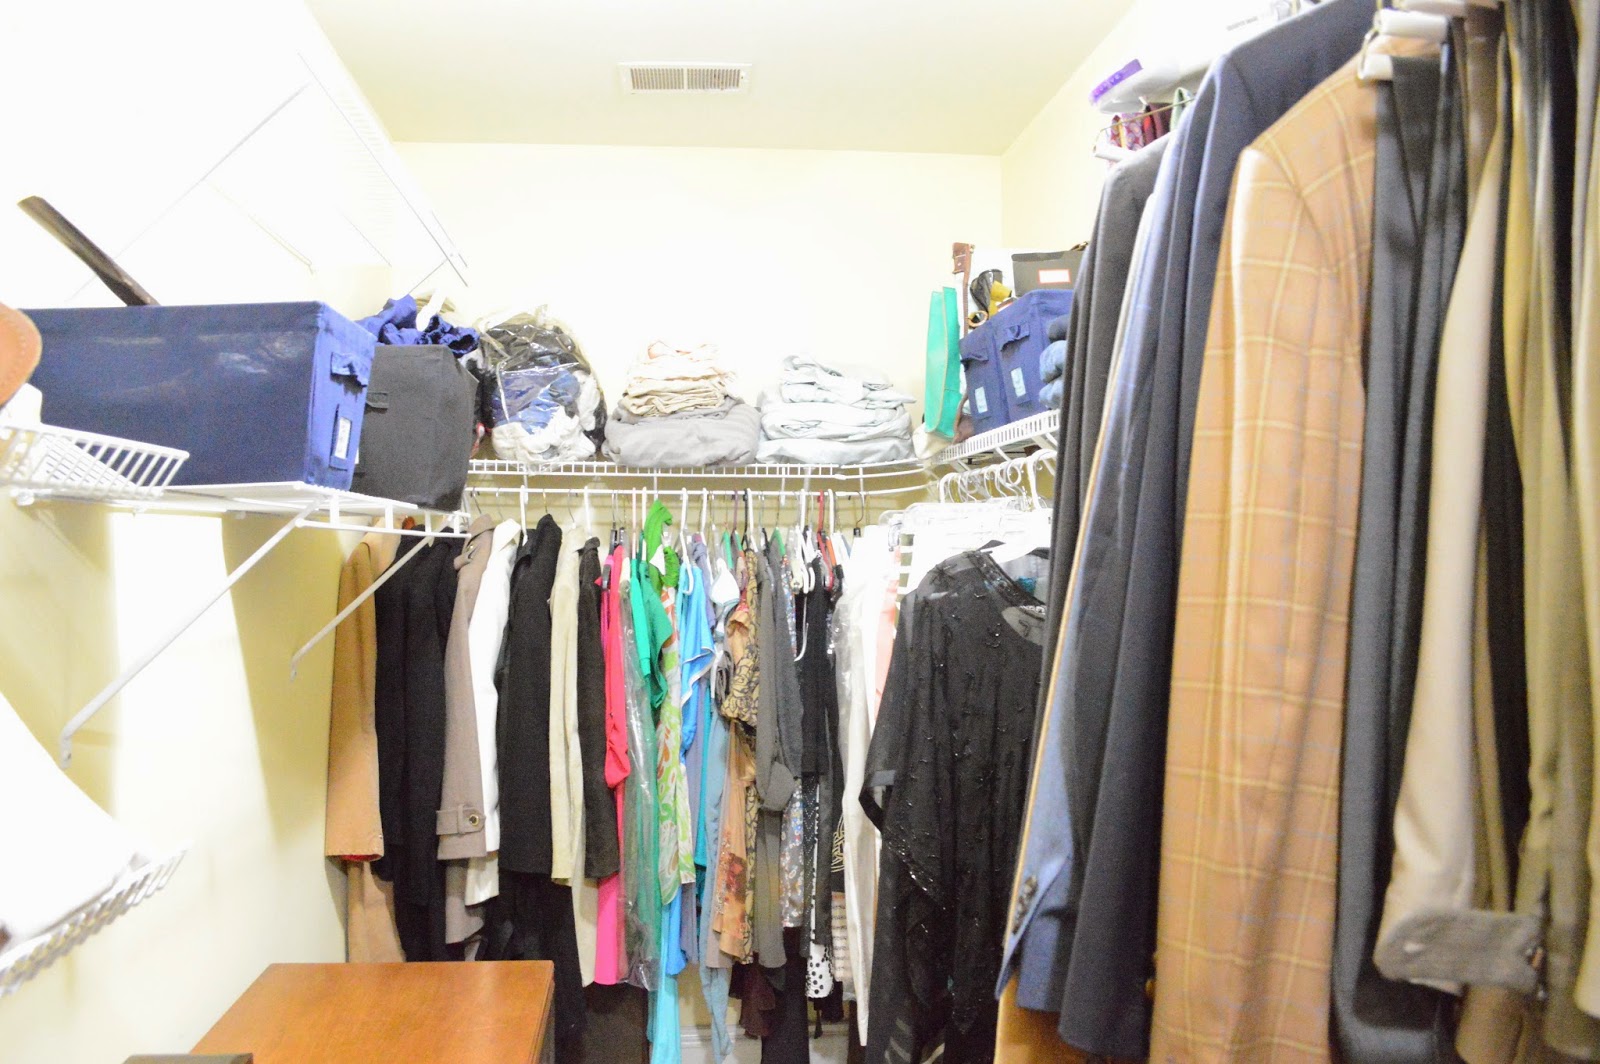
It takes a lot of courage (and trust!) to let someone invade your closet space, sort through your stuff and reorganize it. My client was ever so trusting and let me overtake her master bedroom closets for the day. This Master Bedroom Closet is a terrific space and already had "good bones" when we started. It just needed some practical and functional additions to make the space work better for my client.

Master Closet BEFORE:


Here are some of the needs:
- Practical way to put away clean but not-ready-to-be-put-away clothes
- Sweater and Jean Organization
- Belt & Boot Storage
- Open Floor Space
- Functional & Clean
- Easy Access to Travel Gear & Bags


Practicality wins out in this Master Closet. Lets be honest, at the end of a long day, it is not always practical to neatly fold your sweater and jeans, or hang up your dress shirts. So we made it so this doesn't have to be done, but the closet still remains crisp, functional, and uncluttered. 

THEN: 
Jeans would pile up to the right of the entry to the closet. 
Leaving the closet feeling cluttered before you even walked in

NOW: A Storage Bin that is large enough for jeans to be tossed at the the end of the day. 
Although they are folded neatly here, there is enough room for them to be wadded up but still contained, creating less visual clutter and giving them to have a designated space. 
We also used a pull out drawer for seasonal things like hats, gloves, and scarves.

THEN:
Sweaters would pile up on the shelving if they weren't properly folded. 


NOW:
Sweaters have a designated bin. It doesn't matter if they are folded or not,
they just have to make it into the bin. This is also great because sweaters tend to be a "seasonal" item in Tennessee. At the end of a season, they can easily be placed on a top shelf or brought out for the fall 


As for the dress shirts on the door knob, I installed two sturdy brushed nickel hooks on the back of the closet door. This allows shirts to be draped in a place that is out of site until they are ready to be put away. 
The next piece to the master closet organization puzzle was to organize belts and accessories. 

THEN: 
Accessories were in several areas of the closet. 
Some bags were in two bins on the floor. 

Some purses were hanging on a hook
 in the area outside the Master Closet.


NOW: 
All accessories are in an easy to reach area. 
Purses and bags are on the shelf directly above the brand new belt rack.


BEFORE: Belt Storage

AFTER: Belt Storage


A large part of this Master Closet organization was taming the shoes. 

THEN:Shoes

Here is HOW I usually organize shoes:
1. Separate Men's and Women's Shoes and decide a designated area for each
2. Divide each group by type of shoe: Heels, Flats, Sandals, Dress Shoes, Etc.
3. Remove shoes from boxes and discard 
(if you must keep boxes open, remove the excess paper for a less cluttered feel)
4. Group like items together on shelving

NOW: Beautifully Organized Shoes

To help with our shoe organization, we also utilized the area outside of the closet for boots. 
I used small clip hangers with soft grips to hang boots.


Last but not least, I organized all of the clothes. First by Men's and Women's, then by type (shirts, dresses, pants), and then by color. The results are phenomenal. One thing I also encouraged my client to do is purchase matching hangers like these. This makes all of the clothes hang at the same height which not only is space saving but also visually appealing. You can see just with the organization of like items, there is QUITE a difference.

BEFORE:

AFTER:


BEFORE:

AFTER:

That ends our practical and functional Master Closet Organization. 
For more organizing projects click here, here, and here


Wednesday, May 14, 2014

Mid-Week Must Haves

1. Framed Intaglio
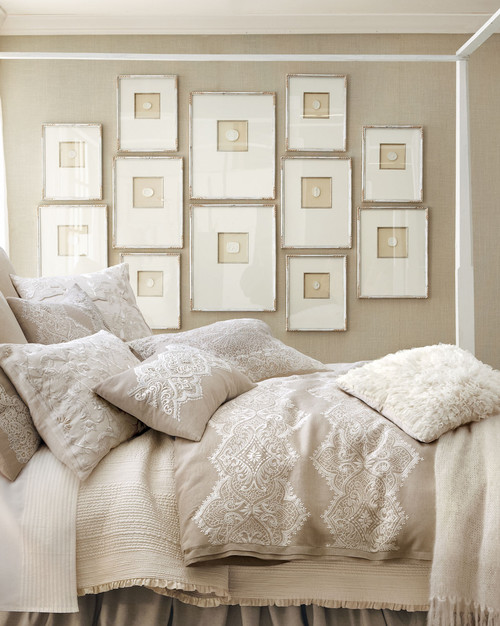
(in case EVERYONE has been wondering what that beautiful art is ACTUALLY called)

Found here, here and here


2. Dimensional Wall Decor
High: Horchow
Low: Target


3. Uttermost  Botanical Art

Found at Zgallerie and  Lamps Plus and Wayfair


5. Michel Armas Art will just make you HAPPY
Featured on One Kings Lane


Monday, May 12, 2014

Planting Privacy Trees


We told someone we were planting trees in our yard. He said "that is so nice to pay it forward like that." I never thought of it that way --- and it is a nice thing, endearing in fact. But in case you missed our confession post last week, I'll just go ahead and fess up to this too: 
These are PRIVACY trees, NOT pay-it-forward trees. 


I digress. These puppies were planted a few weekends back. In the summer when the yard is flourishing we have great coverage from the road, but this winter we noticed it was a little bare. You guys know we are always operating on a budget, and this time we REALLY needed to find the biggest bang for our buck - insert: Green Giant Trees. 


These trees are estimated to grow THREE FEET per year and are sure to block out noise, traffic view, neighbors, peeping toms.  Not only that, they are hardy and do not require much care. They also are not prone to bugs/insects/disease like some trees are. So hopefully this view will be much more private by next year. 


Down to Planting: HOW WE DID IT! Originally we thought we would need an auger, but when we saw how large a four-foot tree actually is, Ty quickly realized that a shovel would do. (Pocketed $60 bones right there!) 

1. Determine placement. These particular trees get huge. It is recommended  to plant each tree 5 to 10 feet apart. We chose 6 feet.


2.  Dig a whole as deep as the bulb and twice as wide.


3. Place the root ball into the hole, ensuring that the truck of the tree is above or equal to the soil line 
(aka ground level). 

4. Pack in the soil tightly around each tree.


5. Cut binding around tree and water each tree for 20 seconds per day for the first few weeks until the trees are established.


6. Use pine straw or mulch around each tree to help the trees retain moisture.


Share with others on PINTEREST!


Related Posts Plugin for WordPress, Blogger...

Blog Archive