Friday, January 31, 2014

Kitchen Renovation: How To Repair Plaster Walls


We have referred to "that wall" for quite some time. 
"That wall" has been that wall since demo day in late October of last year.
 In fact, that wall has been around for SO LONG its become a household name. 
"When are we going to fix that wall?"
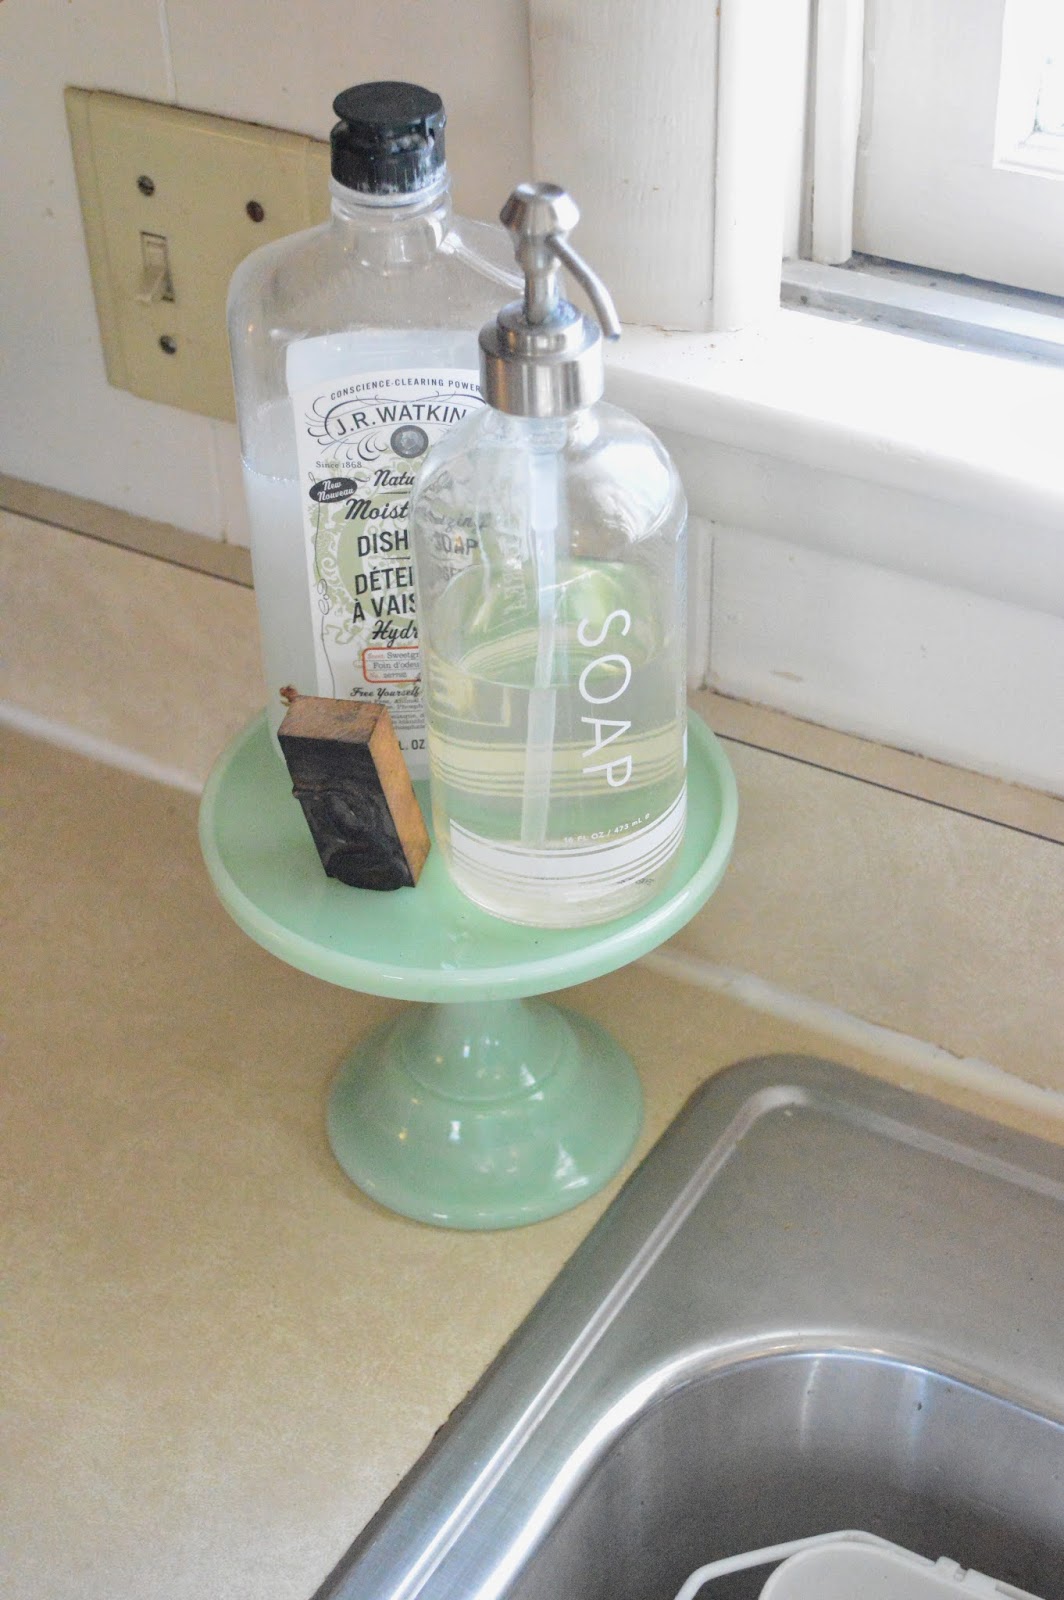
"The Kitchen is almost entirely done - except for that wall."
"You hardly notice that wall "(and so another week goes by without repairing it!)
"I'm going to hang a picture on that wall so its less noticeable "
(this in fact, makes the undone state of that wall even more obvious)
Which wall? THAT WALL! You know, the one in the kitchen that is hardly noticeable until it is and then you are like "WHOA! what is up with that wall?!"


What's up with that wall is that during demo day, I thought painting over the wallpaper and plaster would be a good time saver - I just really couldn't take anymore wallpaper removal at that point. WRONG-O!
This short cut turned into a long cut. We began the tedious process of removing the wallpaper, which now was sealed to the wall by my grand painting idea. This revealed disastrous chipping plaster walls, faux wood paneling, and just a plain ugly peachy tan and white splattered wall. So began the weeks of neglecting that wall, and the looming question of how DO we fix that wall?

1. Gather Supplies.
Face Mask
Palm Sander (or heavy grit sand paper if you are really brave!)
Joint Compound
Flat Trowel
Patience & Time
Shop Vac or other form of vaccuum (lots of dust)
Drop cloths
Kilz Latex Primer


2. Apply joint compound in a thin layer. filling holes and uneven surfaces.
Allow to dry (every compound is different , read your bucket for exact drying times!).


3. SAND. Make sure the first layer of joint compound is dry. Sand the uneven surface until smooth.
4. Repeat Steps 2 & 3 until the wall is completely even and smooth. (Ty sanded the surface twice)


5. PRIME. Once the sanding is complete, wipe down the wall with a dry cloth and vaccuum the area to remove any dust. Prime the wall using Kilz Latex Primer(our favorite primer, not our favorite cost... a small quart is $15 a pop!)...but man it gets the job done. Allow to dry. Repeat step 5 if necessary (Ty did!)


6. PAINT. Mindful Grey, for us of course.


This finished product had us saying...
Take a  look at that wall!


Credits to Ty for this project. I was basking in the warm sunshine of Miami, Florida while he was at home in the first snow showers of the season while battling that wall. 


Missed our kitchen reveal from start to finish?
Click here, here and here!
Can't Wait: The Kitchen Final Reveal

Monday, January 27, 2014

My Philosophy on Organizing


With the Home Offfice Organization Part 1 under our belts, my client and I headed into Day #2 with high hopes for an organized office. Both days were filled with lots of decision making by my client, as she consistently weighed whether or not keeping something truly ADDed to her goals for her office (and even her life, at times) or TOOK AWAY from that vision. With that said, Day #2 directly correlated with my philosophy on home organization. 

The reason I like organizing may not be as benign as it seems. Yes, I like to make things look pretty. I LOVE seeing the immediate fruits of my labor which is so easily done when organizing a space. I also don't mind throwing things away. And there is that rush I get when I enter a mess and know that I can FIX IT. The REAL REASON I want to help others organize their stuff is a matter of the heart

Our outward circumstances are often a reflection of our inward selves. Life IS BUSY and MESSY and IMPERFECT. Very much like us. When that all becomes too much to handle (or something unpredictable throws a wrench in our plans), our inwardly tangled souls start to spill out into other areas of our lives, often creating clutter. Clutter/Chaos/Disorder (whatever you would like to name it) can be found in marriages, in families, in friendships and most outwardly in homes! I want to help others start working toward cleaning up  clutter in the most outwardly obvious area of their lives: their homes. I enter with hopes that a change of heart in this area will be pervasive into other areas as well.

So how do we start digging into this matter of the heart? I believe the best place to start is actually by ZOOMING OUT. Out of the room that is so messy you shut the door and walk away filled with anxiety every time you open it. Zoom out of the overwhelming idea of moving all of the stuff in your bigger home to a small one. Out of the panic-stricken moment when you realize that once AGAIN you can't find that bill, those keys or that receipt. Away from the shame-filled pit in your stomach as you ask yourself "why are all these boxes still unpacked when I have lived here for over a year?"

We are moving away from all of those notions, and on to something greater.
WHAT IS THE VISION FOR YOUR LIFE?
WHAT DO YOU LOVE? WHO DO YOU LOVE?
and some may even ask, WHAT IS THE LIFE GOD IS CALLING ME TO?

Now those are lofty questions but the answers are usually simpler than we think.

They DO require thought. They most likely require PRAYER. And they should cause you to BE STILL and remember what you started out to do when you started that business, bought that house, had your first child, got married, started that job. I will share my list with you. I start from "What do you LOVE?" because I believe the good and pure things (not the worldly "things") I love are a reflection of the desires God places in my heart.

I LOVE... Jesus; My husband, Ty; My family and friends; My job as a nurse; Organizing and Making things beautiful; Taking care of our home; Climbing. Now I am not perfect in this by any means. My house is still a wreck at times, and there are days when I become unglued at the drop of a hat BUT when my inward self starts to feel stressed, anxious, or sad I ask myself:

Do the things I am doing ADD or TAKE AWAY from the VISION for my life?

When it comes to a CLUTTERED HOME, most people would say that it TAKES AWAY from their vision for their life and their home.With the LARGER PICTURE at hand, getting rid of things like papers, books, magazines that have been read, and even some of the 100 baby outfits your firstborn child wore becomes a little bit easier. You have a GOAL, a VISION, and a BIGGER desire which is truly a matter of the heart.


{Cant wait? Here is the Home Office Organization Final Reveal}


Thursday, January 23, 2014

Organizing the Home Office: Part 1


Before we started this office organization project, my client was running on E. Have you ever felt this way?Do you feel this way today? A disordered space TAKES AWAY from our ability to find peace and restoration in our home...which is exactly what this particular client desires.

BEFORE

My client has a GREAT work space but over time the room became more stressful than work-full. Within the actual office, multiple desk areas and horizontal spaces were a haven for messy paperwork. My client had migrated to other areas of the house to work. There was no ability to shut the door and turn off the lights at the end of the day because work was in the kitchen when she went to make dinner, and in the family room where she reads or watches TV. This is a common issue in work-from-home spaces that serve dual functions.

BEFORE

When I asked my client what she wanted from the space, she said "creative, functional, and pretty."
Taking into account her specific needs for the space, I went home and came up with this design plan:


 With a plan in place, we began Day #1 of organizing the office. I started the actual organizing process by first designating items into 6 categories: TO FILE, TO SHRED, GIVE/DONATE, KEEP (items for the office), KEEP (items that belong elsewhere in the home), and TRASH areas.

BEFORE: Home Office Bookshelves 

Since this room was mostly dominated by papers, I gave my client the task of sorting papers into FILE, SHRED and TRASH categories while I sorted more obvious items.


By the end of day one, my client gave away over 150 fabric books to help a new Watkins Interior Design student. She threw away an entire contractor size bag of trash. And had three FULL baskets of magazines ready to RECYCLE. It was a momentous first day thanks to my client's hard work and willingness to let things go.

End of Day One: SORTING


More PROGRESS to come on Organizing this Home Office in Day #2,
and the gorgeous FINAL REVEAL!
Stay Tuned...

If you are interested in my organization services and are in the Nashville Area please contact me at
OrganizingNashville@gmail.com


Monday, January 20, 2014

How to turn a Basket into Art


Well, we are just about out of juice on the kitchen, so we are mixing it up a little this week with the latest work on our Guest Room: DIY Wall Art. My original design board (seen below) had hints of coral and brown to blend with the already Sea Salt Blue of the walls and white bedding, until... 


I stumbled upon these amazing Tahari baskets! I was instantly inspired to use them as wall art.


Here's HOW I made easy Basket Wall Art!
1) In order to hang them properly, I used kraft (is this spelled with a c or a k?! I'll never know!) paper to trace the outline of each basket.
2) I put my pencil through the center whole to mark the center of the tracing circle.
3) Cut out each tracing. 


4) Then using painter's tape I was able to adjust them on the wall until I found the perfect spot of each one. (some trial and error happened first!)


This also made it easy to hang each basket. 
5) Using tack nail, hammer the nail in at the spot previously marked (center of the circle) with the pencil. Leave the nail sticking out about a half of an inch. 
6) Tear off the craft paper from around the nail. 
7) Place basket on the nail by pushing the center of the basket on top of the nail. Then hammer the nail further into the wall to secure the basket fully.


TA-DAH! Easy DIY Wall Art
(AND The perfect reading nook for our guests!)


We put the finishing touches on the guest room next week! Stay tuned:)

Have any of you found any unique pieces for wall art inspiration lately?!
Tell us about them in the comments section below!

Share with your friends on PINTEREST!


Monday, January 13, 2014

Freshening Up a Kitchen on a Zero Dollar Budget

If you don't already know, I am a {home} rehab nut. 
So this Room Refresh series is dedicated to taking my craziness into YOUR home! 
Not only do I love fixing up our humble abode, but I love making all spaces new through decorative organizing and accessorizing.

My First Victim: Beth's Kitchen (BEFORE)

There is no better place to start our Room Refresh series than a best friend's house. Beth and I have not only been friends since 7th grade (yes, that's 16 years for those of you counting!), but we also both live in 50s ranch-style homes. So, when she asked me to come help organize her kitchen, I jumped at the opportunity. We tackled her kitchen today by cleaning out the cabinets, organizing, and accessorizing. Not to mention, we cooked up some pretty scrumptious plans for this kitchen's future.

Beth's Kitchen: View from the Dining Room (BEFORE)

Our goal for the space during our clean-up and clean-out day was to simplify
We wanted to organize the open shelving, clean out the cabinets, and freshen up the counter-top space by making things like the microwave and toaster not so applianc-y. 


Beth's Kitchen: View from the Living Room (BEFORE)


We started out by clearing out the entire space. Yep, we removed everything from every drawer, cabinet, nook & cranny. Beth made this very easy because she was so ready to clean out. 
We quickly divided everything into Give, Trash, and Keep piles before re-organizing everything in the cabinets.

Mid-clean out: The Dining Room became our sorting station

Our main focus for accessorizing was the open cabinetry. 
Beth had already removed the doors on the cabinets which made this part easy and fun!

            Open Cabinetry: BEFORE                                                                       Open Cabinetry: AFTER


Up Close & Personal Look at the AFTER open cabinetry: 


And while we were cleaning out we couldn't help but come up with some ideas for the future of the space.... 
Beth really dislikes the florescent ceiling light (I second this!) so our next step will be to install proper lighting for the space.


Our other ideas include placing a pendant light over the sink, painting the cabinets, and replacing the hardware.
 Eventually, Beth would like to replace appliances and flooring but until then...
if it ain't broke don't fix it!


The final results turned out great!

Beth's Kitchen (BEFORE)

Beth's Kitchen (AFTER)

View from the Dining Room: BEFORE

View from the Dining Room: AFTER

So what exactly did we do? 
  • Cleared the counter-tops of non-everyday items 
  • dressed up the appliances 
  • organized the open cabinets 
  • Gave or Threw away unused or broken or duplicate items
  • removed the dated curtains
  • cleaned out and organized the interior of the cabinets for easier use and grouped like items together
  • put lesser used items in harder to reach places (like extra china sets!)
  • Decoratively displayed everyday items

More AFTER shots:


Monday, January 6, 2014

Kitchen Renovation: Budget Breakdown


Well, we are all about transparency here...so here is our budget breakdown for the kitchen. In case you missed the Kitchen Reveal, here is a  little Before & After of the kitchen. So, what does our total budget breakdown look like? 
  • Demo: FREE! (see that here)
  • Microwave: $180 on craiglist plus a $30 new microwave tray
  • Fridge, Range, D/W: $2481 (Fridge was scratch&dent from EE, D/W was new, and Range was negotiated down from $1250 new to $850 plus tax and electrical cord)
  • Tile Floor: $903 (free installation - oh yes, we did that here, here, and here)
  • Backsplash: $150 (seen here)
  • Electrical & Plumbing: $1125 (We had a professional install the sink, garbage disposal & dishwasher. We also had a LOT of electrical work done since our wiring was from 1950. This included some things in the Master Bedroom and Living Room, as well as adding a recessed light over the kitchen sink, but we just included all of it here)
  • Lighting & Garbage Disposal: $621 (We bought a fancy-shmancy 4-light fixture by Kichler & our garbage disposal on build.com)
  • Kitchen Island & Rug: $425 (Rug found on CL for $75)
  • Solid Wood Custom Cabinets & Installation: $7387 (We received 10% off plus a buy more, save more discount, plus an additional 10% off price match with HD, plus free soft close doors, free sink base, free roll out drawers in the pantry and a wood cutlery drawer)
  • Granite: $1250 (this was a STEAL for 3cm granite at $35/sq.ft. including installation and a free sink)
  • Tools: $150 
  • REBATE from Lowe's -$532
  • Selling old appliances and cabinets -$510 (old D/W, fridge, stove & microwave...and cabinets)

TOTAL COST: $13,660

Not too shabby for our first entire kitchen remodel.


In case you are interested in undergoing a kitchen remodel yourself here are some average costs for kitchen remodels:

A basic kitchen remodel: laminate counter-tops, everything remains in essentially the same spot, & average appliances costs around $12,000 and up


A major kitchen remodel: complete gutting, higher end appliances, granite/stone counter-tops, relocating or adding electrical, custom cabinets, new floorings: $50,700 average

Tell us about your kitchen remodel!
The good, the bad, the pricey...we want to hear ALL about it.


Related Posts Plugin for WordPress, Blogger...

Blog Archive