Monday, December 30, 2013

Kitchen Renovation: How To Tile a Backsplash

Well, the Kitchen Reveal has come & gone, but there are a  few missing links on HOW we got there - and this is one of them: Our White Subway Tile Backsplash.


I flew solo on this one. Ty permanently denounced tiling forever (not really, he was just at work so we could actually buy the tile!), so this kitchen backsplash is up to me. We are going for a classic look by using white subway tile. I have to say that round 2 of tiling (see round 1 here here, and here) is MUCH more enjoyable. With no time crunch, smaller tiles, and experience... its FUN!


PREP:
Prep for the backsplash was SO EASY.
 I used kraft paper and painters tape to protect our LUNA PEARL granite. 


 I removed all of the outlet plates. If we had not done a lot of work on the front end of demo-ing the kitchen, I would have had more prep work. The walls were  patched with spackle and then sanded to level the surface. We also went over the area to be tiled with a light sanding to rough up the walls and help the thinset stick.


Covering our bases: We did not want any grout, thinset, etc to damage our gorgeous new faucet so we wrapped awkward surfaces in plastic wrap.


As seen in our previous tiling endeavors, here I am again, mixing thinset! Some people use MASTIC as their tile adhesive. I have heard great things about it for a tile adhesive in the backsplash setting BUT being a savvy saver, I wanted to use the rest of our thinset from the floor rather than having to buy another product. 


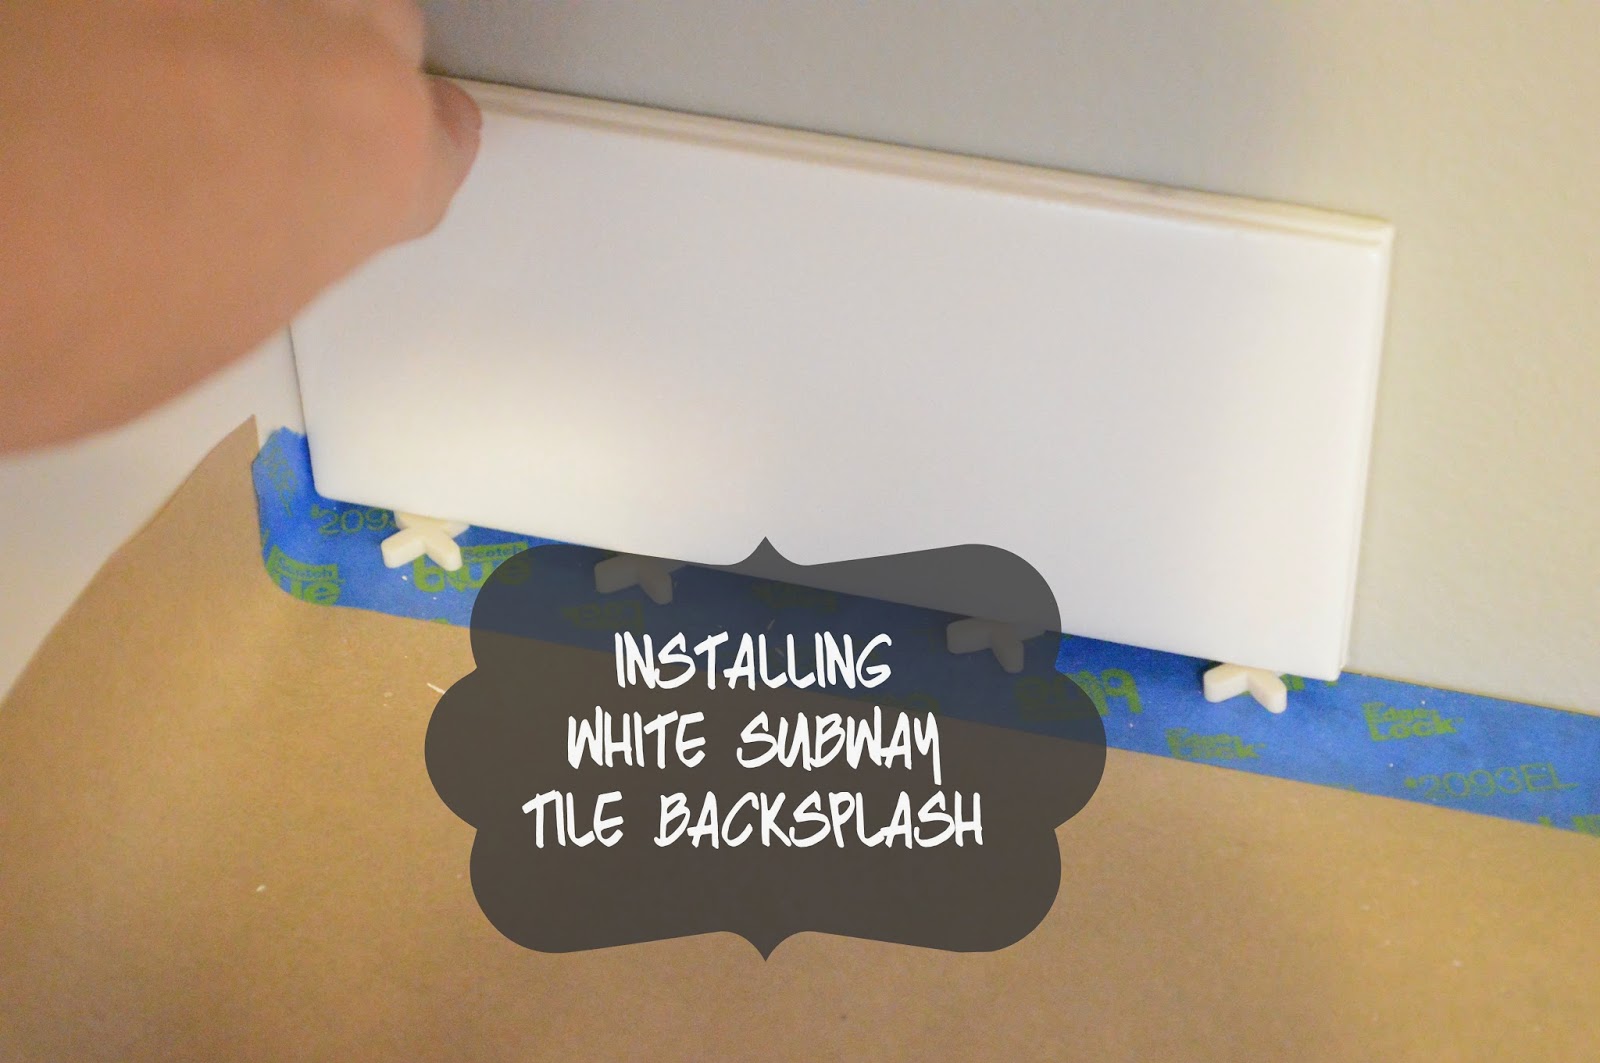
Laying out the tile. 


Another difference in the floor tile and the back splash...  the white subway tile has built in spacers. 
Although we still had to use spacers to keep the tile off the granite. Later, we will caulk between that space. 


Once the layout was set, it was time to tile!


As part of laying out the tile, I had to decide how to "finish" the edges where the counter ended but the wall did not. I used pre-cut edging pieces to create a finished look at the ends of the countertops.


 GROUTing!


Left side grouted, Right side ungrouted.

We had a big debate between dark grey and white grout while the thinset and tiles dried. We ended up going with white grout for several reasons, but mainly because the look is so fresh and does not obligate any one person to grey in the kitchen forever. 

Before
After

Have any of you guys ever tackled a backsplash?
We'd love to see pictures and hear about your experiences tiling!

We will be featuring YOUR HOME PROJECTS in the New Year.
Post in the comments below for more information!
We look forward to hearing from you!

HAPPY (almost) NEW YEAR!!


Friday, December 27, 2013

Creating a Coat Rack

I'm Hooked.... well our coats are at least. 
We made a small but incredibly helpful addition to the room off the kitchen this week: A coat hook!
We found this old piece of wood in a pile of remnants from Ty's parents home which was built in the 1920s. Being sentimental (and thrifty) we made it into a shelf. If you remember seeing this previously, you have! We used it in the guest room at the Sloan Road House to display wedding photos in the guest room. See the original Sentimental Shelf Here!


I have wanted to use it again in our new home, but hadn't found the perfect place for it yet...until now! 
The shelf is a little too long for the space, but it is the perfect width to cover this GIANT hole (and the ridiculous number of face plates. Wood paneling doesn't lend itself to patching unfortunately.... 
and we are in need of a place to put our coats!


So I purchased three oil rubbed bronze hooks from Target for a total of $10. 


Then, I dismantled the top of the shelf from the bottom and used a skill saw to cut each piece to the appropriate size. I wish I had a picture of this but power tools and selfies are like texting and driving.. .just dumb. After I cut the pieces I found the center of the shelf, and placed my first hook. Next I measured equal distances on each side of the center hook, and screwed on the next two hooks.


I used brackets to place it on the wall so that the shelf remained flush and sturdy for all those winter coats.
And here is our finished product, just in time for the first cold snap!


Monday, December 23, 2013

Moving Our Master Bedroom

We have lived in our home by the creek for a total of  175 days. In that time we have completed a lot of small [but necessary] tasks like dismantling the loft and making a window screen; as well as the ONE BIG task of renovating our entire kitchen. To say the least, a LOT has changed. One thing I have come to find is that our house is always in flux. Moving furniture from one room to the next, thinking of new ideas and ways to improve our space, and learning how we use each room has this place constantly changing to meet our needs. The Master Bedroom has fluctuated the most of all the rooms in the house. 


We first settled on the front bedroom, which originally was a peachy color. 


We thought we would reside in the peachy bedroom and expand into this green room to make a en-suite bathroom. Upon further evaluation, this idea was not practical.


Then, on move in day (more on that here) we decided to make this room our office. 


We continued to expand on the "office" idea for this room for awhile...

Until we painted the room off the kitchen....

Without the purple paint, this room became MUCH more appealing. 


This satisfied us for a mere 30 days before we were on the move again...this time, to our final location!


 And here we have landed, in the potential bathroom, turned office, turned bedroom. Ironically, this is the ONLY room we have not painted or done any type of updating. BUT, it is the coziest room in the house. It has a gorgeous view of the creek and two beautiful windows with lots of natural light. Because it is in the far corner of the house, it provides quiet and privacy too! We have loved being tucked away in our "new" master suite.


I am MOST excited about the blank slate to decorate in this room. We are in the midst of choosing a wall color and fabrics. When we were residing in the room off the kitchen, I created this mood board which is still in the running for our design scheme.  The jury is still out on what the final look will be, but we are excited to reveal it to y'all when we decide!

Have you guys ever changed a room what felt like a bazillion times before you got it right? 
We'd LOVE to hear about your experience. 


Related Posts Plugin for WordPress, Blogger...

Blog Archive