Thursday, August 29, 2013

How To Mortise the Hinges of a Door (aka Installing a Door)

Mortising a Hinge. I know, I know. It begs the question, you want to WHAT a WHAT?!? But, let me tell you the Dilbecks now know how to MORTISE. 
In case you are STILL wondering what the heck I am talking about...

mor·tise also mor·tice  (môrts)
n.
1. A usually rectangular cavity in a piece of wood, stone, or other material, prepared to receive a tenon and thus form a joint.
2. Printing A hole cut in a plate for insertion of type.
tr.v. mor·tised also mor·ticedmor·tis·ing also mor·tic·ingmor·tis·es also mor·tic·es
1. To join or fasten securely, as with a mortise and tenon.
2. To make a mortise in.
3. Printing
a. To cut a hole in (a plate) for the insertion of type.
b. To cut such a hole and insert (type).


Here we are, MORTISING the night away! (or at least Ty is)

The REAL story is that the door between the garage and the kitchen area is old and not up to code. It falls into the category of things (like the loft) we needed to do immediately upon moving into the house. So when we were wandering through Lowe's and saw a STEEL DOOR in the clearance section, we knew we had to go for it. 

So, onto all the Mortising...

Step One... 
Buy a door that already has mortised hinges! We did not realize when we bought this door that it would not fit into the door frame without the hinges being recessed into the side of the door. Learning curve #1. 


Step #2:
Since we had already hung the door on the existing hinges 
(only to discover they needed mortising.... I digress)... 
we were easily able to pencil above and below the hinges on the new door to mark the area for chiseling. 


STEP 3.
 Remove the door with your measurements and hinge markings. 


STEP 4. 
We used a small skill saw to make VERY shallow indention on the hinge markings. These served as our starting point for the chiseling. (There is an actual special tool for mortising, but again WHO KNEW we would need it). 


STEP FIVE.
Start chiseling. We went too deep in some areas and not deep enough in others (learning curve #2). Again, without the proper tools it is very hard to get a precise fit BUT the end result for us is that the hinges are flush with the side of the door.


STEP 6. Mount Door on your NEWLY mortised hinges, 
and admire how flush they are with the side of your new door!


Old door


LOOK! LOOK! NEW DOOR, NEW DOOR! 

And THAT, is how you mortise, People!


Monday, August 26, 2013

Wallpaper Removal in the Hallway & Dining Room

Today I took down the hallway wallpaper, and I will admittedly say that I was expecting it to take me at least a day to complete. In the Sloan Road House, we had a disaster of a time removing wallpaper in the bathroom. The previous owner had PAINTED over the wallpaper creating a seal between the wall and the wallpaper. After many hours of labor, we had to call in a handyman who did an equally poor job of fixing the problem. All in all it was a bad experience, so when I saw this house had wallpaper I was less than thrilled. The other factor that concerned me is the house is over 50 years old, and I did not know when the wallpaper was placed. Newer wallpapers peel off the wall easily, while the older stuff usually takes a wallpaper steamer and some tedious labor to remove. LUCKILY mine was the former! I was able to remove the hallway wallpaper in ONE HOUR!

THE CULPRIT: 


Supplies: 

I did not have a spray bottle so I took the sprayer off one of my window cleaners, and used the bottle of almost empty Palmolive to hold warm water and a small amount of soap.


And of course, a glass of wine and Pandora tuned to The Lumineers.....and a scraper!


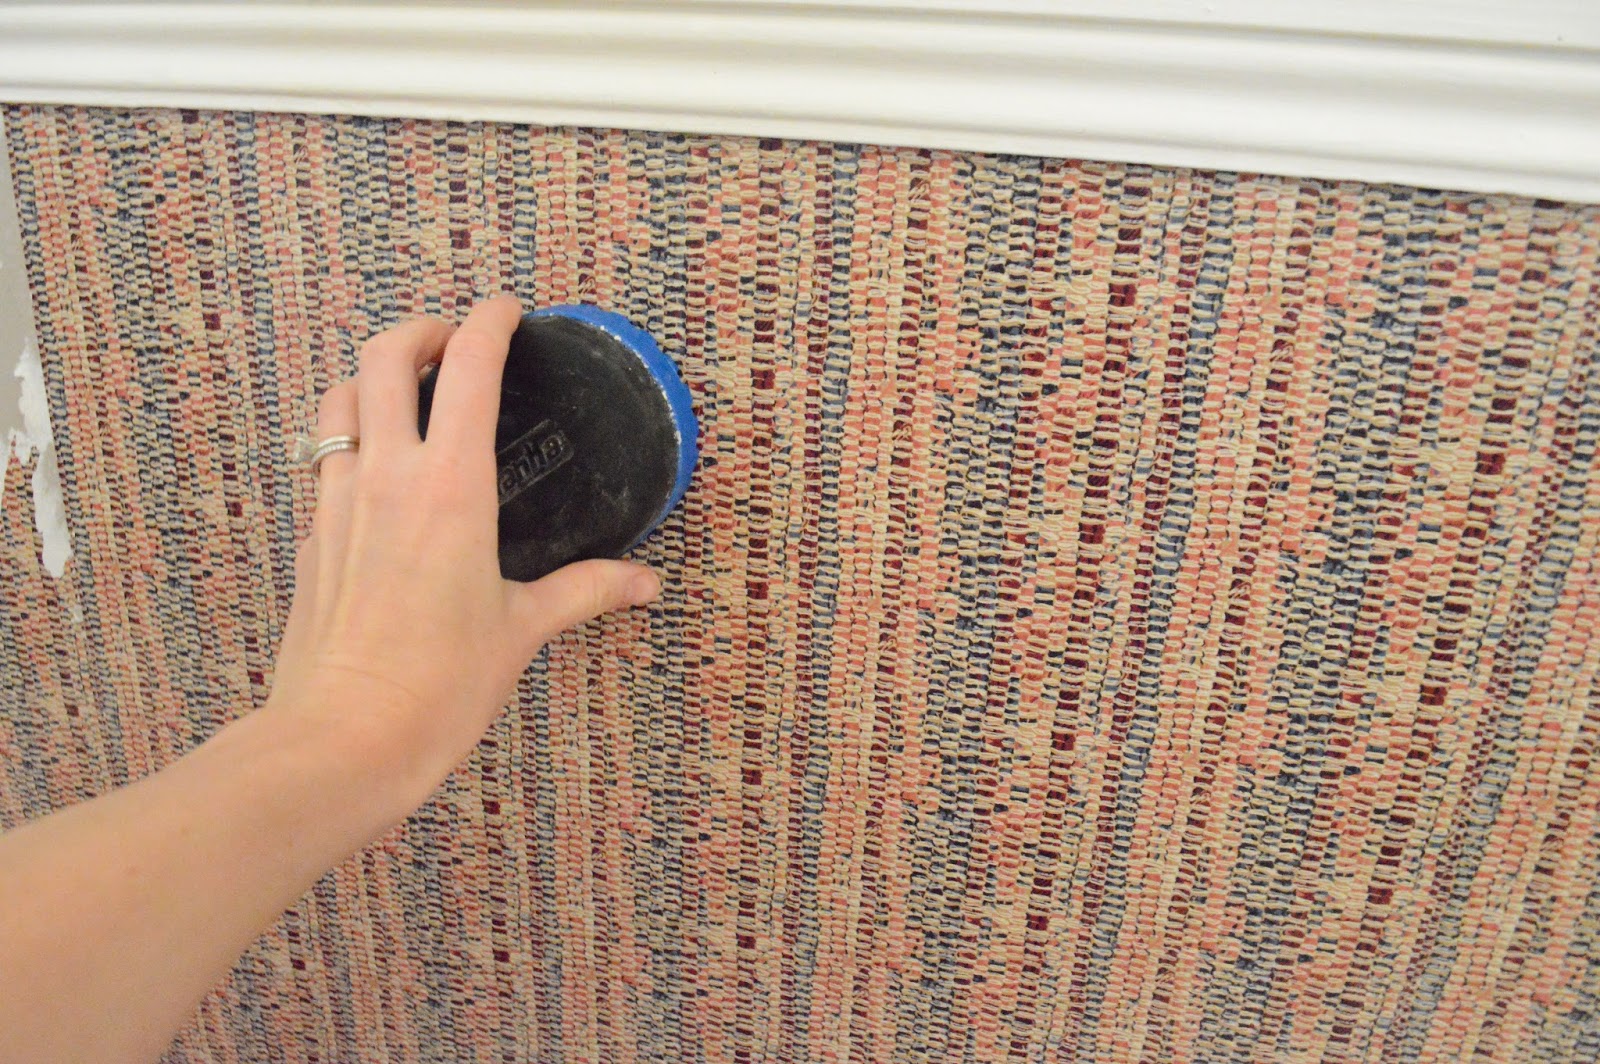
The top layer of wallpaper peeled off by hand without any water. Then I sprayed the backing with the warm water & soap mixture and let it stand for 5 minutes, while I would tear down more of the top layer. Here you can see where I have removed the top layer, and sprayed the backing. 


Next I took the scraper to the soaked backing which revealed gray paint...
not too far from the color I want the walls to be!


ONE HOUR later... to my amazement... I was done!
Before
After

Before
After

Up next, the dining room...
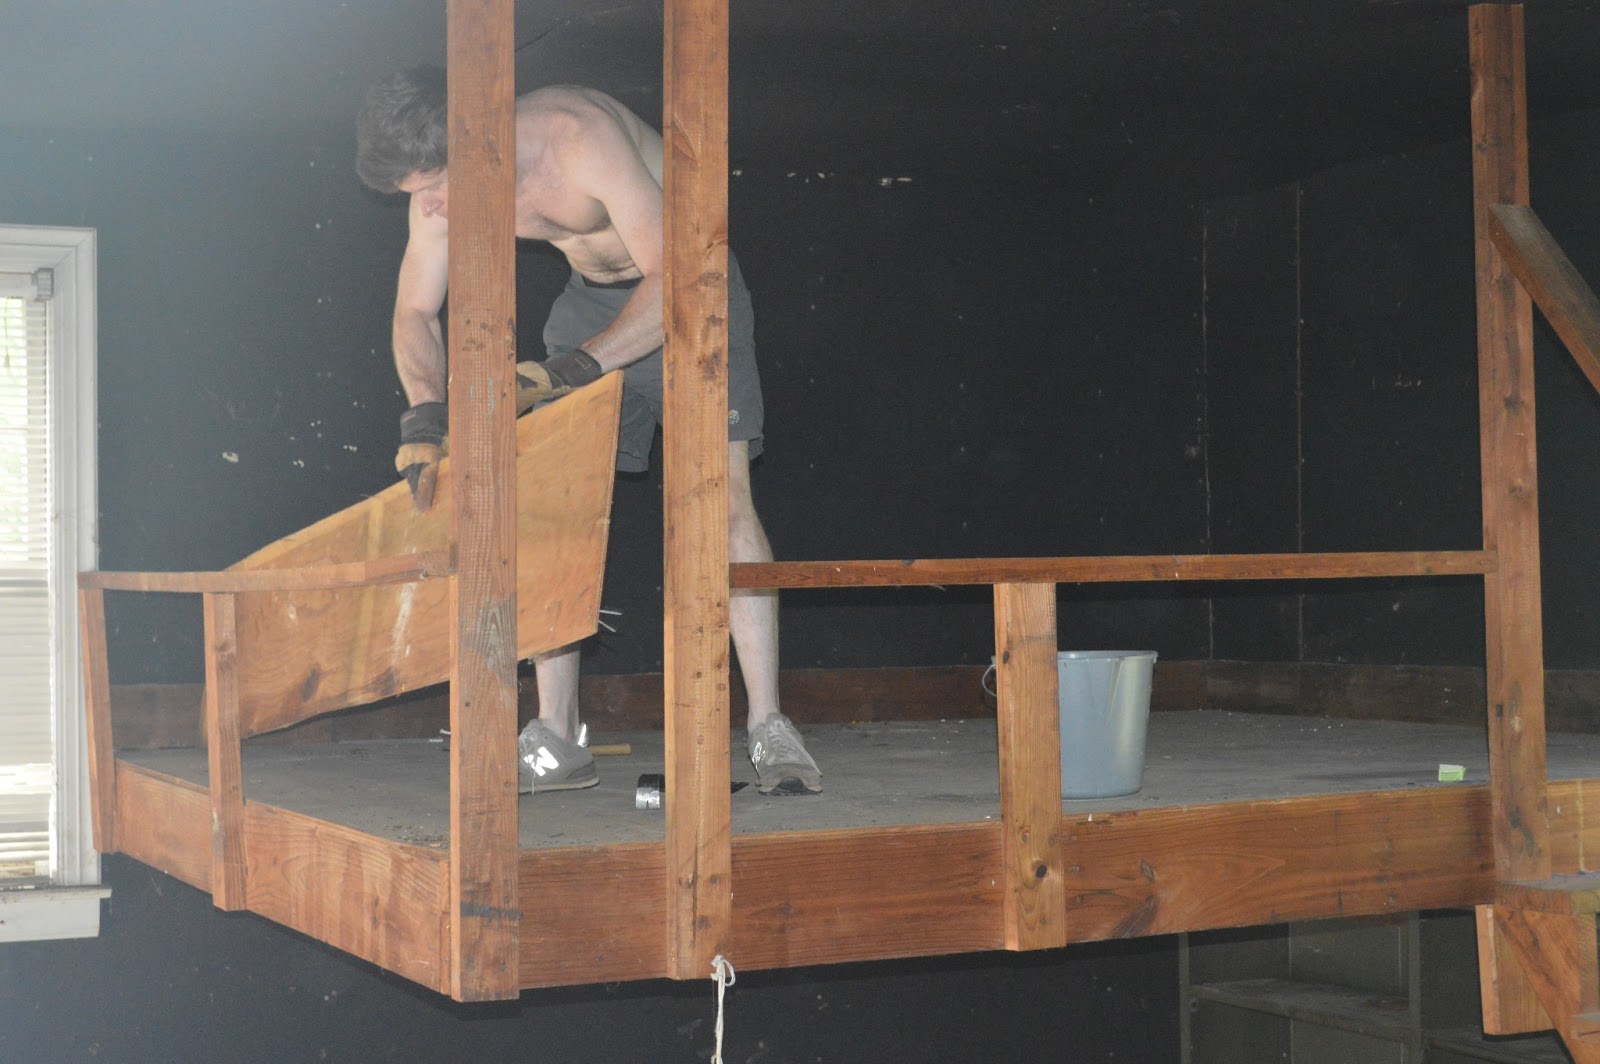
under the chair rail in the dining room is the most interesting selection of wallpaper. So interesting, that my friend Sydney went to touch it thinking it was some kind of carpet! 

Needless to say, this area of wallpaper did not come off as easily and I had to enlist some help.

Using this tool, I scored the wallpaper and then soaked it in the same soapy water solution from earlier. 

So many teensy tiny pieces of paper left on the wall...ugghhhh

This is how far I got before quitting...

I was so SICK of de-wallpapering at this point. It was not going half as well as the hallway. So, I enlisted Ty to help me. Turns out, the secret is not the scoring tool but to SOAK the wallpaper with water and let it sit before trying to pull it off. Ty had the room cleared of wallpaper in no time!


And that, my friends, ends the de-wallpapering sage in this home! 

Now its time to paint!

Thursday, August 22, 2013

Removing the Loft from the Garage (& a To Do List Update)

When we bought our current house,
there were a few things that we knew we would have to get to immediately. 
The loft is one of those things. 
Nailed to the ceiling by two 2x4's, this architectural masterpiece is quite the hazard 
(and was causing the garage roof to bow!)


So for Ty's first weekend project, he dismantled the loft! First, he removed all of the railings 

Then he went work on removing the flooring & the stairs (while still standing atop the loft, mind you).


After that, he was able to pull the remaining structure down from the ground (much to my relief!) As for all that lumber, we posted it on Craigslist FOR FREE and had it all hauled away before we came home from work the next day.


Most importantly, Ty's first child, Mary Lee now has a home...


You are welcome, Mary Lee!

More to-do's to cross off...

Wednesday, August 21, 2013

Friday, August 16, 2013

Picking the the Perfect Carpet to Bind into a Rug

Here is a peak at what I am up to today!      
                    Carpet mania!!!!!


Went to the carpet factory today to look into having a carpet remnant bound into a rug. We need a really large rug for our living space, 13x9, so this is the most cost efficient route for us. Check out what I FINALLY narrowed it down to...


1 & 3 are the same pattern. They are the most expensive of the 4 as they are 100% wool. 2 is a sisal rug, and 4 is a very low pile rug. Which would you choose?

I am taking the samples home to see what the colors look like in our  light, and to finish pricing everything out. Here is a look at out amazing Craigslist find: a beautiful linen couch. All that's missing is the rug!


Wednesday, August 14, 2013

Interior Decorating: It's All in the Details

Detailing is my favorite part of any project. I generally CAN'T WAIT until the end when we get to clean up and make everything look pretty and new! This home is certainly teaching me to enjoy the process it takes to get there, but today I had a little instant grat when I revamped the guest room. If you remember, the guest room/third bedroom/study/whatever you want to call it started out like so...


After unpacking, we were able to give the room a face and a function by placing the desk in front of the window to our pretty backyard. The room was still lacking the "feel" I was going for. 

Here are a few things I envisioned...
1. The desk in the center of the room.
2. A usable work space that was pretty & functional
3. Painted a calming color (we don't get that far in this post!)

Here are a few rooms that inspired me...

and HERE is the FINISHED PRODUCT! #love


 I am excited to pick a paint color and complete the project.... I am thinking Sea Salt by Sherwin Williams. What are your favorite colors for a room?


We are STILL trying to come up with a FINAL PLAN for our house. 
We have had two contractors out in the last week or so to discuss adding on to the house (a master bath, walk-in closet, & laundry area). We are also pricing out just revamping the interior bathrooms. Many decisions to make! Look for a TO DO list update soon too! Meanwhile, we have been painting EVERY ROOM....only two left to go. (preview here)


Related Posts Plugin for WordPress, Blogger...

Blog Archive