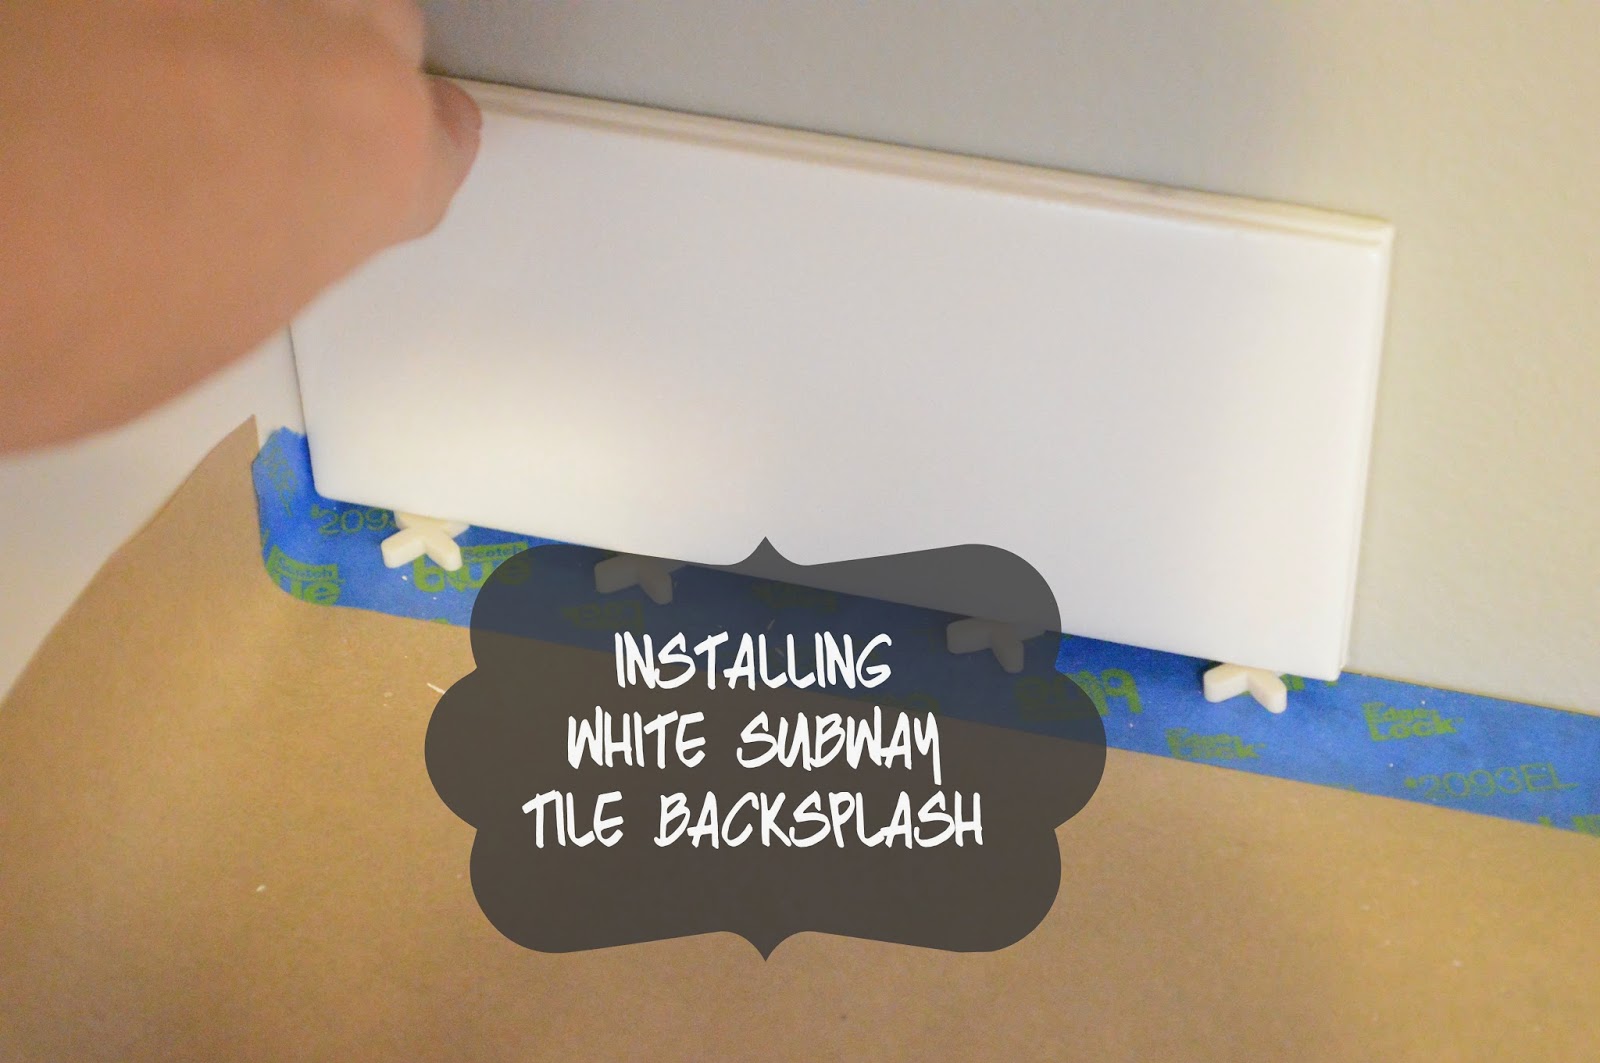
Well, the Kitchen Reveal has come & gone, but there are a few missing links on HOW we got there - and this is one of them: Our White Subway Tile Backsplash.
I flew solo on this one. Ty permanently denounced tiling forever (not really, he was just at work so we could actually buy the tile!), so this kitchen backsplash is up to me. We are going for a classic look by using white subway tile. I have to say that round 2 of tiling (see round 1 here, here, and here) is MUCH more enjoyable. With no time crunch, smaller tiles, and experience... its FUN!
PREP:
Prep for the backsplash was SO EASY.
I used kraft paper and painters tape to protect our LUNA PEARL granite.
I removed all of the outlet plates. If we had not done a lot of work on the front end of demo-ing the kitchen, I would have had more prep work. The walls were patched with spackle and then sanded to level the surface. We also went over the area to be tiled with a light sanding to rough up the walls and help the thinset stick.
Covering our bases: We did not want any grout, thinset, etc to damage our gorgeous new faucet so we wrapped awkward surfaces in plastic wrap.
As seen in our previous tiling endeavors, here I am again, mixing thinset! Some people use MASTIC as their tile adhesive. I have heard great things about it for a tile adhesive in the backsplash setting BUT being a savvy saver, I wanted to use the rest of our thinset from the floor rather than having to buy another product.
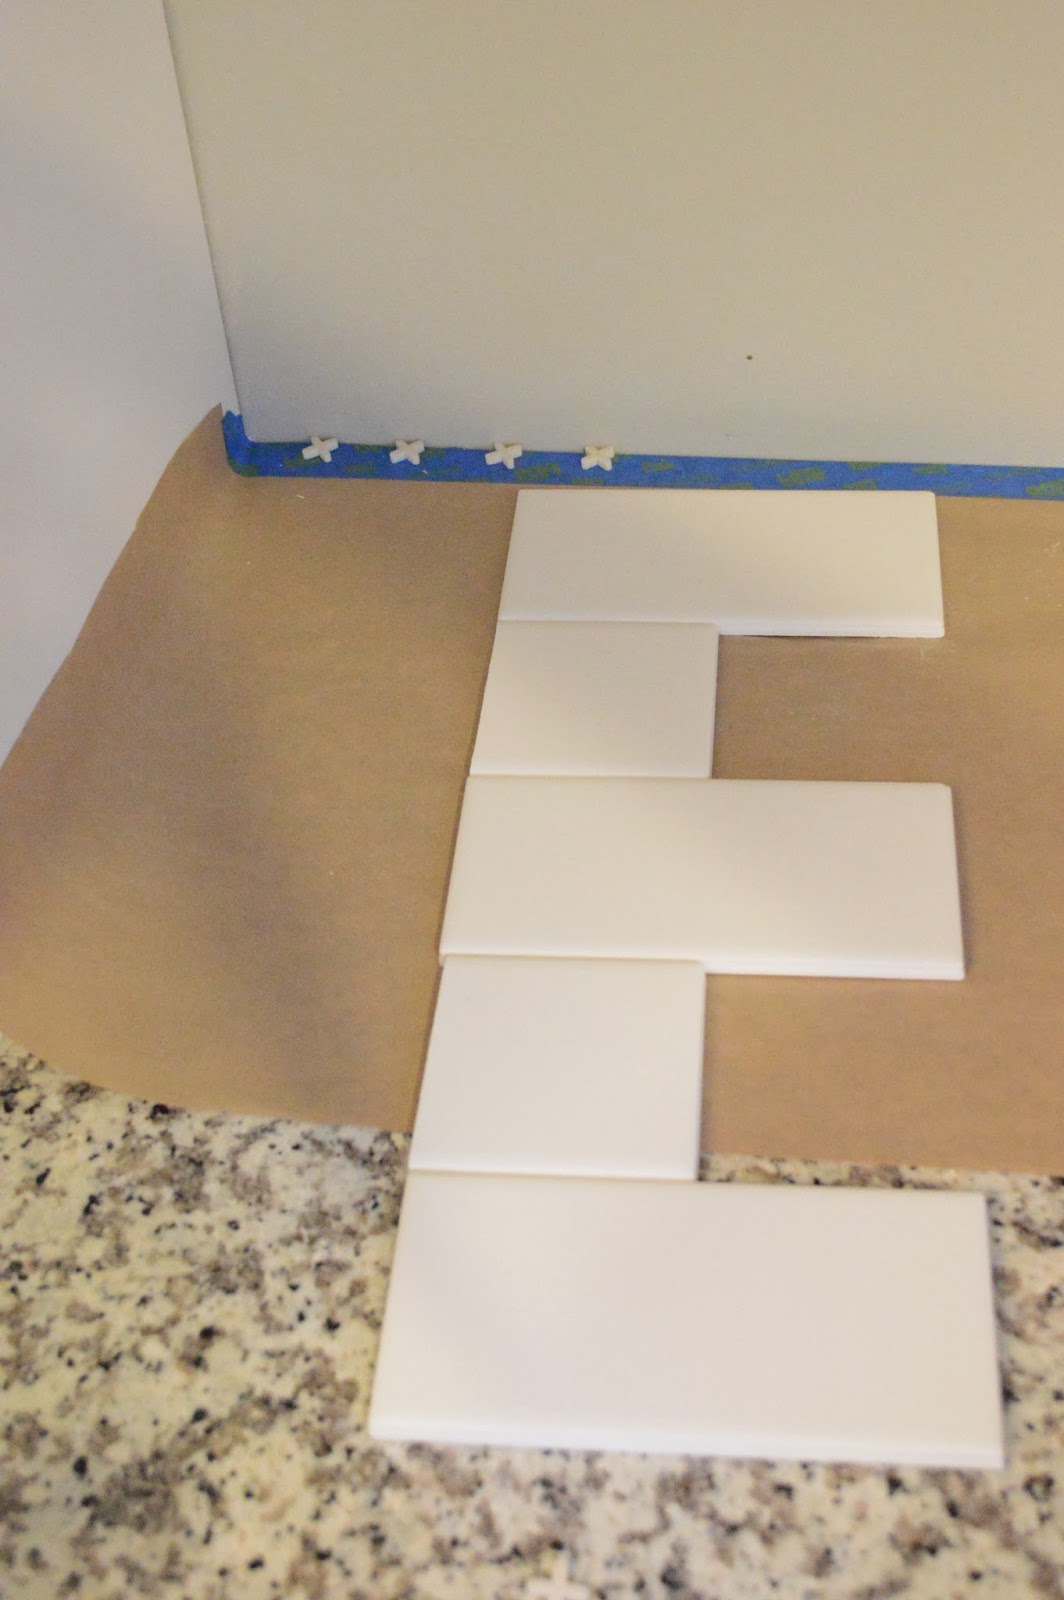
Laying out the tile.
Another difference in the floor tile and the back splash... the white subway tile has built in spacers.
Although we still had to use spacers to keep the tile off the granite. Later, we will caulk between that space.
Once the layout was set, it was time to tile!
As part of laying out the tile, I had to decide how to "finish" the edges where the counter ended but the wall did not. I used pre-cut edging pieces to create a finished look at the ends of the countertops.
GROUTing!
 |
| Left side grouted, Right side ungrouted. |
We had a big debate between dark grey and white grout while the thinset and tiles dried. We ended up going with white grout for several reasons, but mainly because the look is so fresh and does not obligate any one person to grey in the kitchen forever.
 |
| Before |
 |
| After |
Have any of you guys ever tackled a backsplash?
We'd love to see pictures and hear about your experiences tiling!
We'd love to see pictures and hear about your experiences tiling!
We will be featuring YOUR HOME PROJECTS in the New Year.
Post in the comments below for more information!
We look forward to hearing from you!
HAPPY (almost) NEW YEAR!!
Post in the comments below for more information!
We look forward to hearing from you!
HAPPY (almost) NEW YEAR!!


No comments :
Post a Comment
Join the conversation! We love hearing your ideas, seeing your DIY projects, and answering your questions.